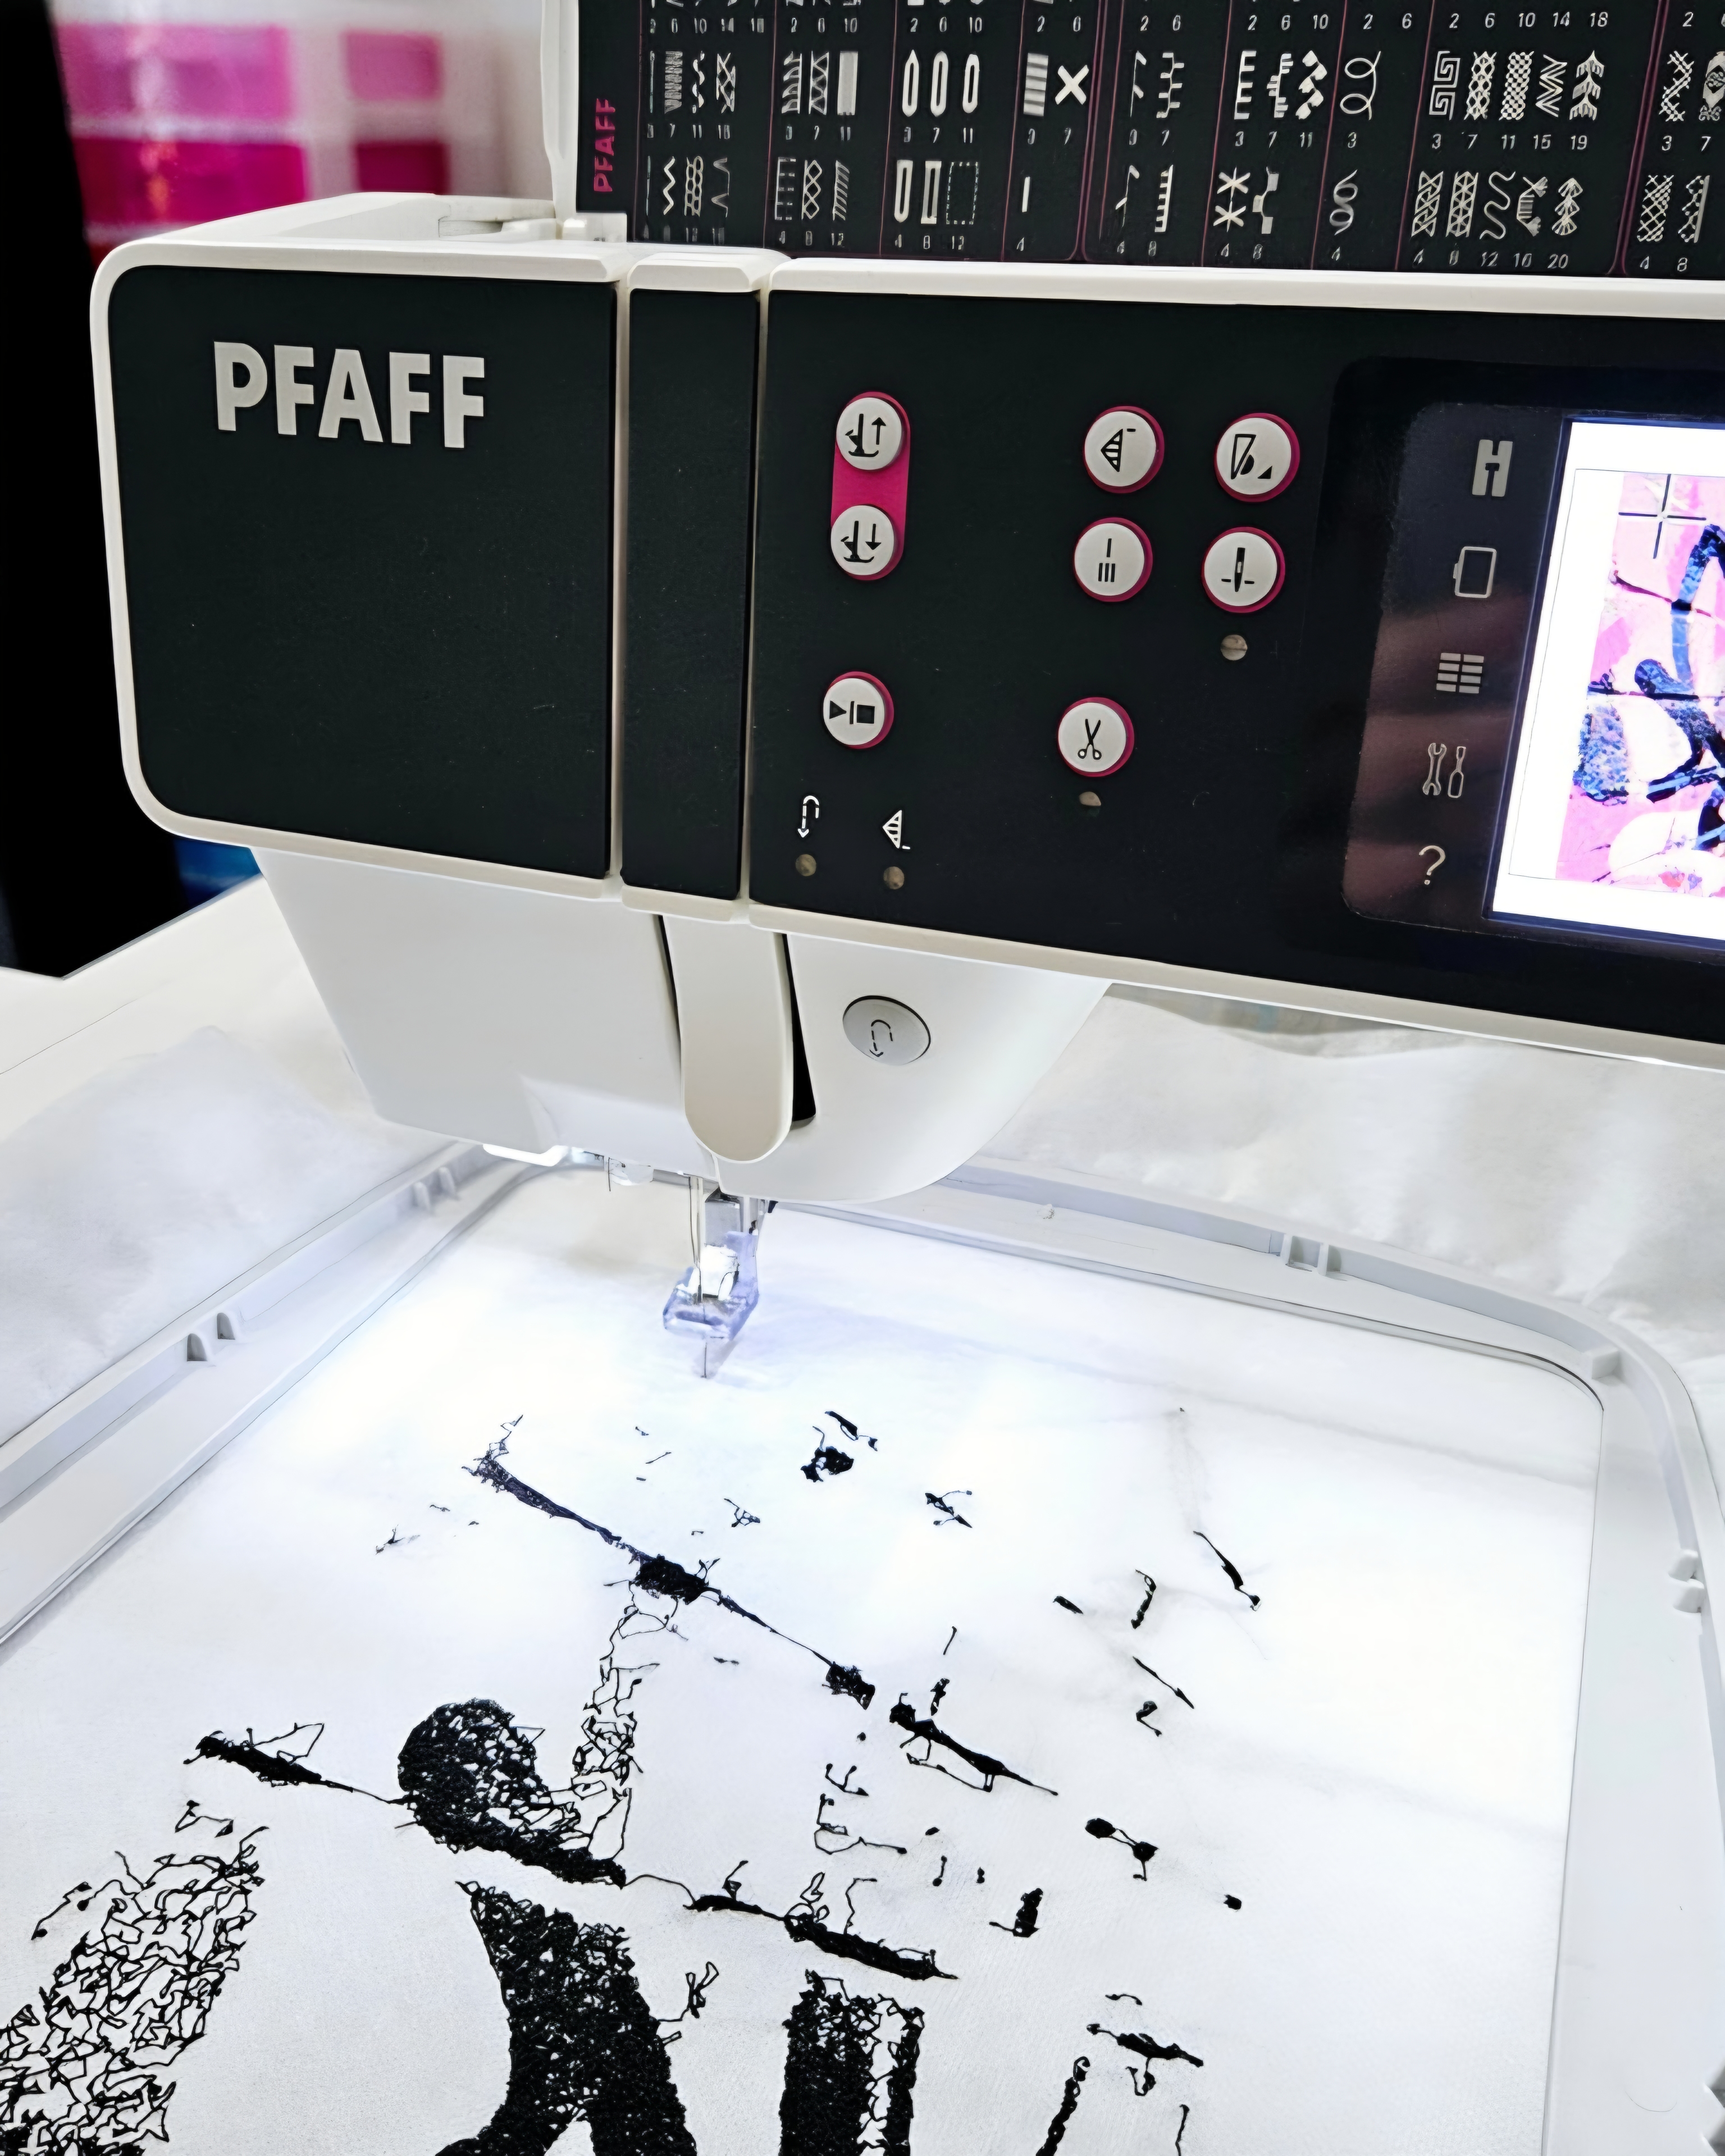
My last blog post Concept to Creation looked at how I use my inspiration to create a piece of digital embroidery. In this month’s post I thought it would be great to focus on hand embroidery stitches. During my embroidery classes, I’m often asked which embroidery stitch is my favourite. The answer is always back stitch because it’s practical but I always refer people to this wonderful quote…
“You don’t need to know hundreds of stitches. But you need to use the ones you do know well!”
Constance Howard, textile art pioneer
You don’t need to be a walking stitch glossary, if you learn a few hand embroidery stitches really well you can use them to create so many different styles of embroidery. I thought I would share some of the stitches I’ve used in my workshops and hand embroidery pieces over the last few years.
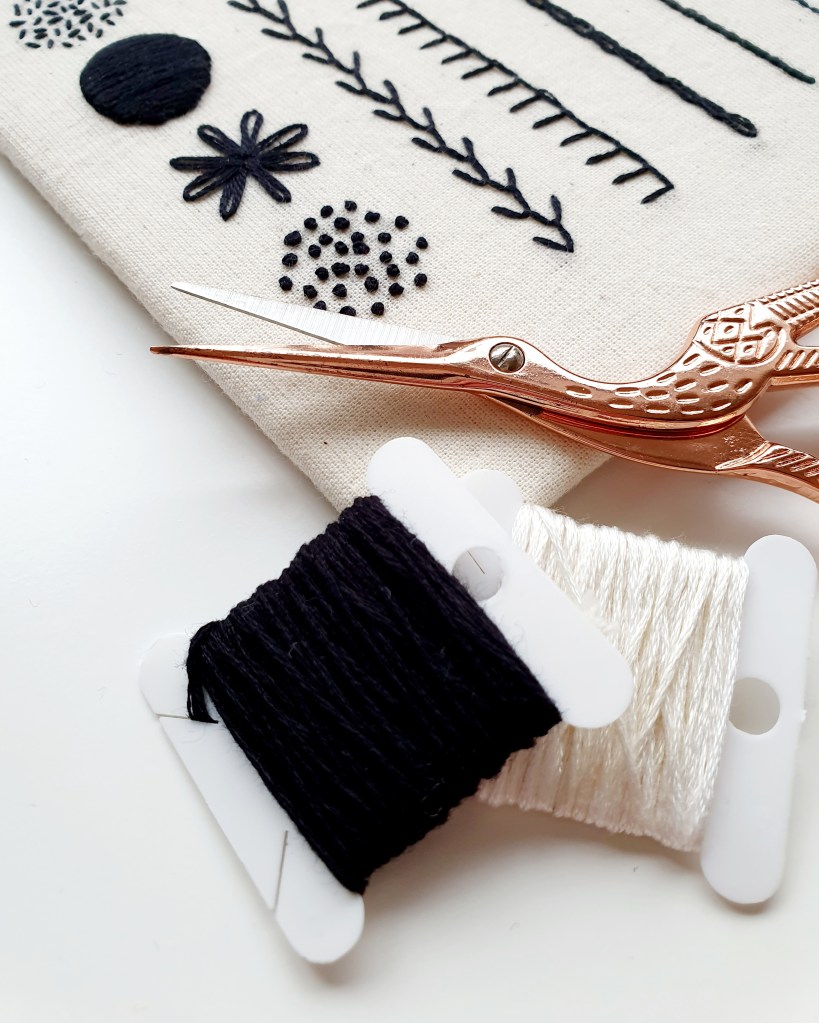
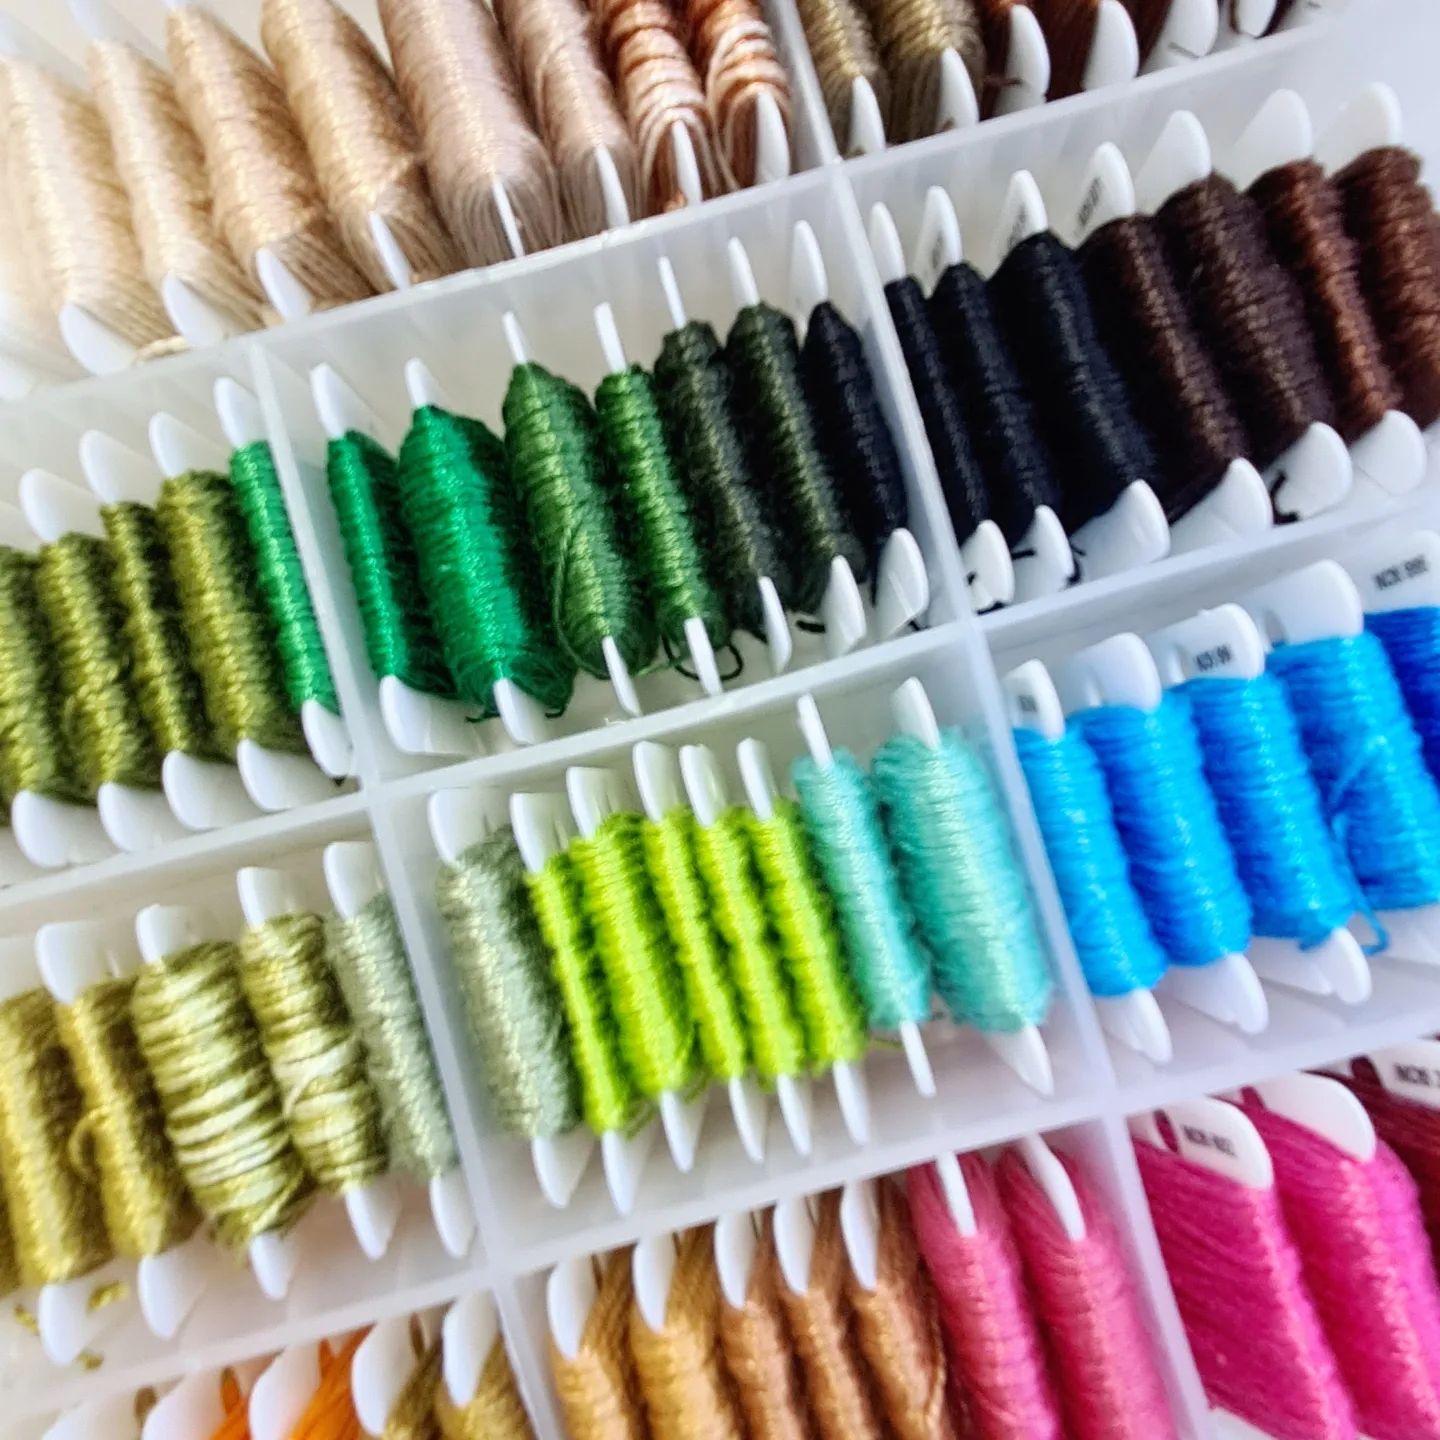
The image on the right is a stitch sampler from a hand embroidery workshop. I wanted to start at the simplest stage which is running stitch. This gets people used to plotting stitch width and can be made more decorative by weaving through other threads to create a whipped back stitch. A sampler of a few embroidery stitches will help you to build your own designs as you can see and feel the texture and surface of the stitch.
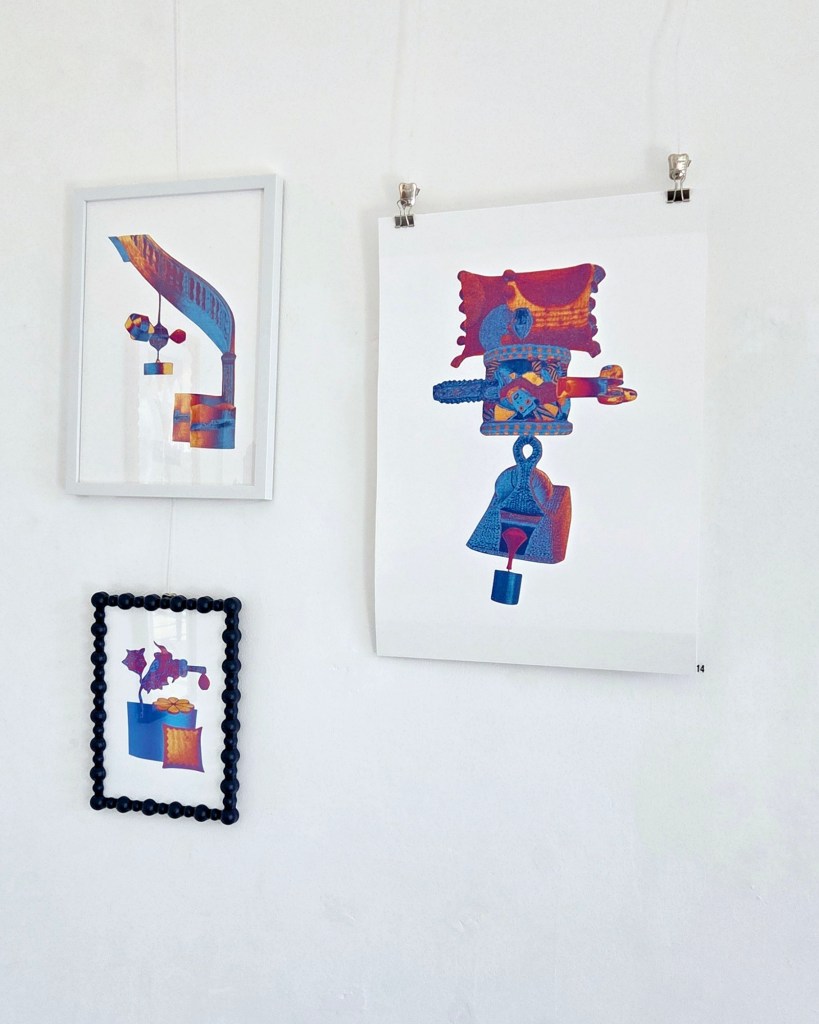
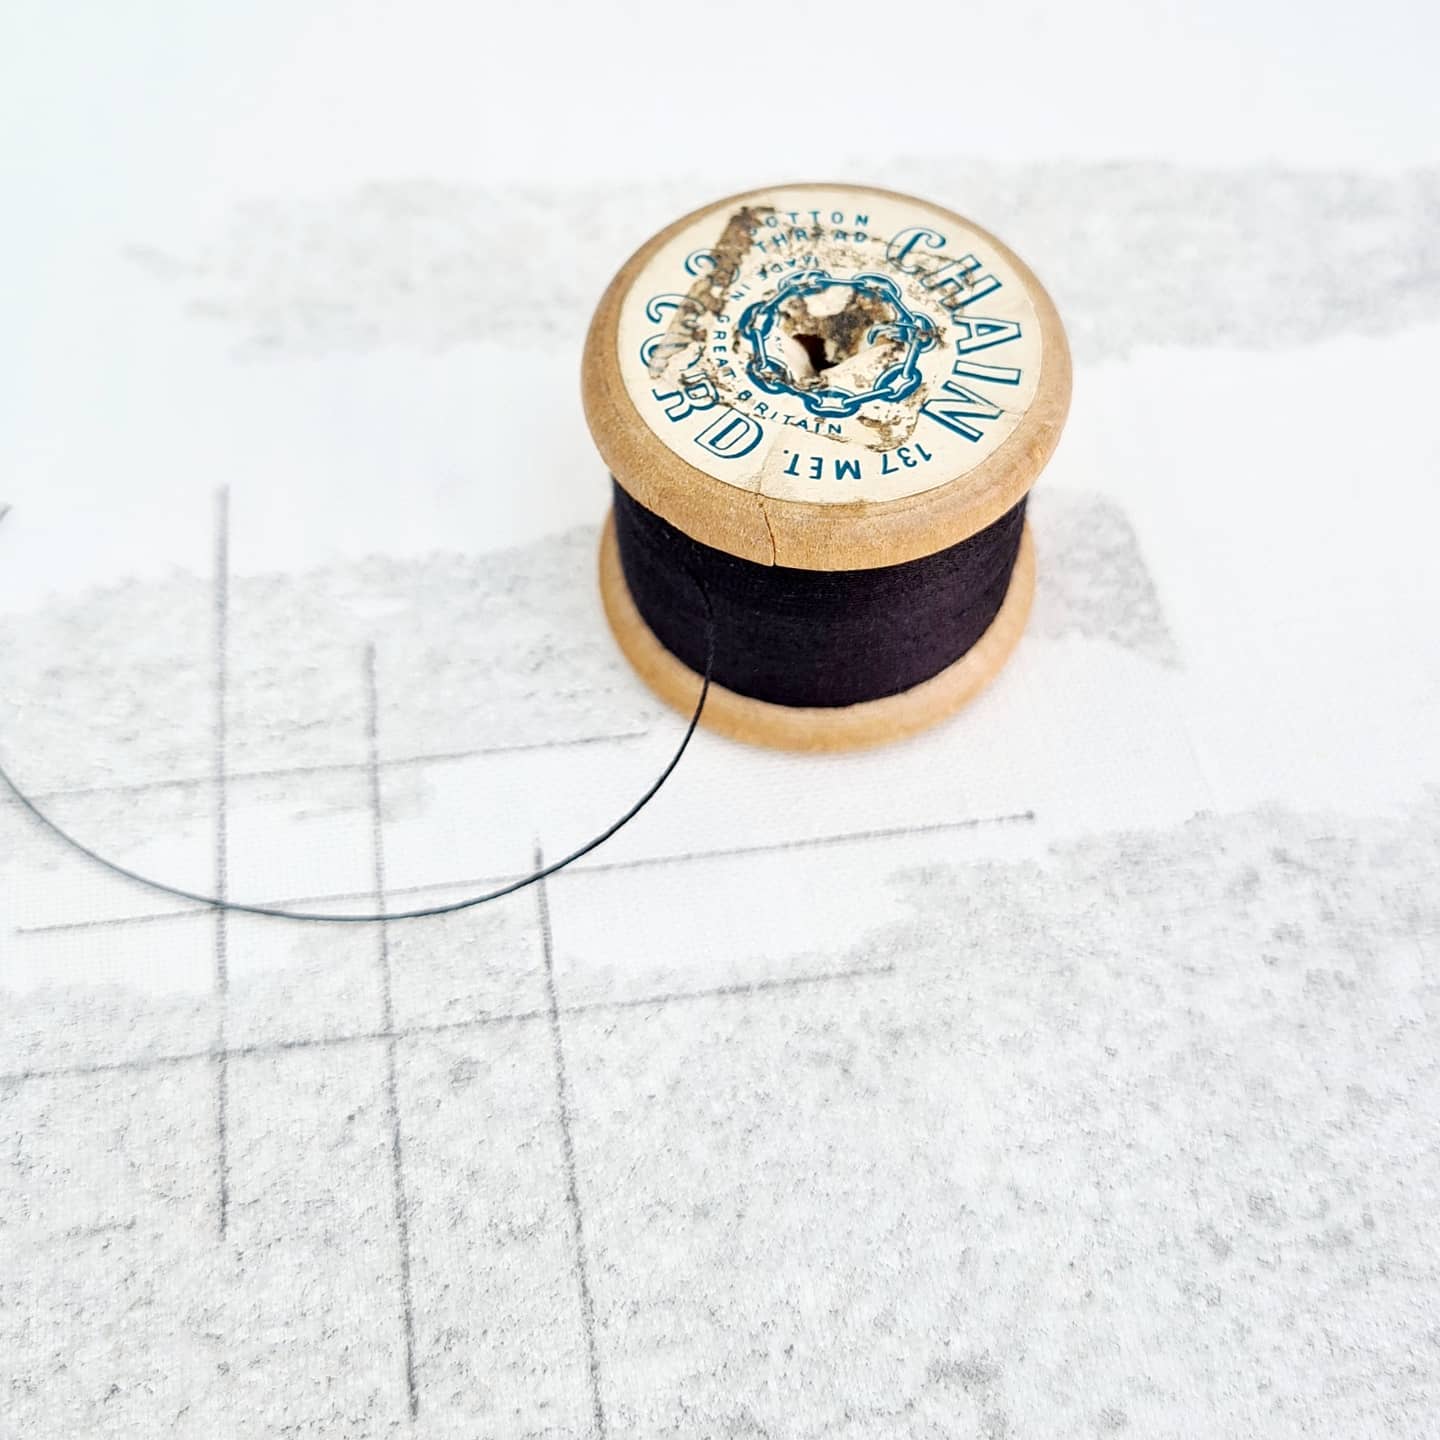
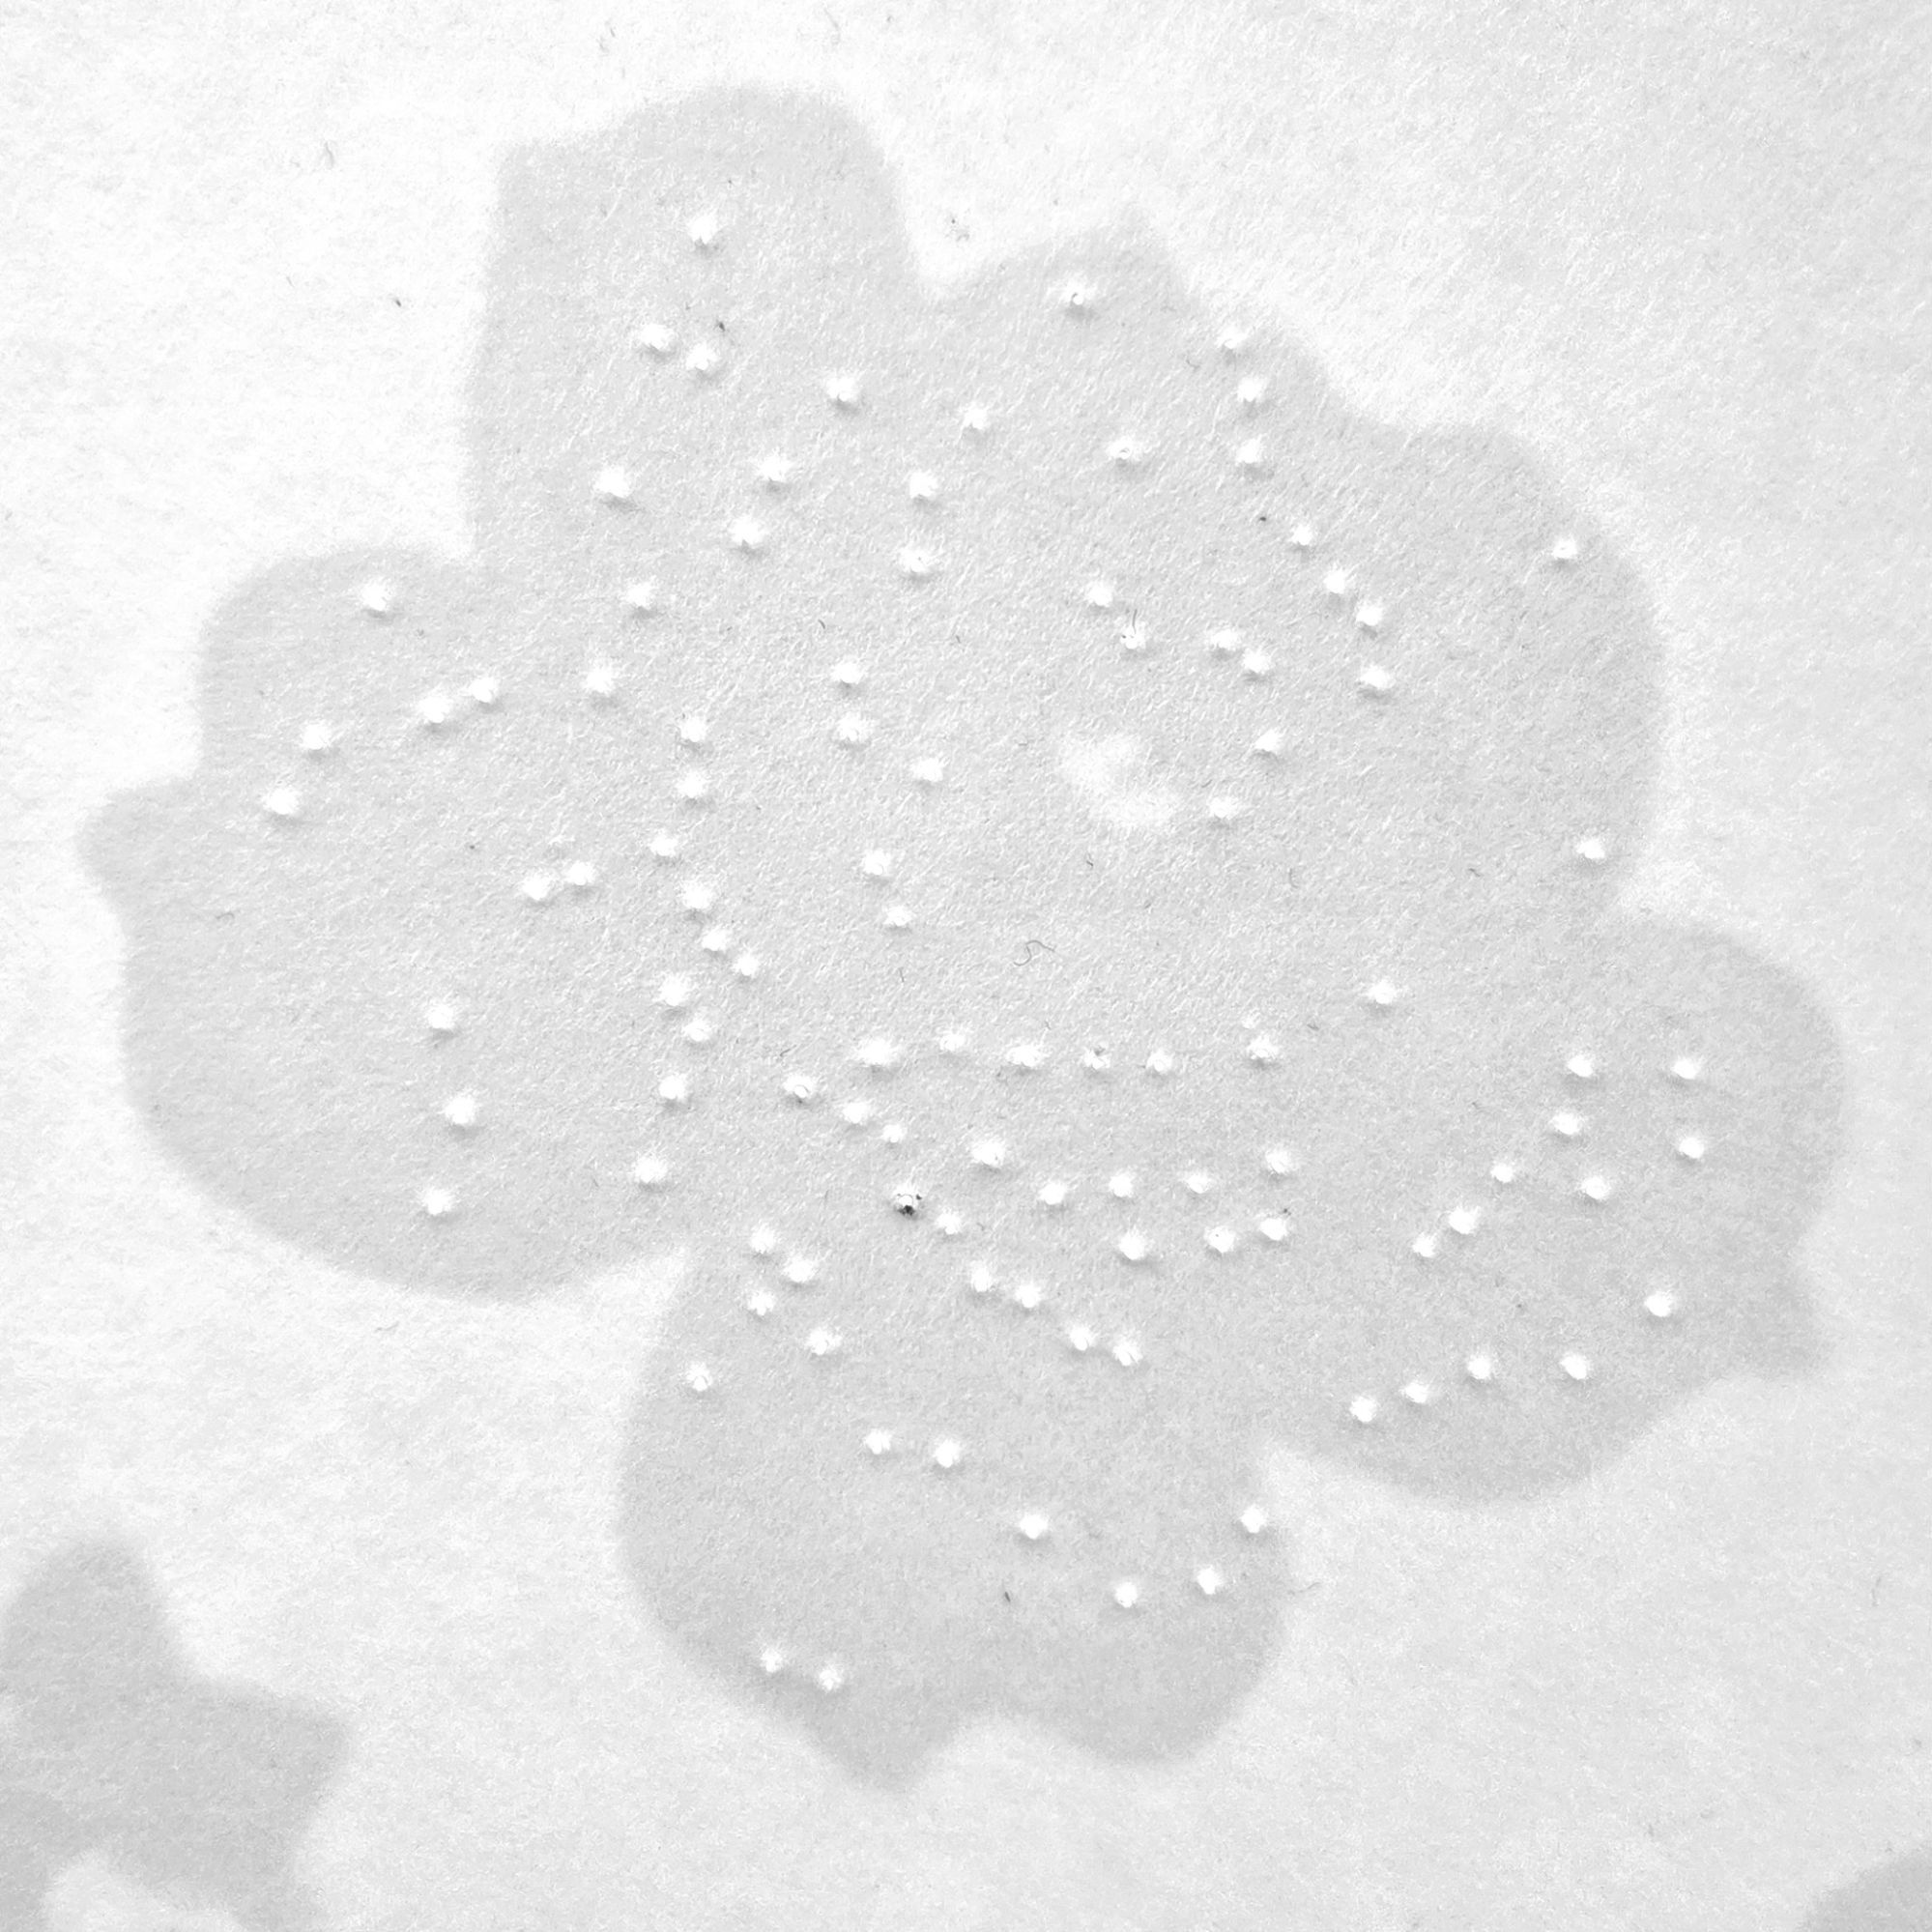
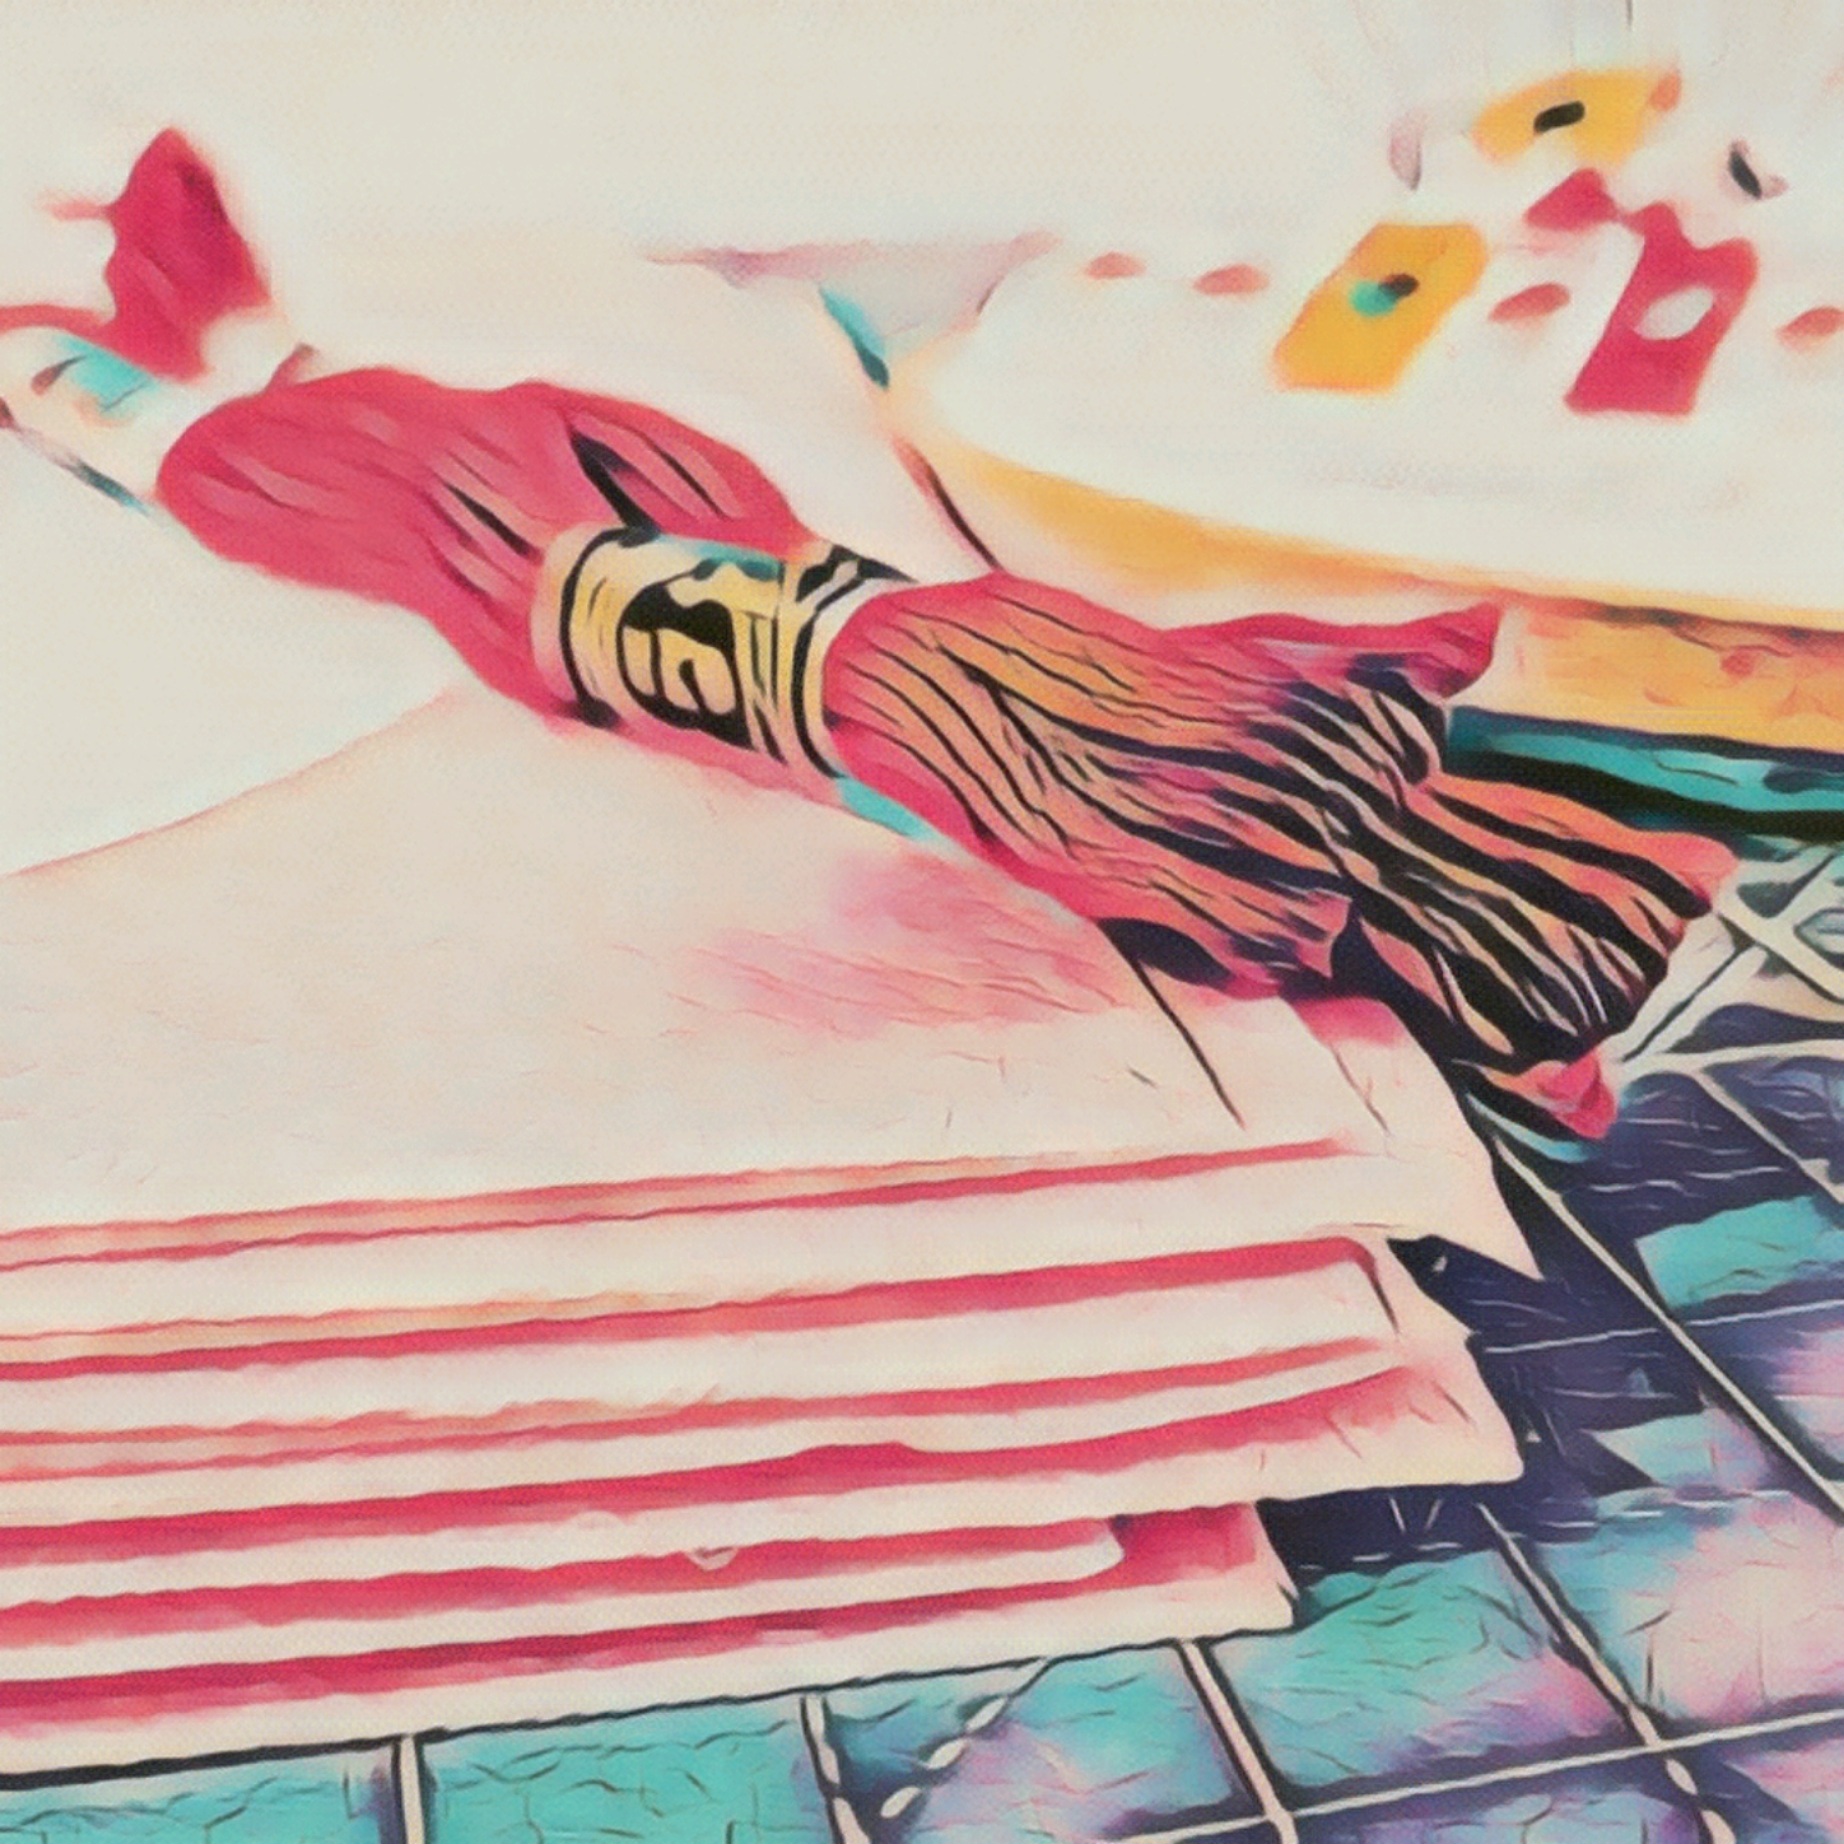
The centre image was inspired by one of my dinner plates when I was trying a new way of transferring designs onto fabric ready to embroider. I’ve used the stitches I teach in my new beginner’s hand embroidery workshop. It explore using straight stitches, satin stitch and another six stitches.
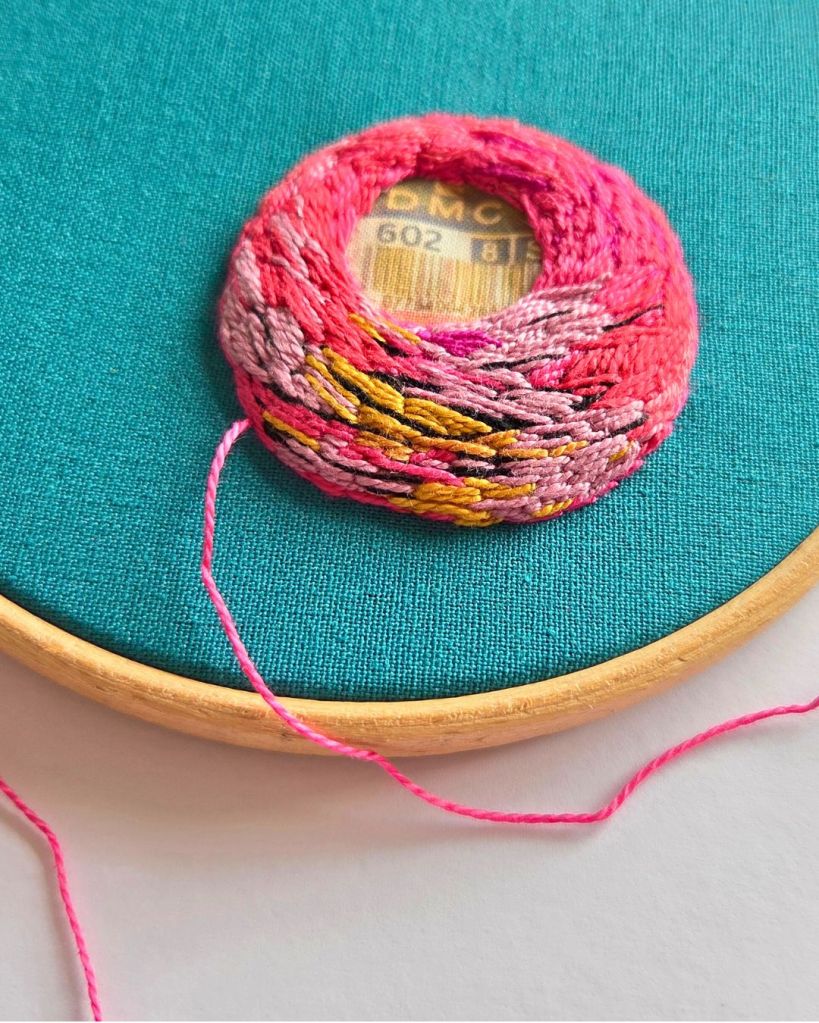
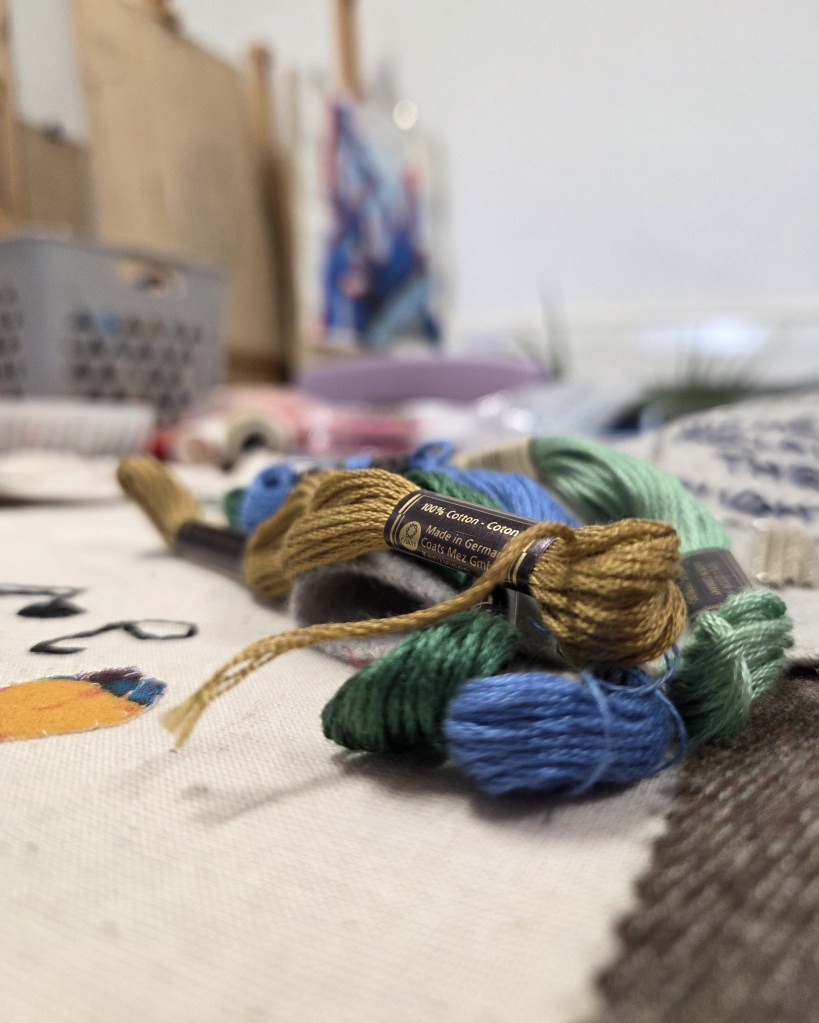
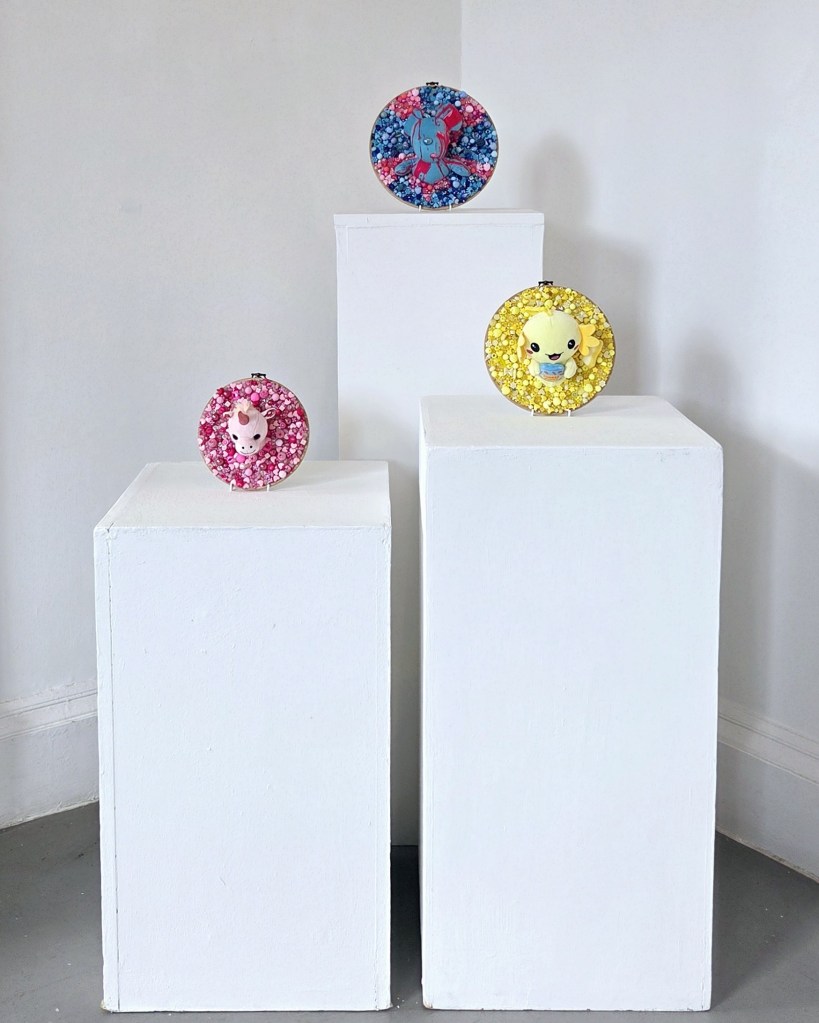
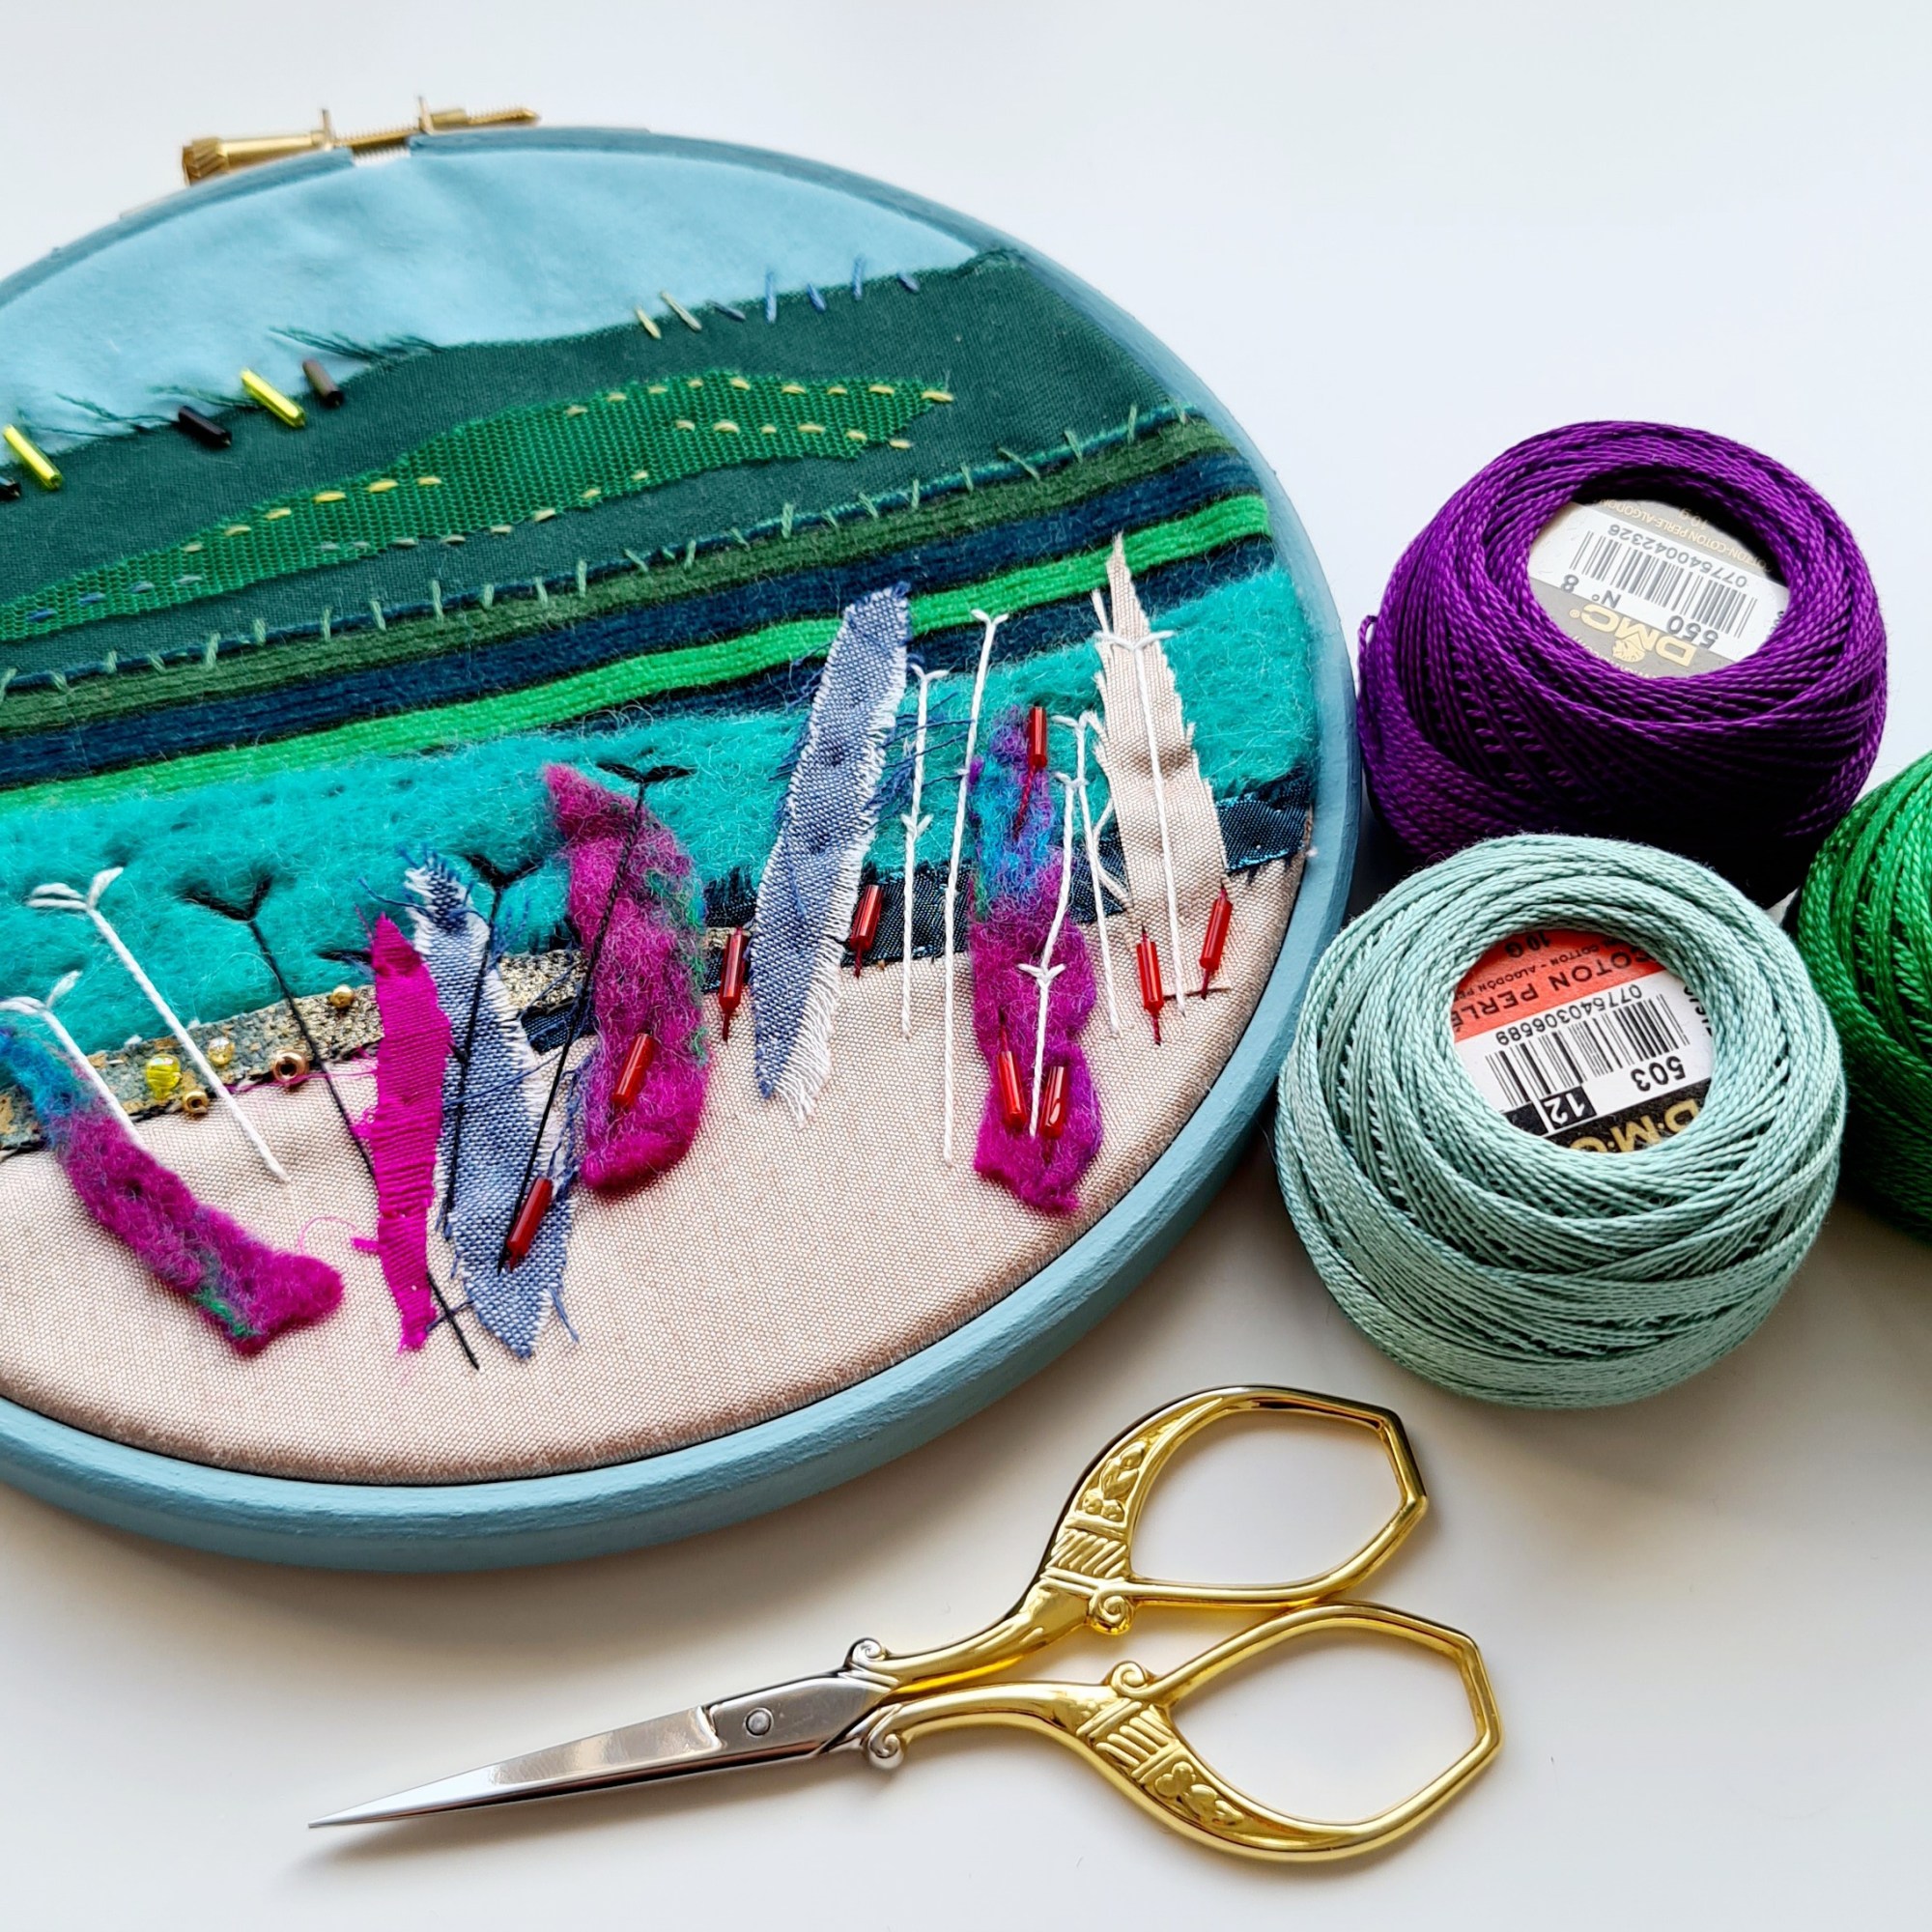
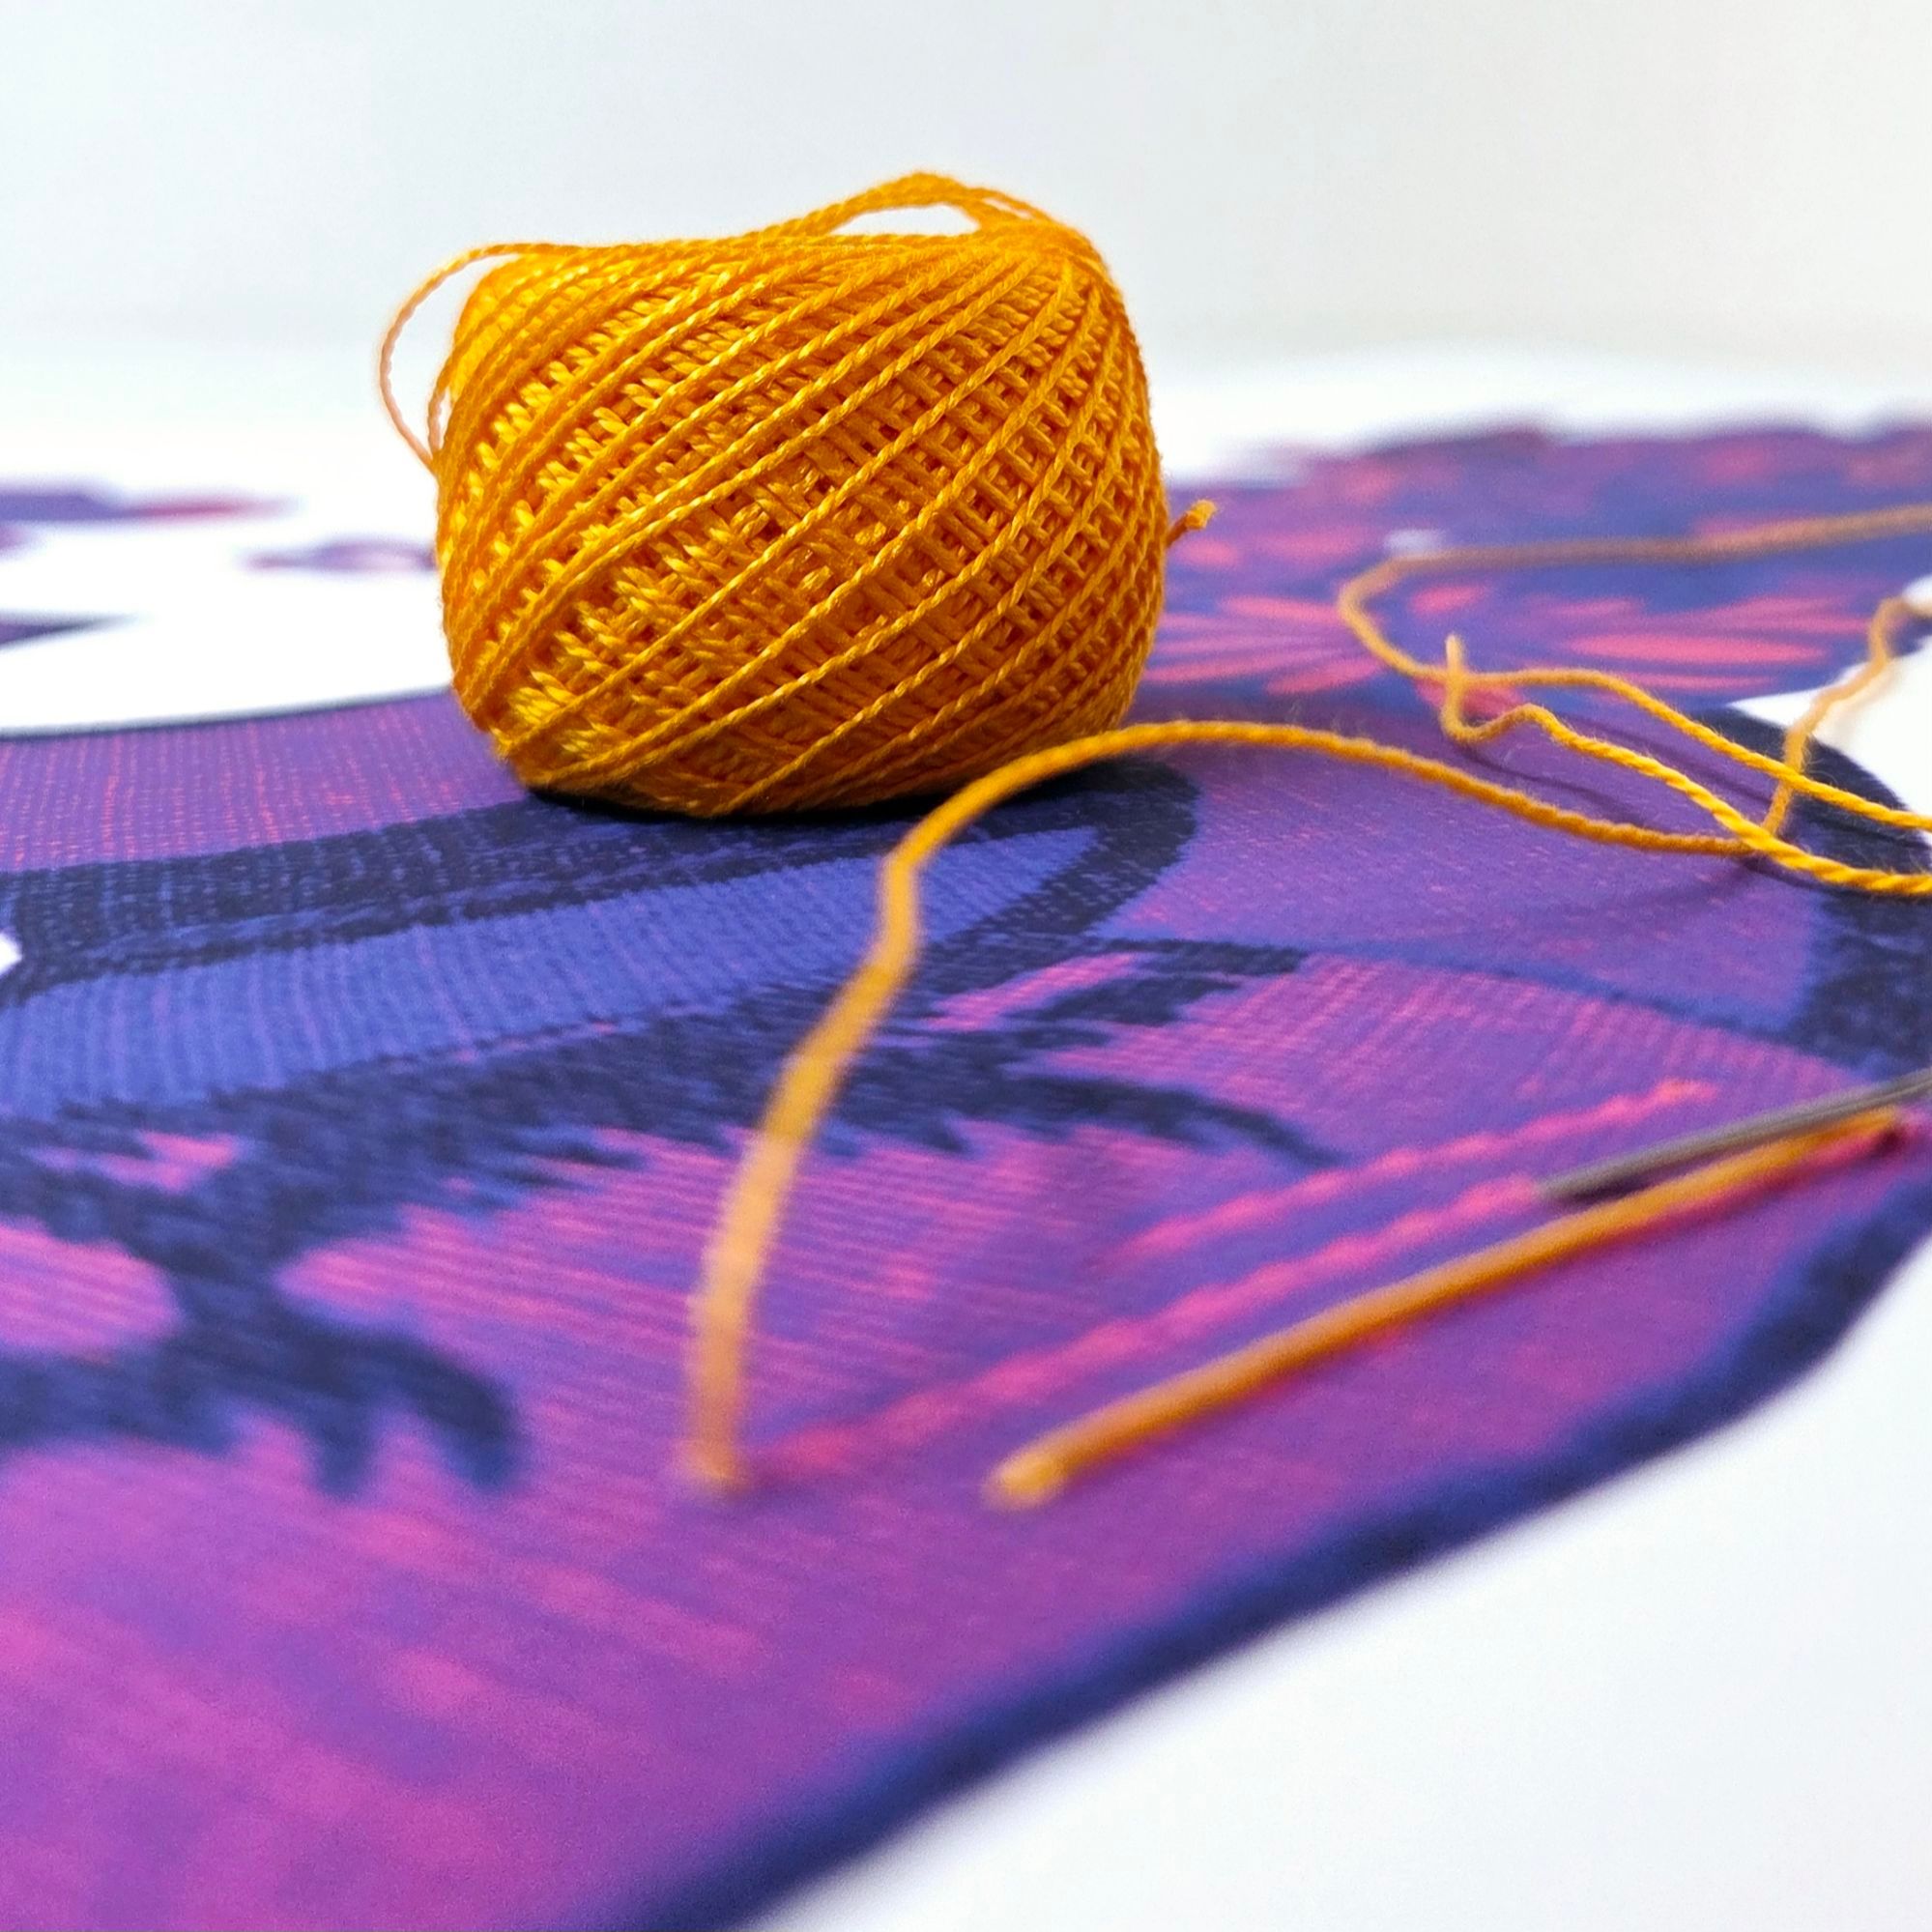
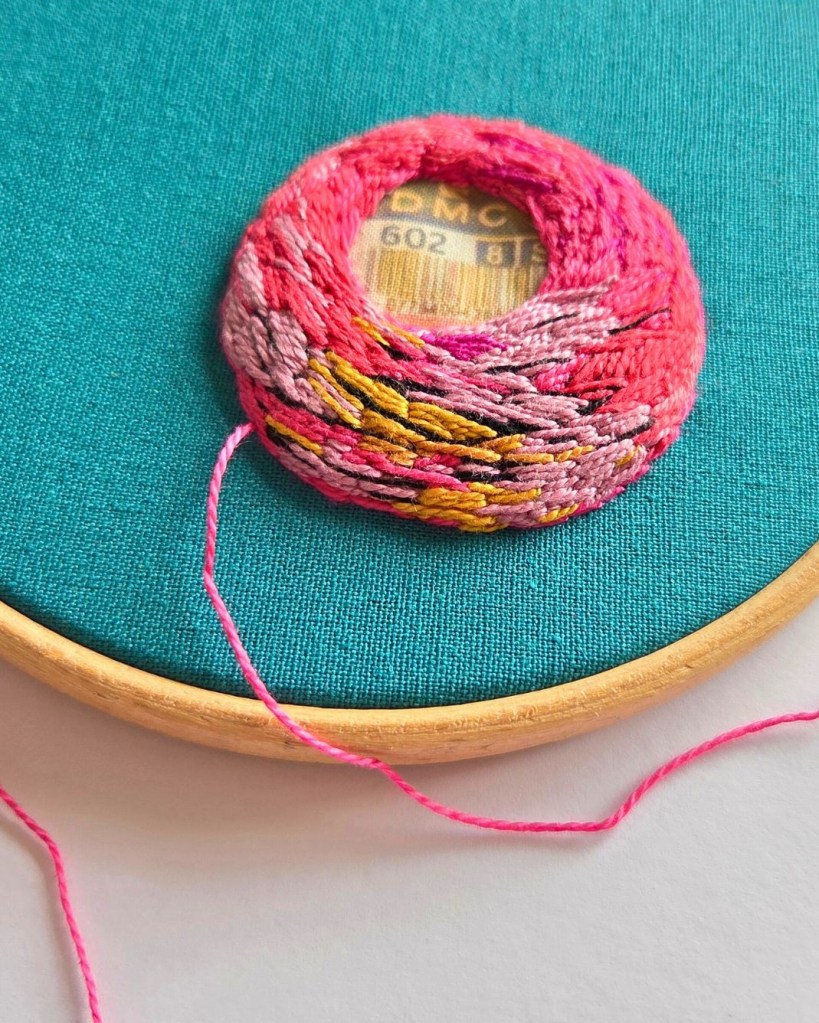
The image on the right is a new way of stitching for me, it’s most like long and short stitch as stitches of different lengths build up the design. There are layers of cotton perle threads in various weights which gives texture and depth to the finished piece. The centre image is worked in the same threads but has a very different look.
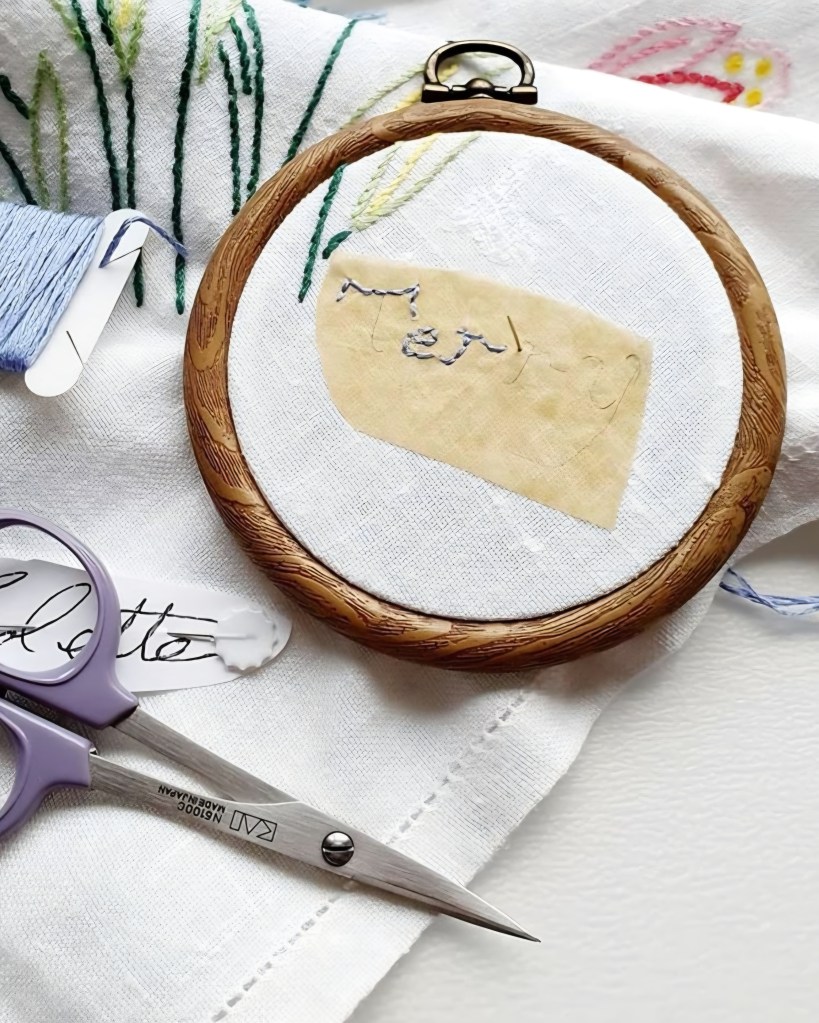
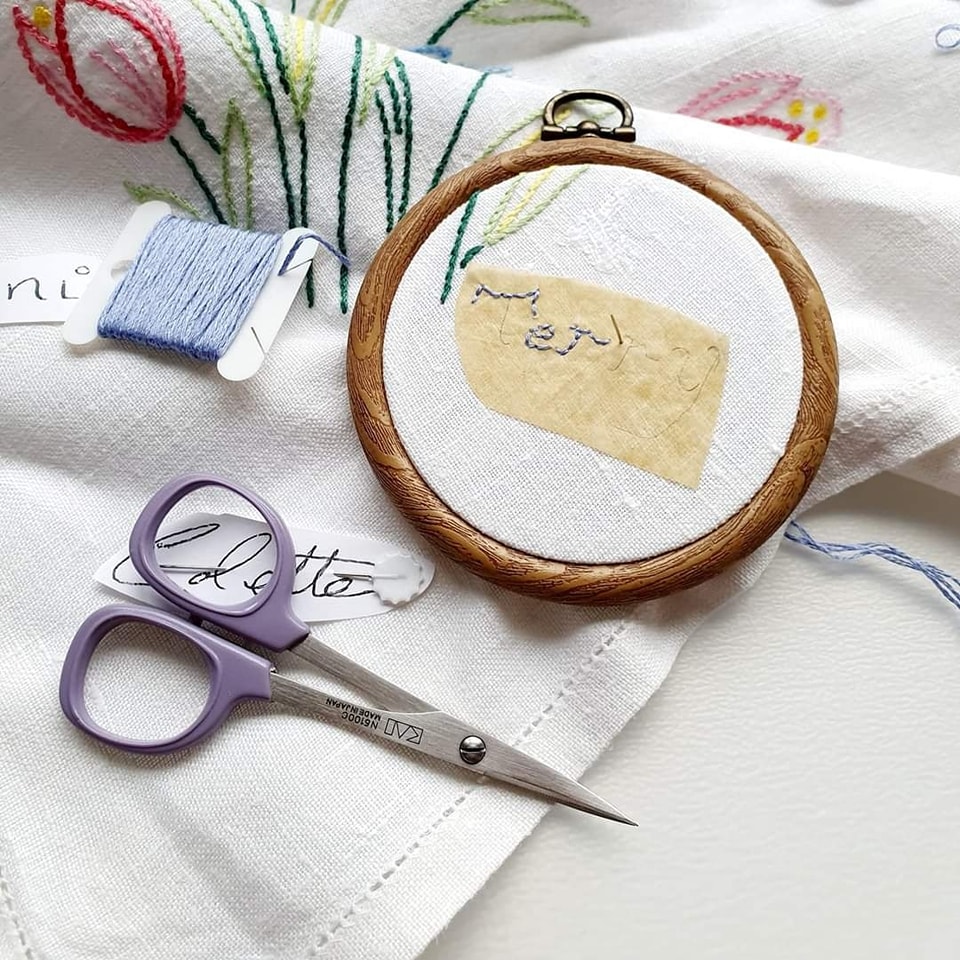
Going back to my earlier answer of back stitch as my favourite stitch, the piece on the left was a 2018 commission for the Seacroft Tapestry Project in 2018. Back stitch is my favourite stitch to use for handwriting. I can make the stitches small to trace the contours of delicate writing and it can be worked in six stranded embroidery thread or a finer thread.
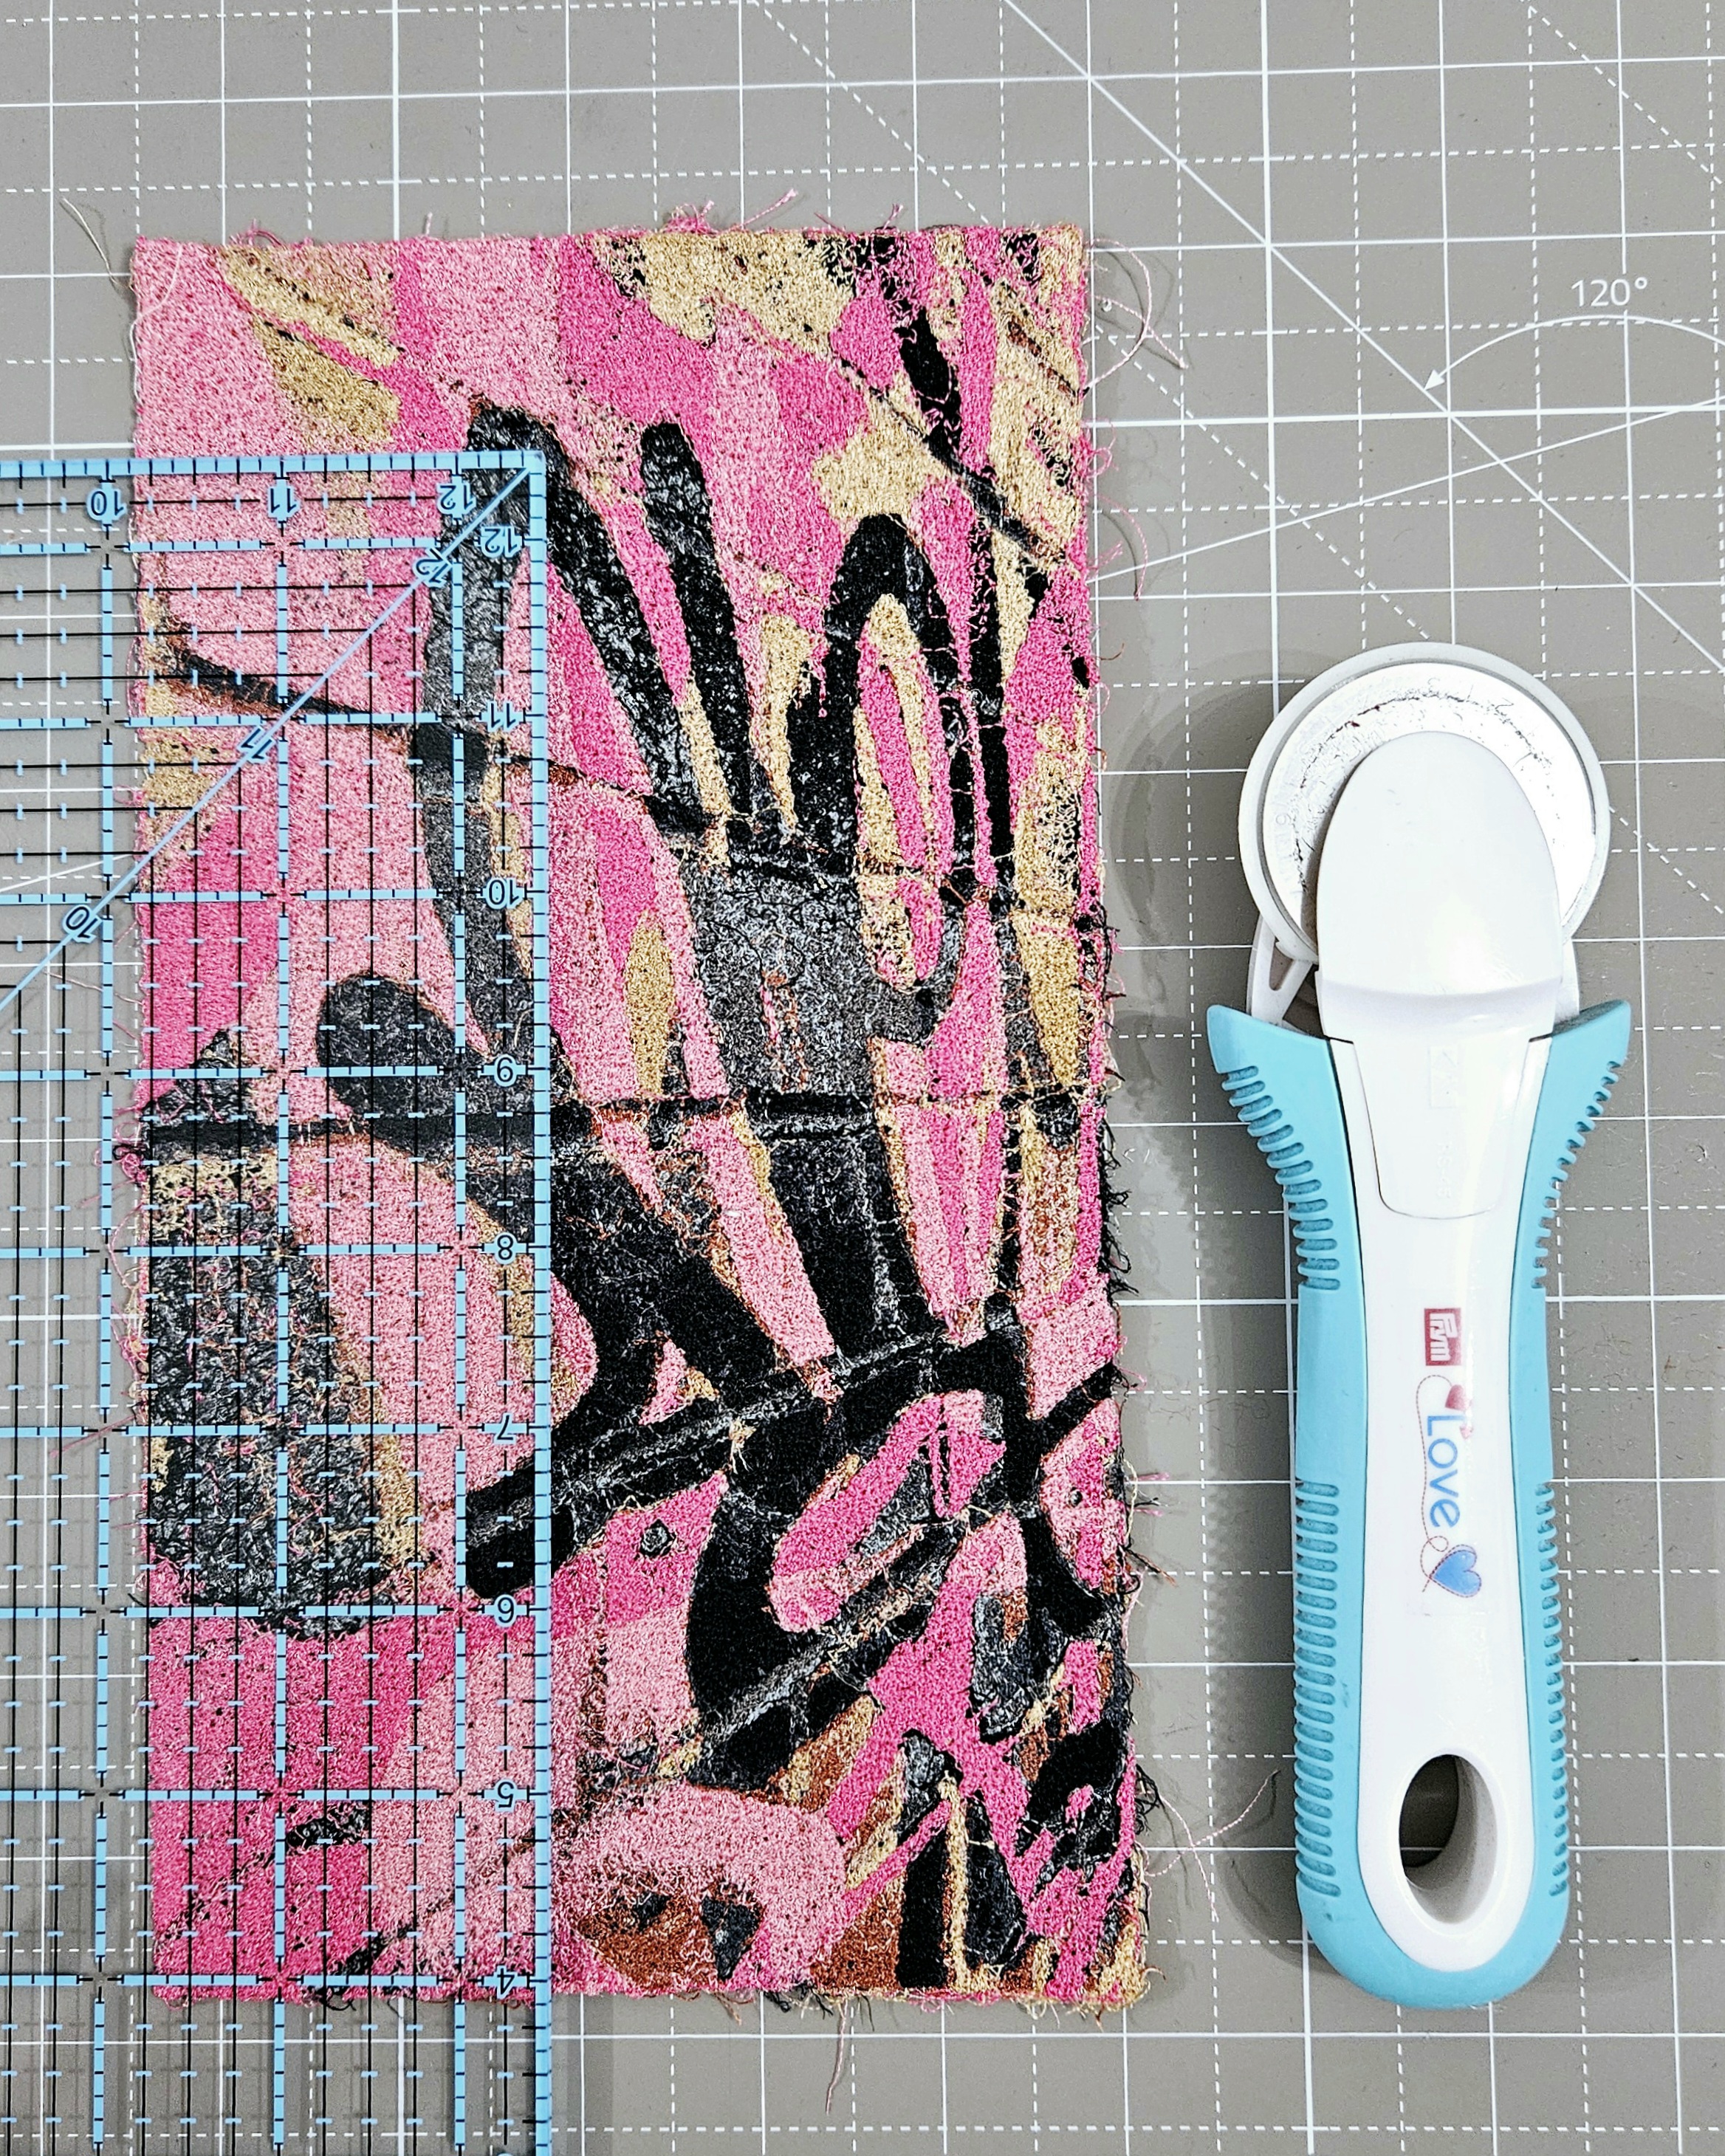
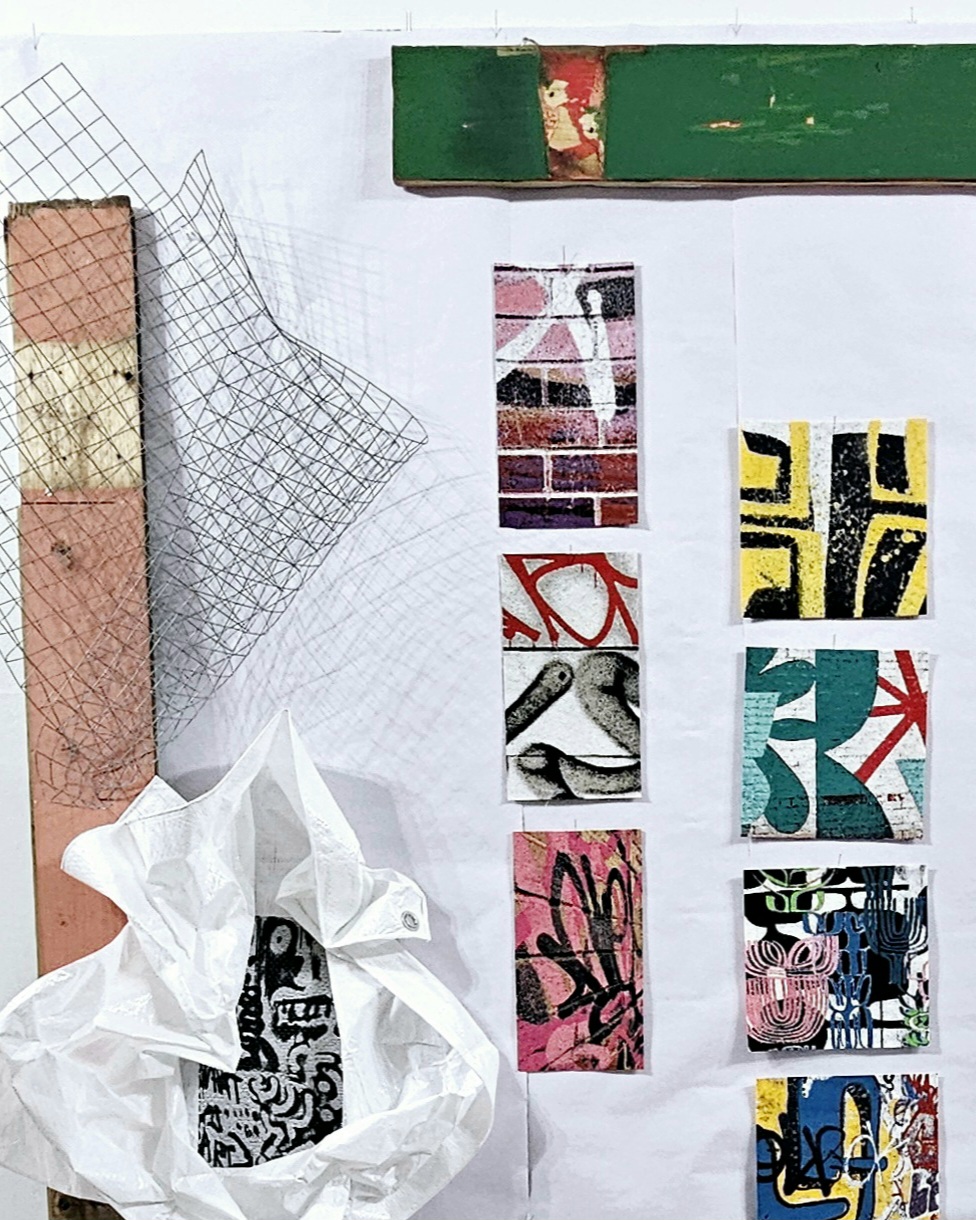
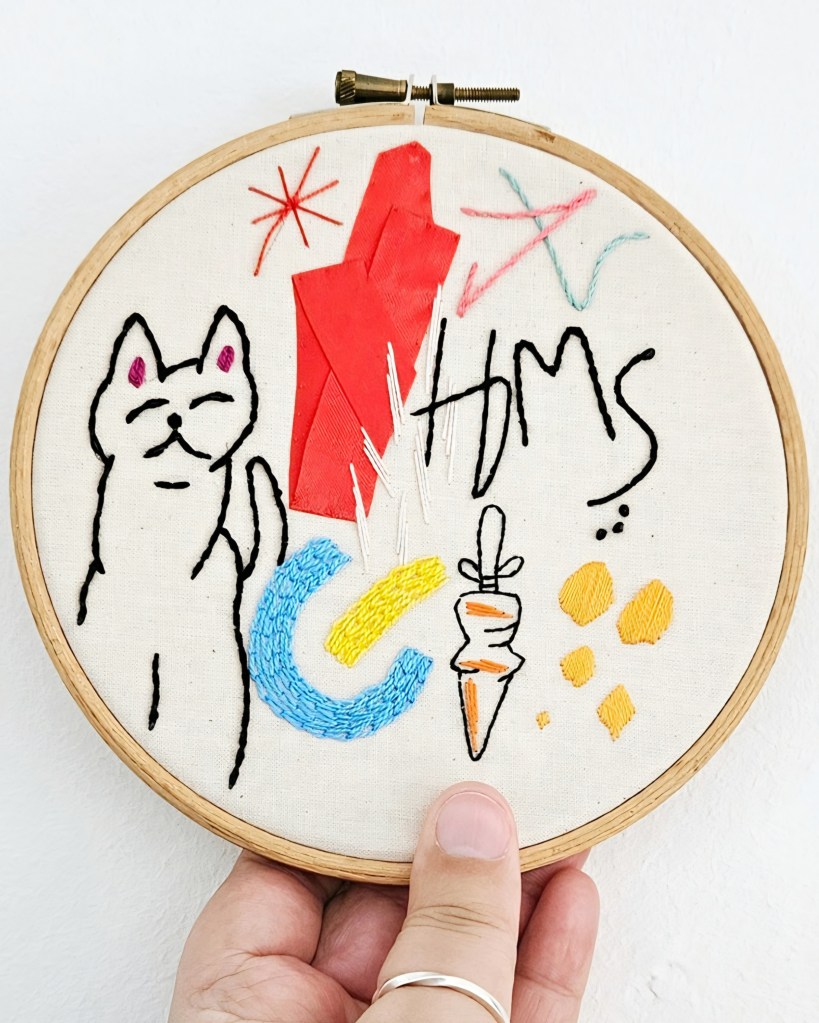
The centre image is a sample from a hand embroidered graffiti sample from a workshop in 2024. This combined a range of hand embroidery stitches to give different textures and styles. Each stitch is done in a Number 8 cotton perle thread. I used satin stitch, which I’m not great at as a filing stitch but I also chose to use chain stitch to fill two areas of the design.
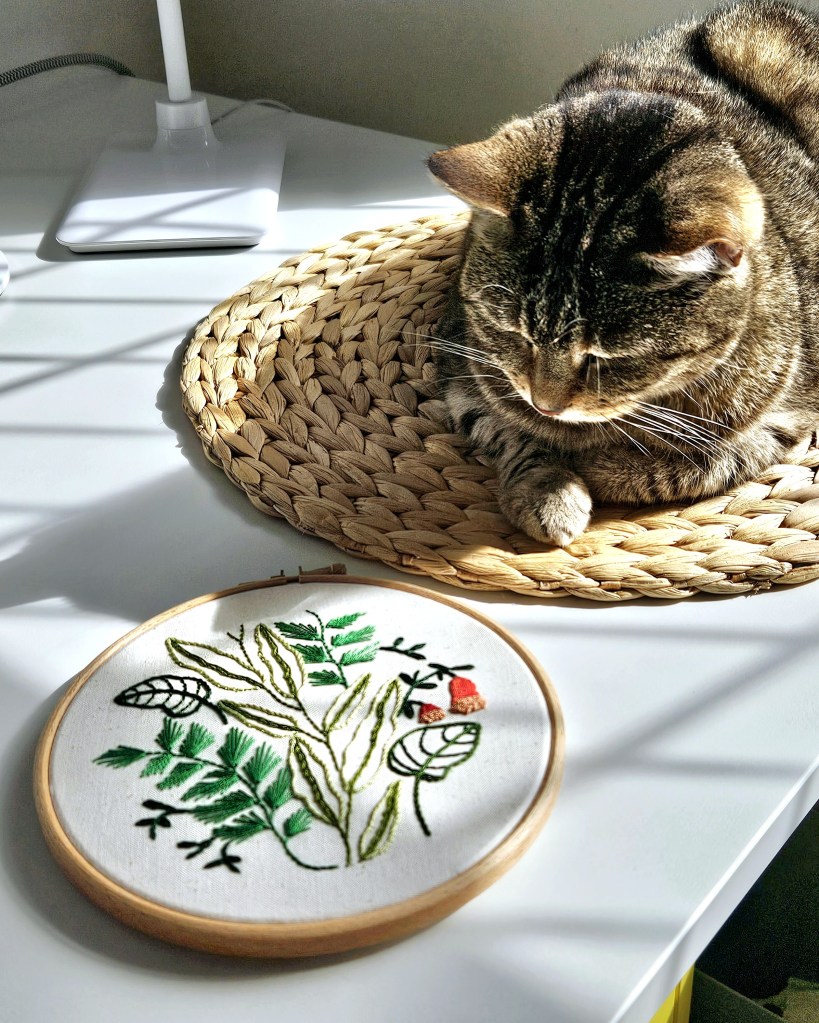
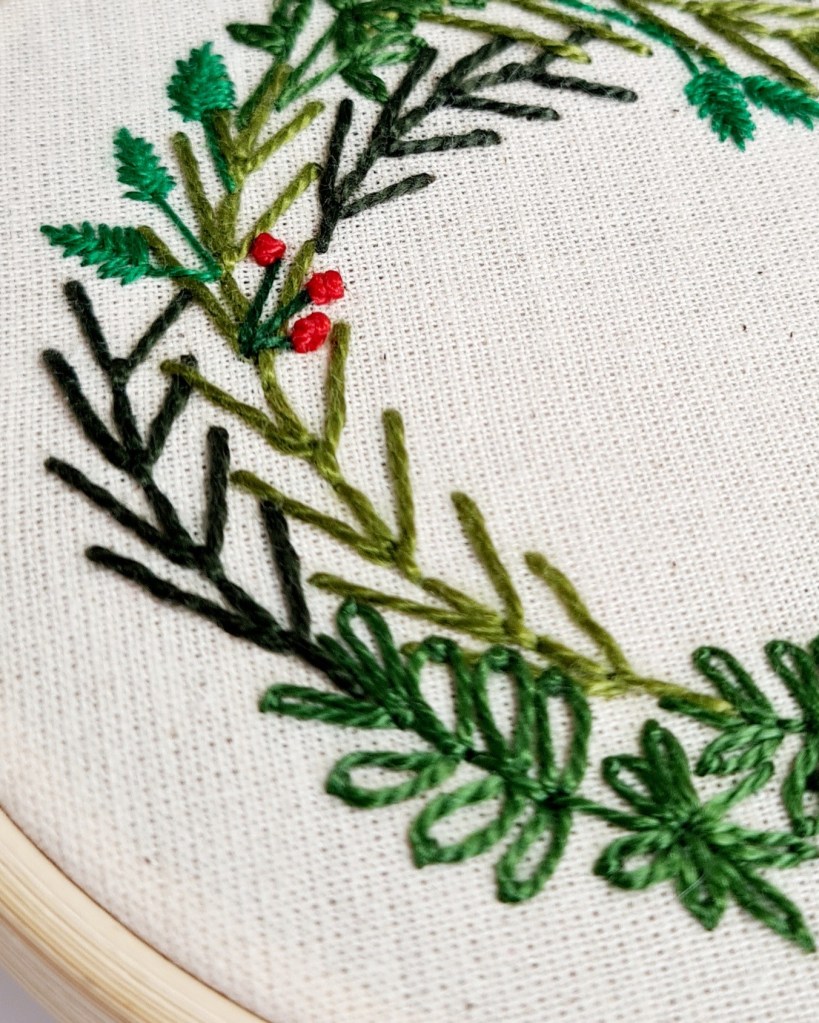
The image on the right is also a mixture of embroidery stitches, detached chain stitch is combined with back stitch to make leaves. Fly stitch has been used to create twigs and berries are tiny French knots. This design also brings in straight stitches, this is where I just just straight lines to build up a shape like a leaf.
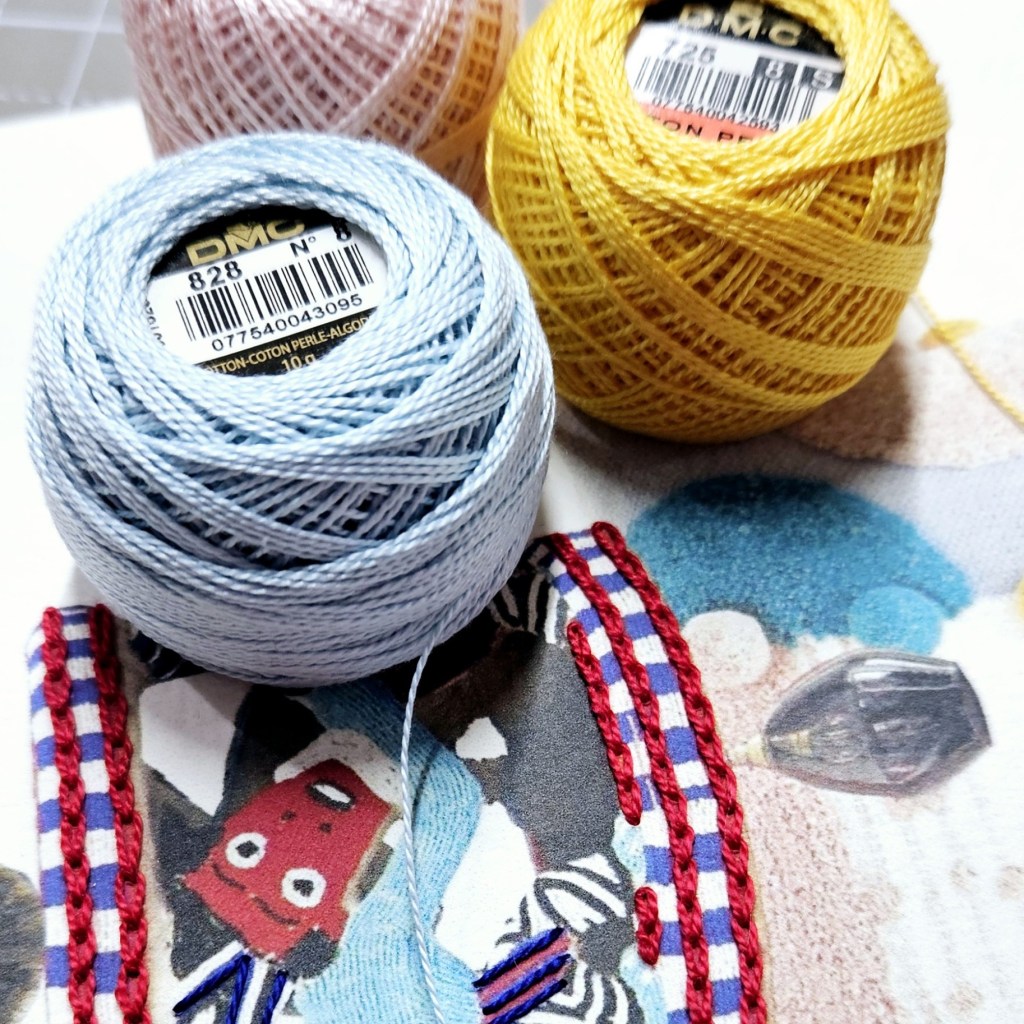
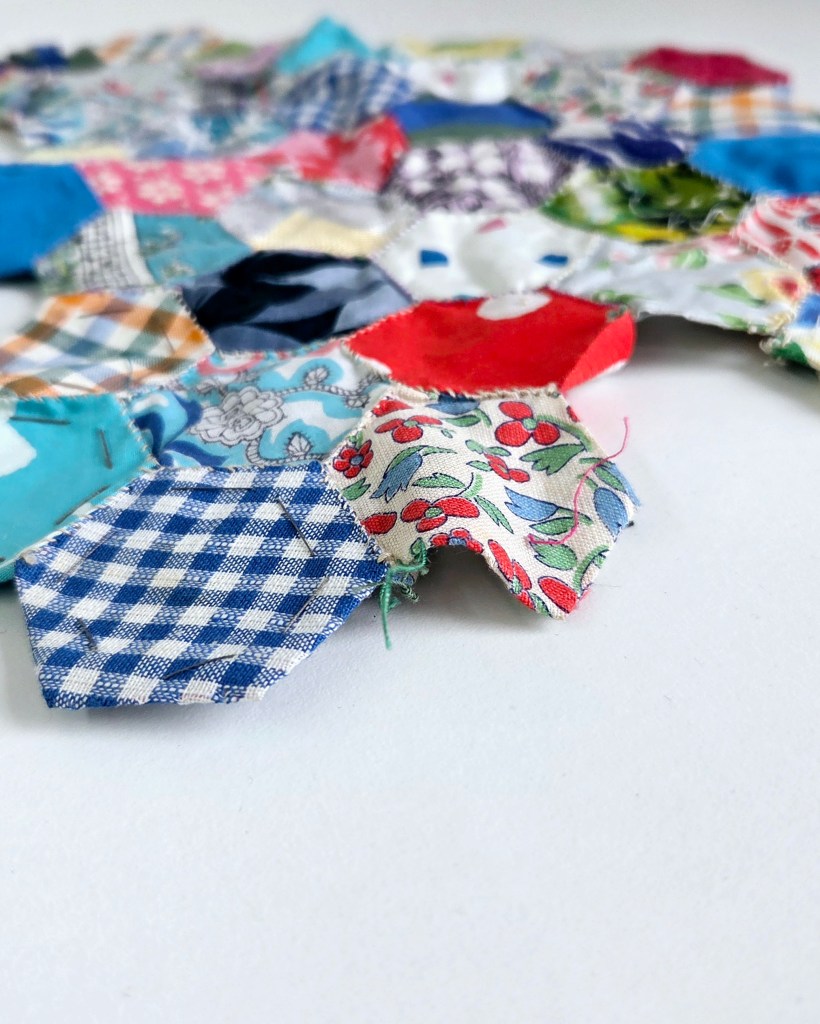
Once you have learned the basics of these stitches you can start to experiment with different ways of using them. One of the techniques I recommend putting a piece of patterned fabric in an embroidery hoop. Use different stitches to trace the lines like back stitch or stem stitch, then fill the shapes with different stitches like satin stitch or French knots.
Remember to be bold and be ready to make pieces that you don’t love as you will also learn something from them.