Who are you and what do you do?
I’m Hayley, a textile artist and embroidery tutor living in Scarborough, North Yorkshire.
Explain what you do in less than 100 words…
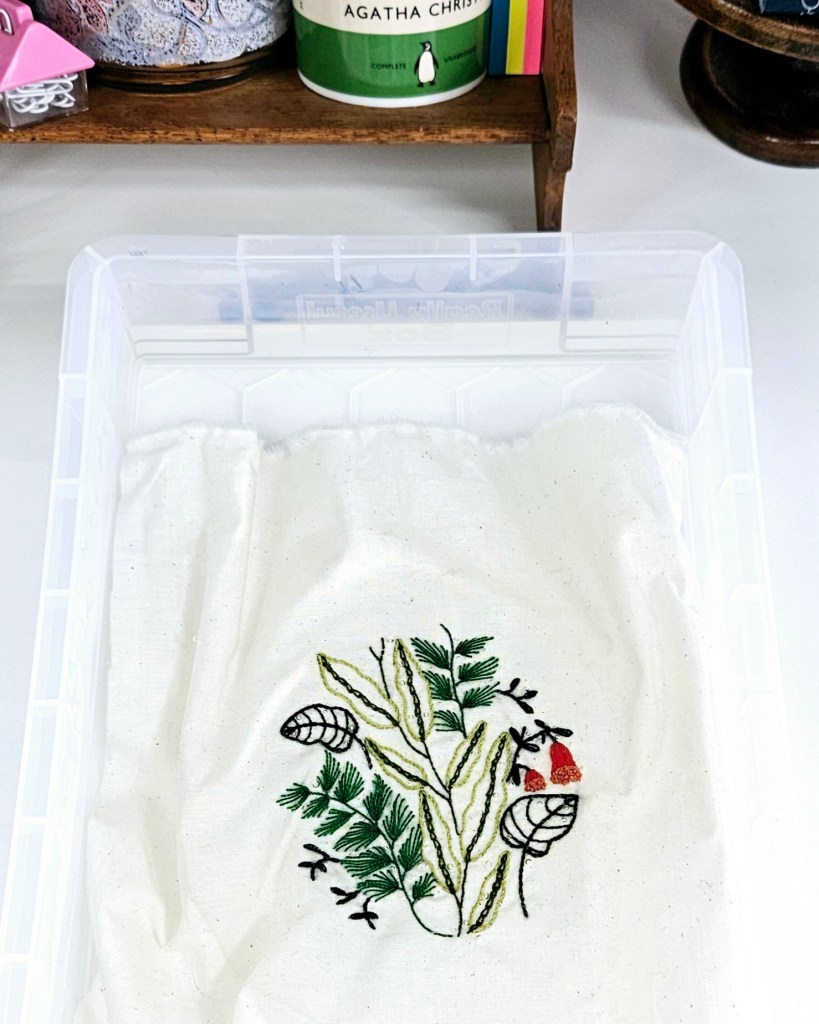
I create artwork for exhibitions and private commissions and run socially engaged projects across Yorkshire. In 2025, I set up a community called Thread Collective with fellow embroiderer Rowan Bridgwood. We are going to run workshops and textile craft socials in Scarborough, Leeds, Manchester and Hebden Bridge.
I often work with other creative practitioners on community projects and installations, sharing my passion for textiles and embroidery. I love travelling around Yorkshire with my trolley full of creativity.
Why do you do what you do?
I’ve always loved being creative and even at primary school I wanted to be an artist. I’m an accidental tutor and I started sharing my skills as a WI member over 15 years ago. I love helping people realise their creative potential and learn new skills. Being an artist allows me to share stories with people using fabric and thread.
How has your practice changed over time?
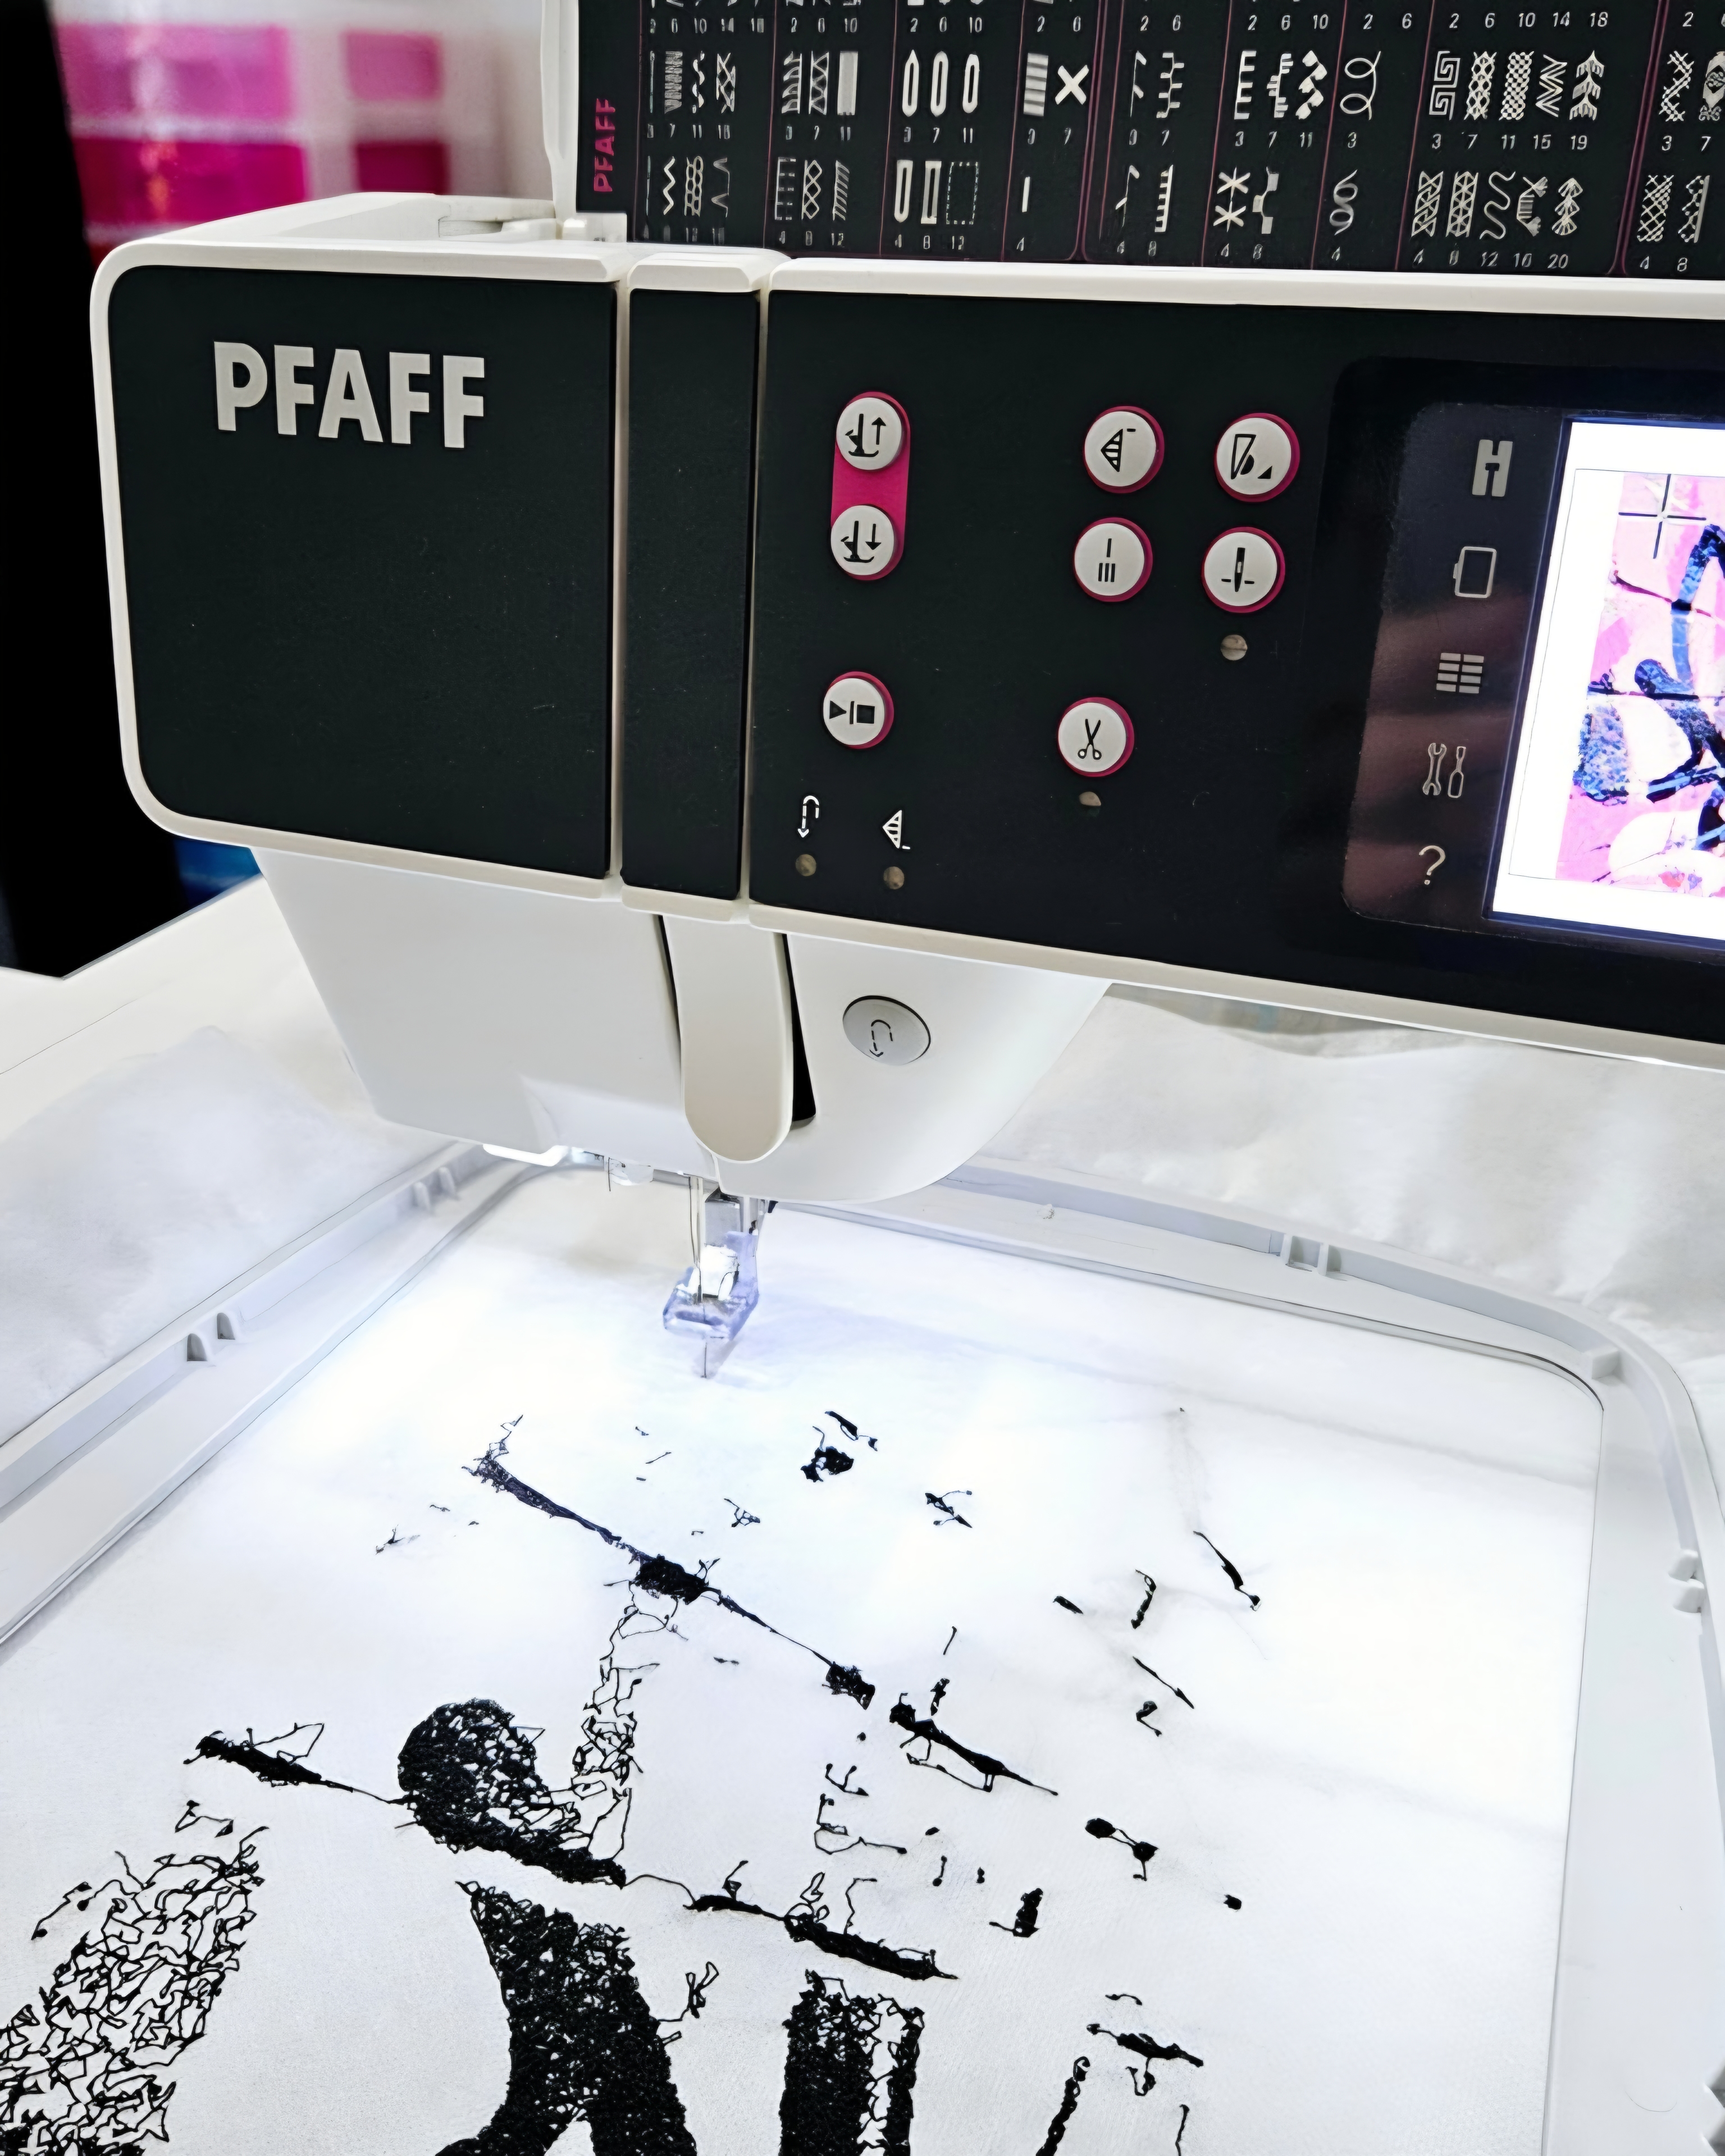
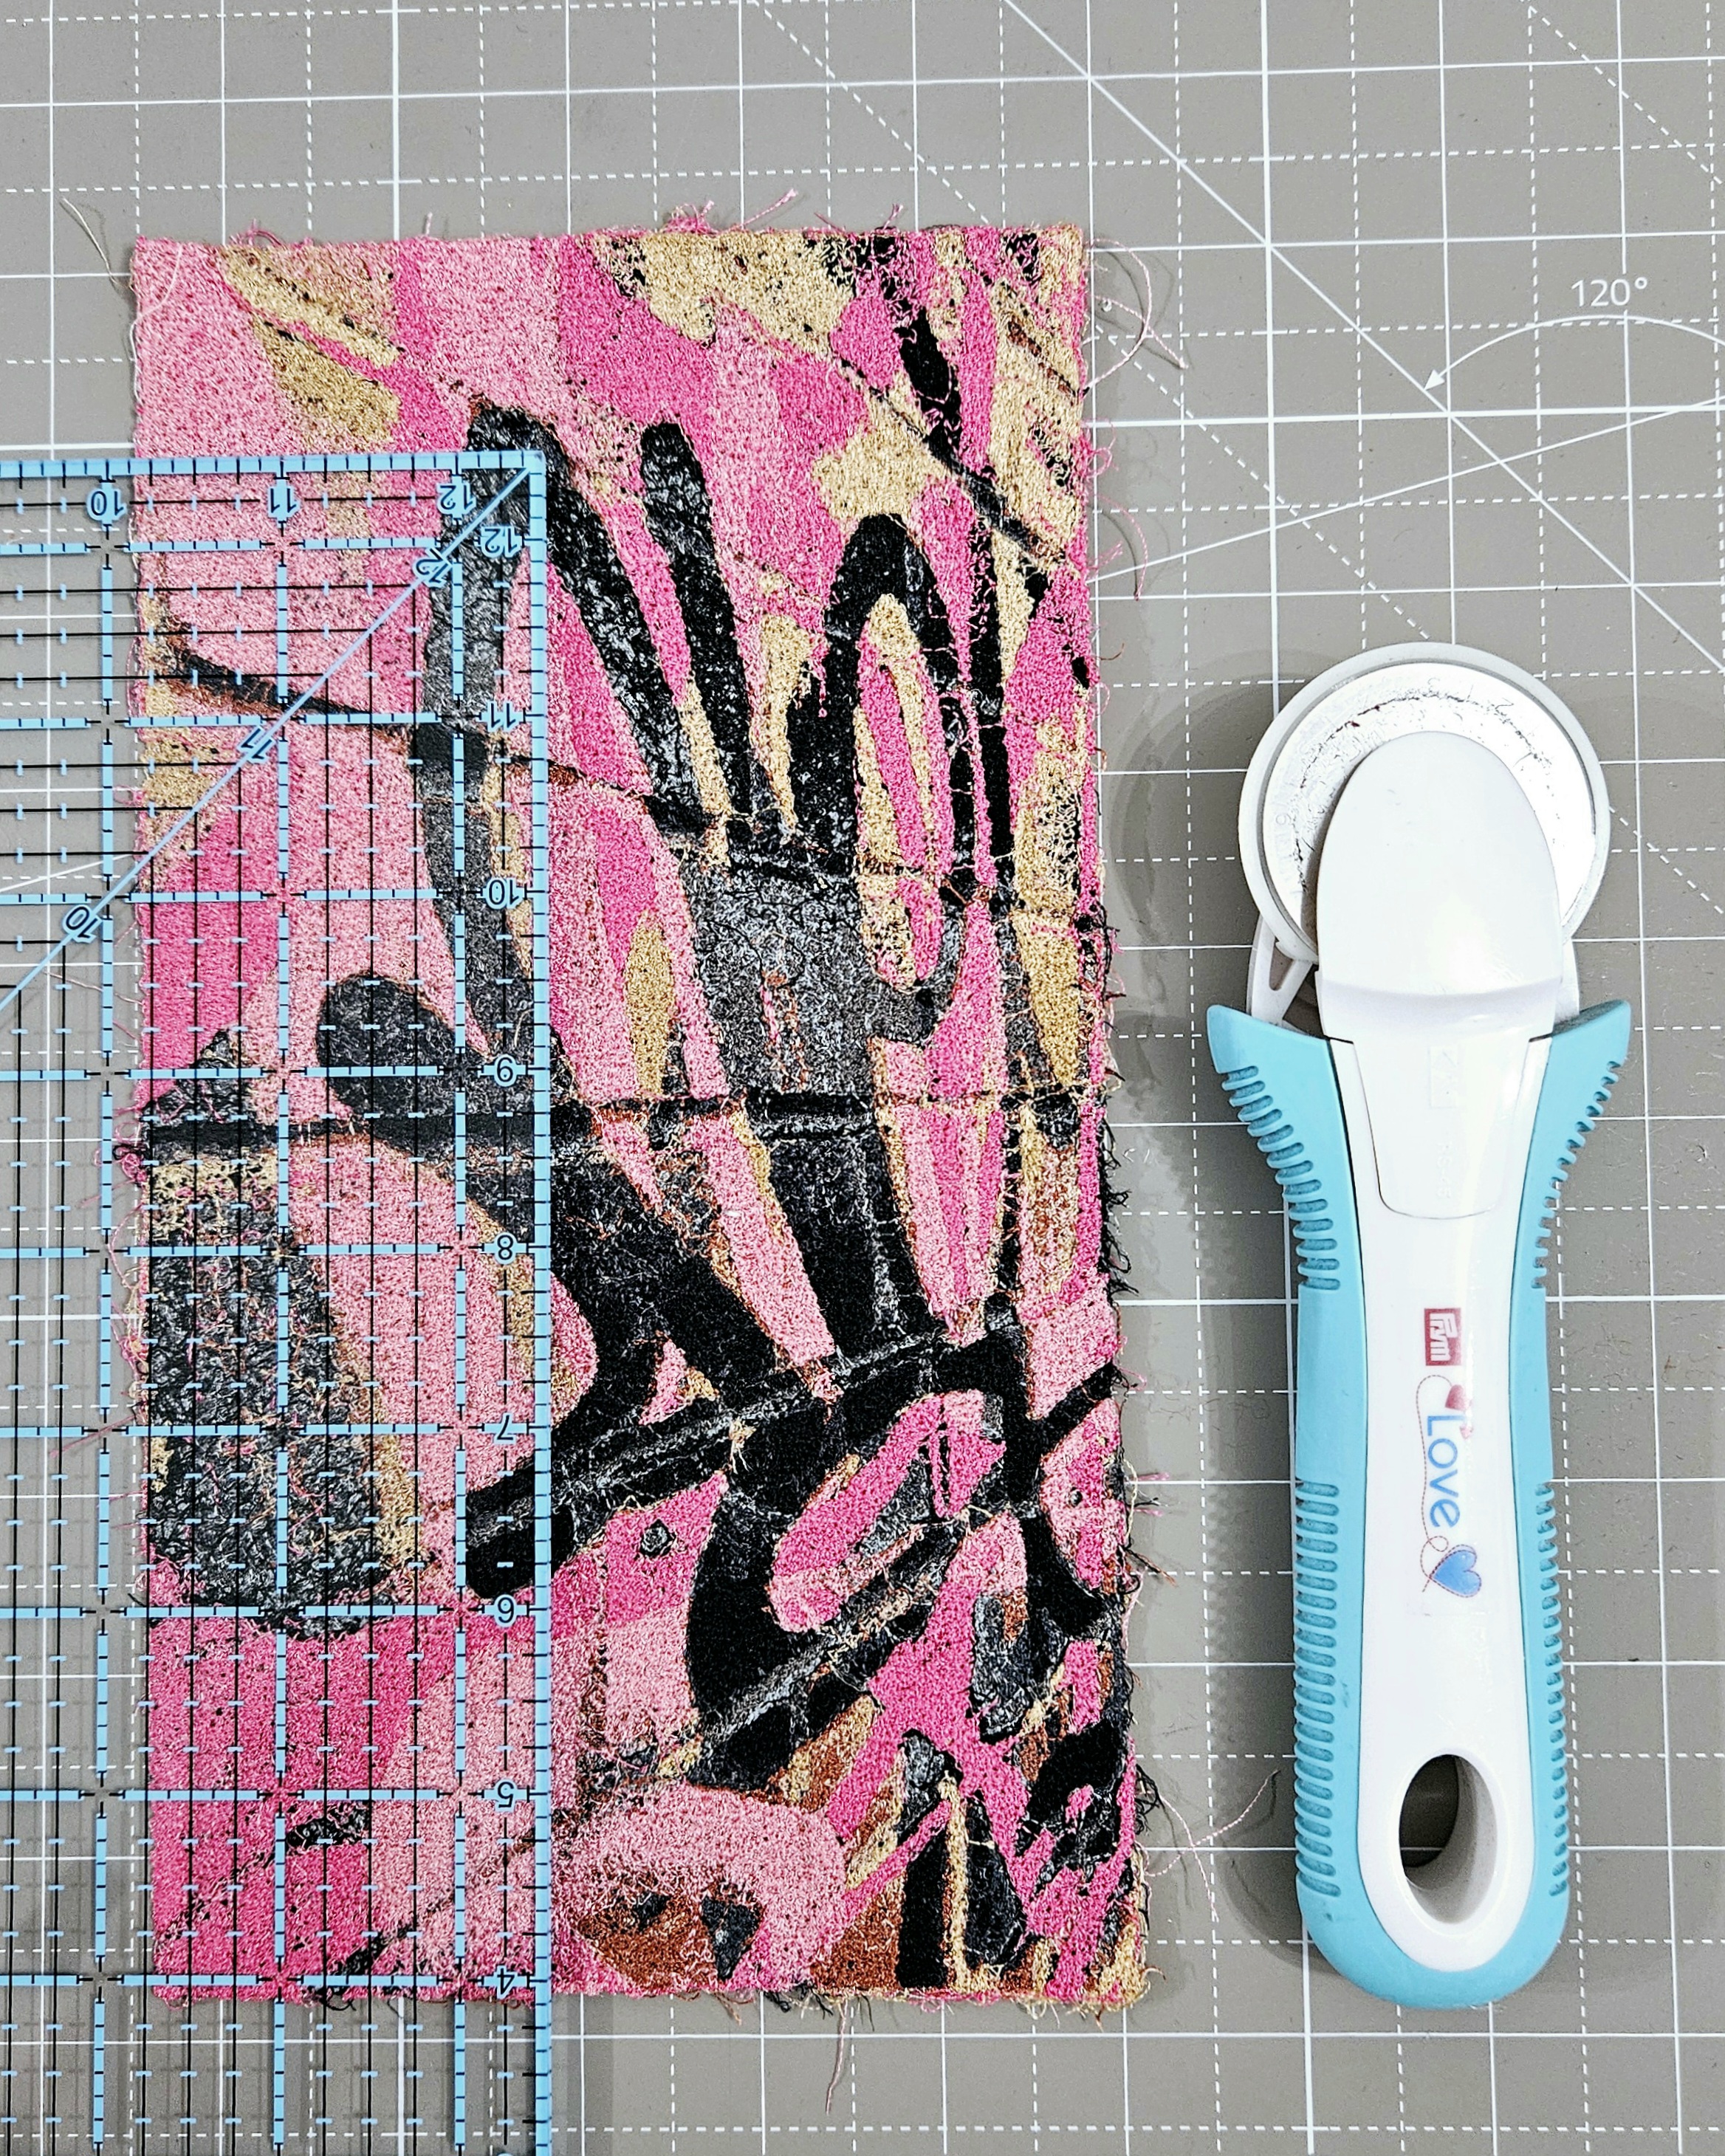
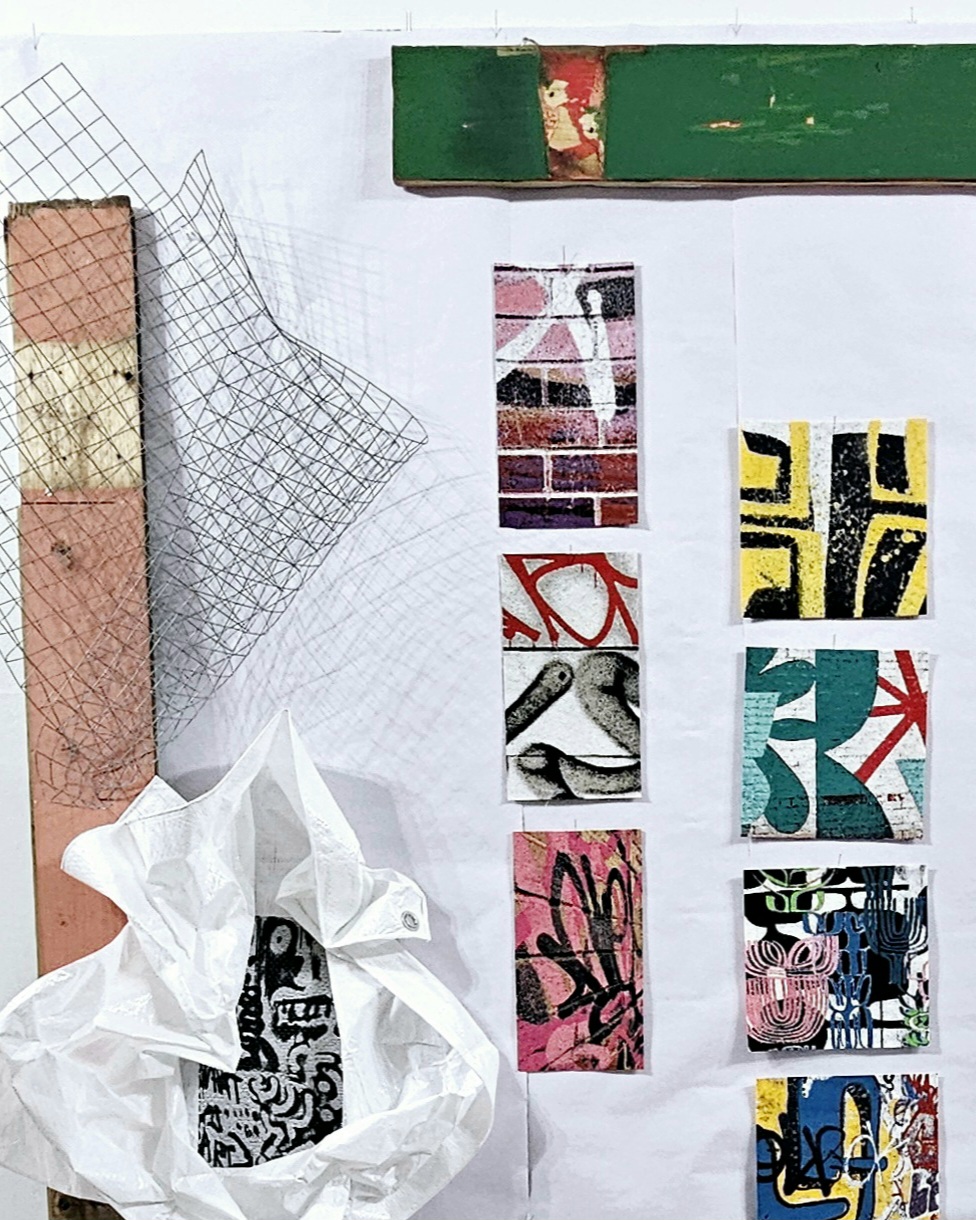
The work I make has definitely changed over time. Before my MA in textiles, everything was hand embroidered. During my time at Manchester School of Art I learned how to work with digital embroidery. This has changed how I translate my inspiration into finished pieces of work.
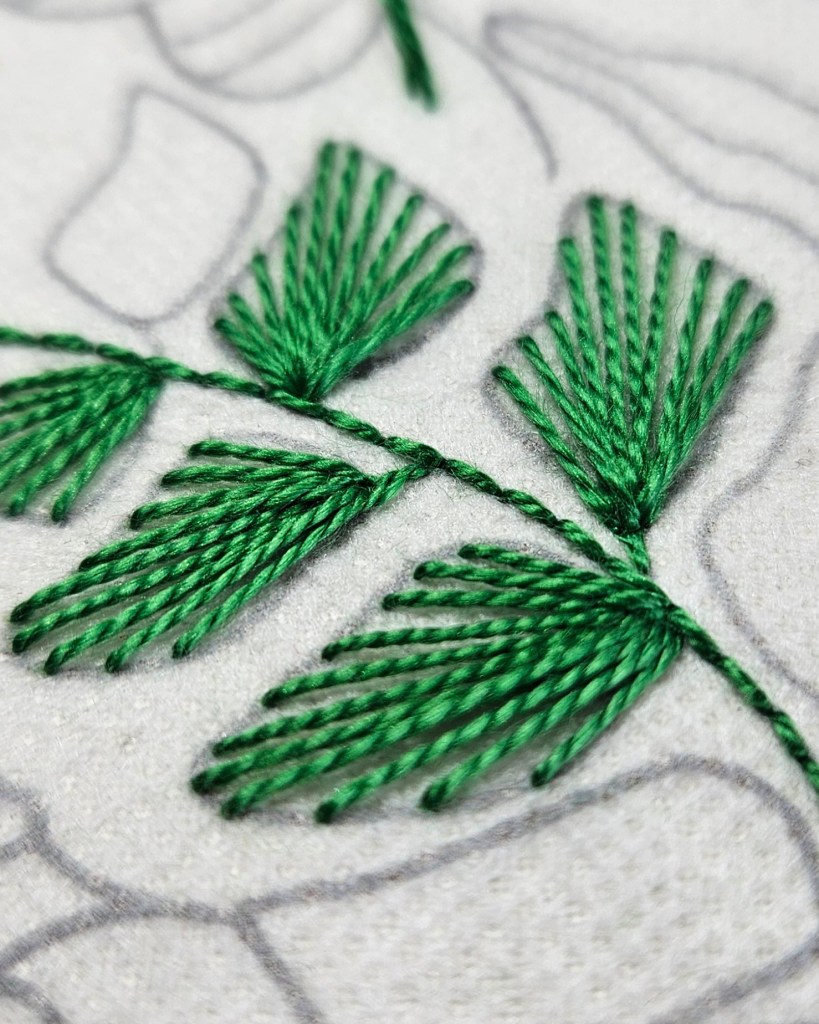
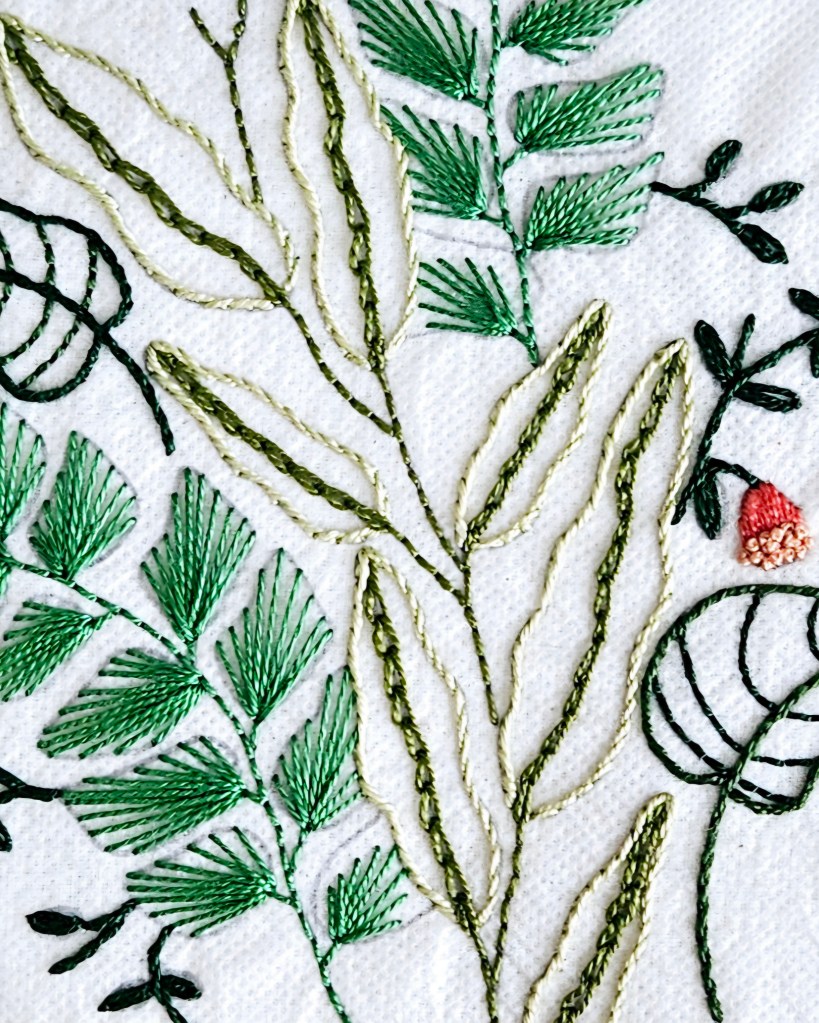
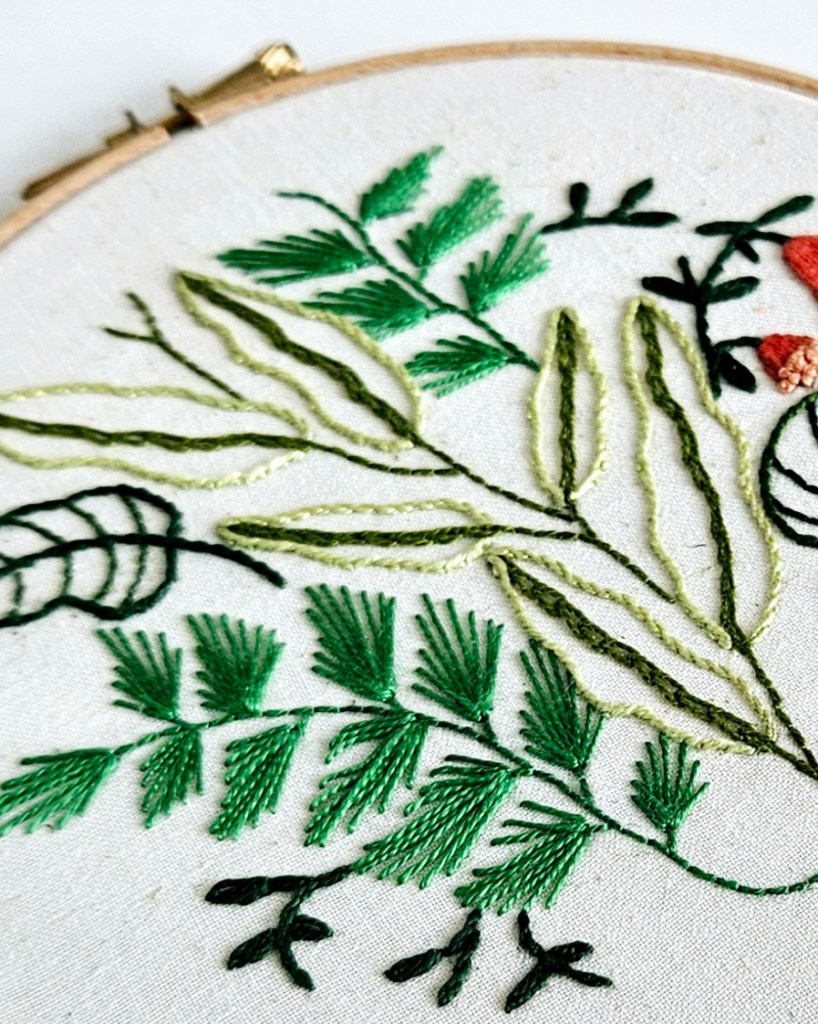
In 2025, I began trying new hand embroidery styles and techniques which is really exciting. It’s also expanded my colour palette, working on very bold pieces each week.
What work do you most enjoy doing?
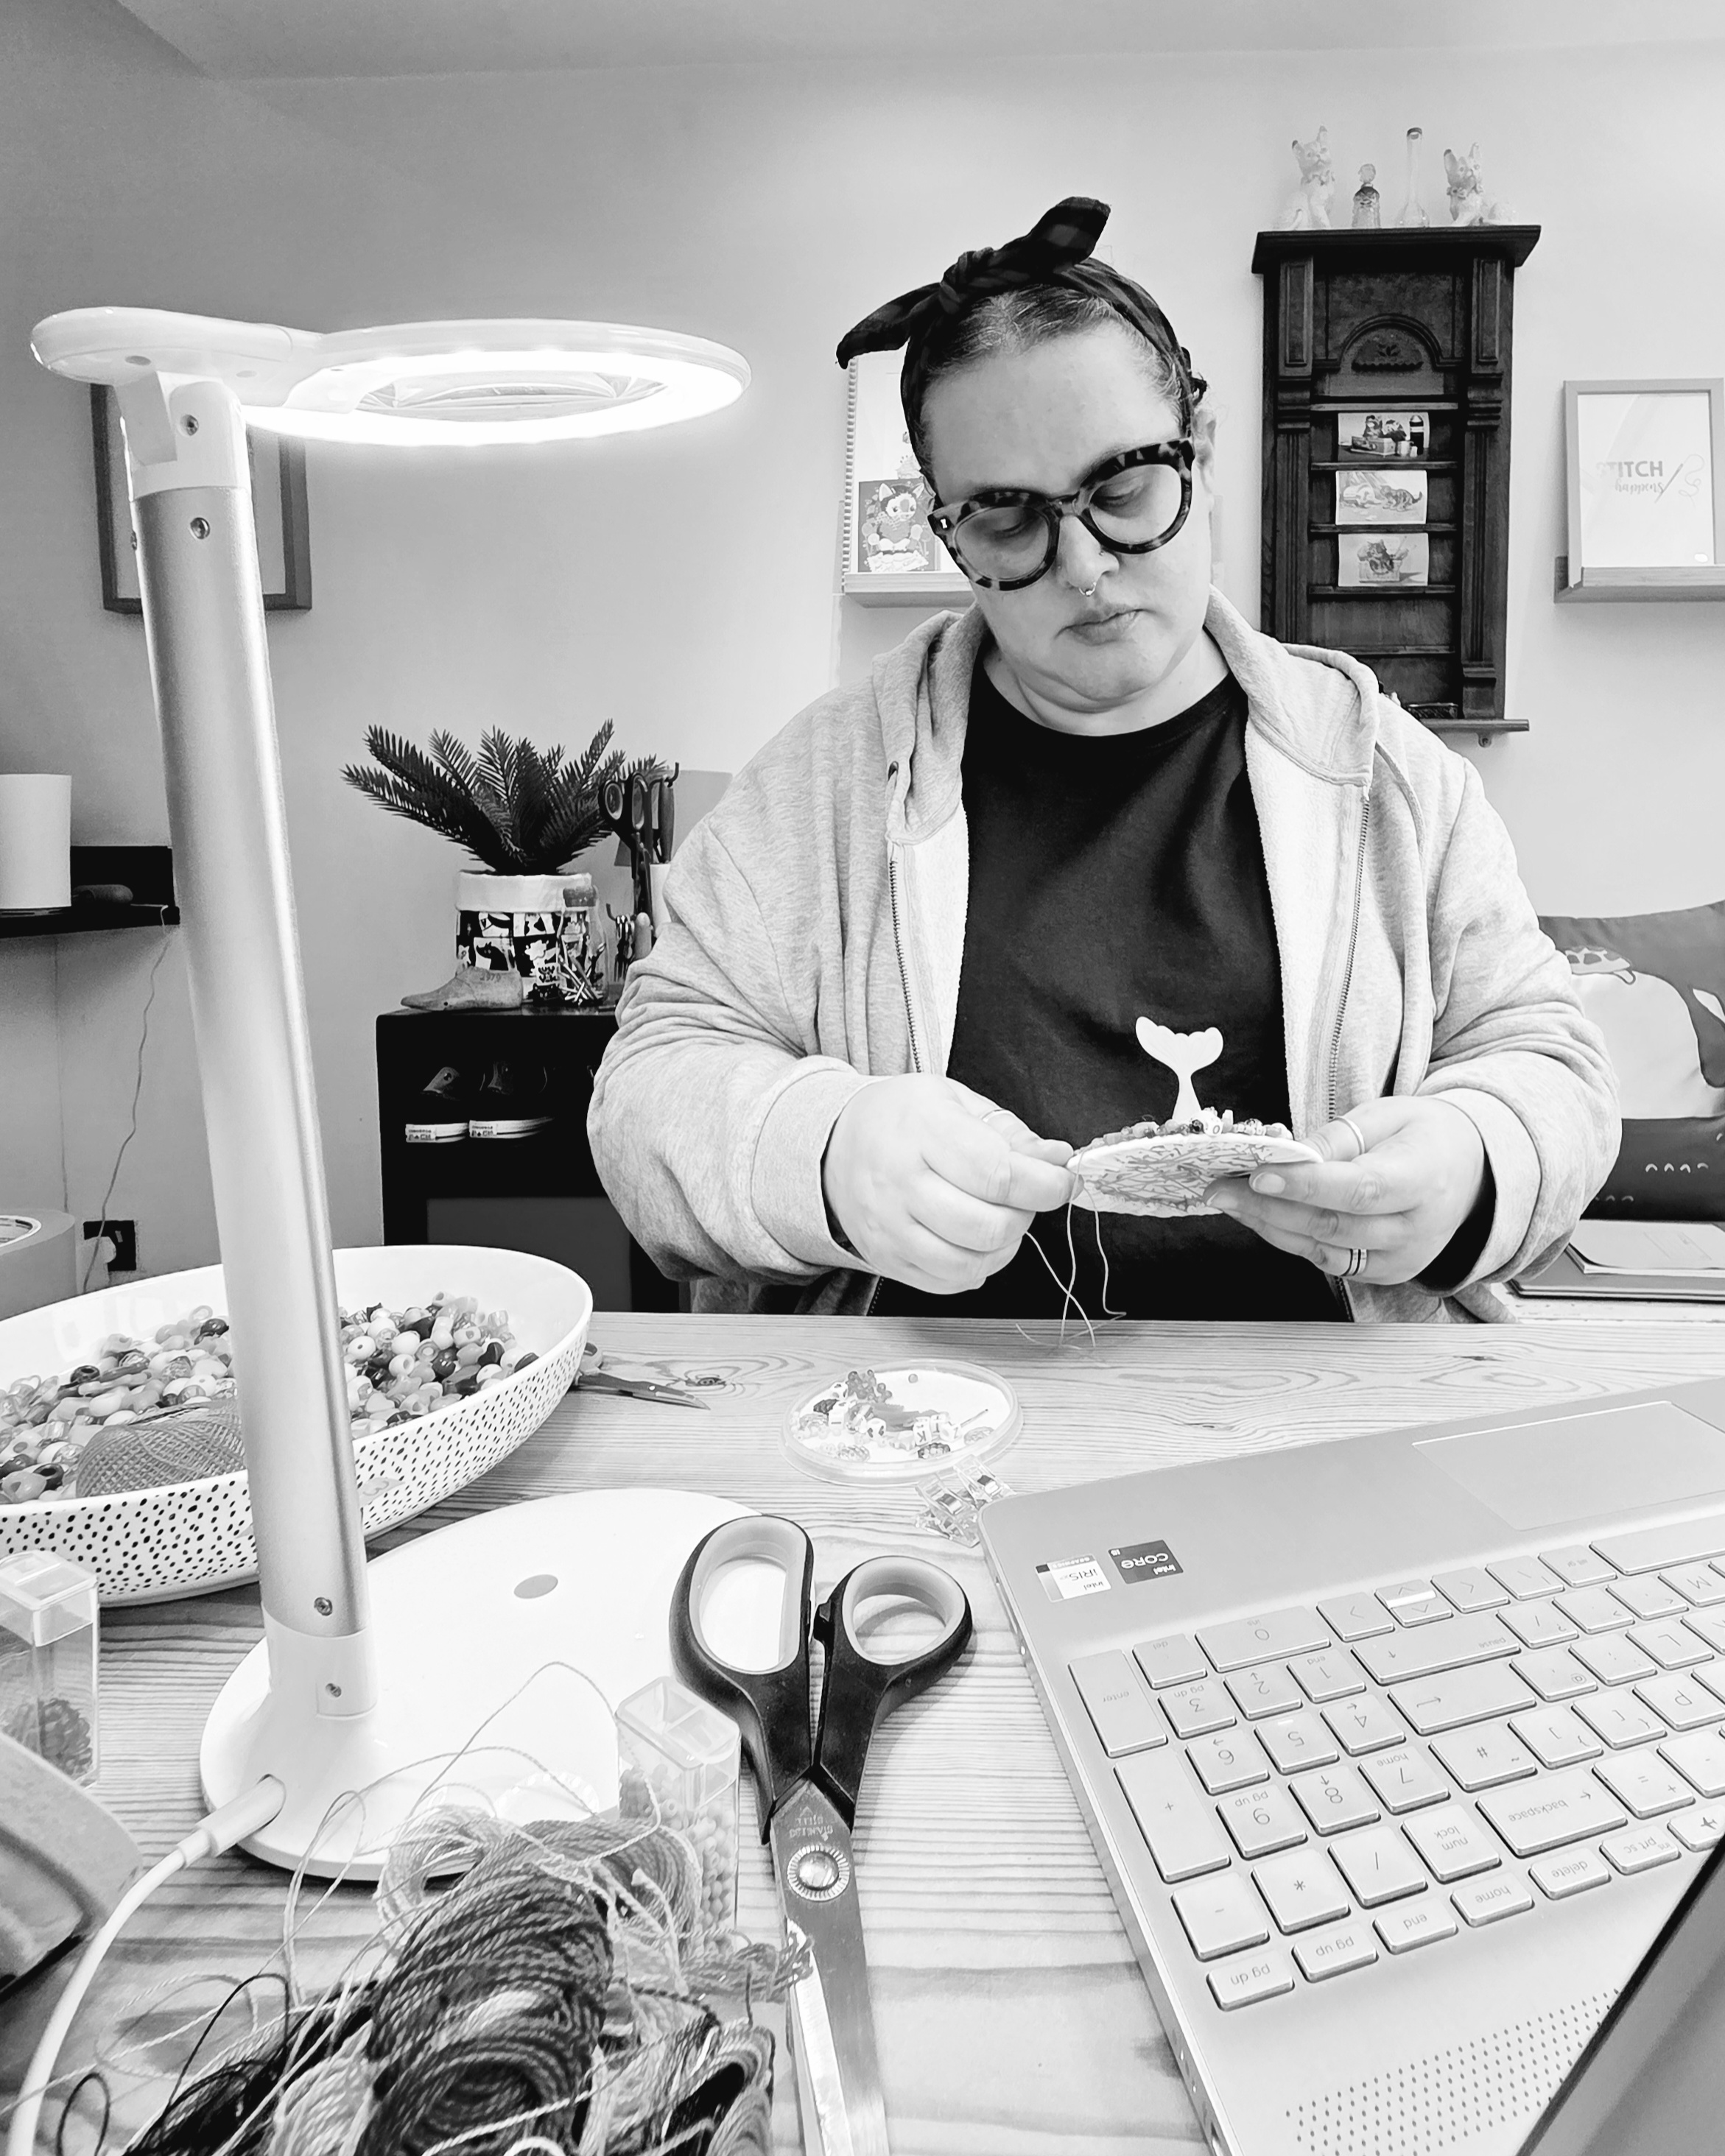
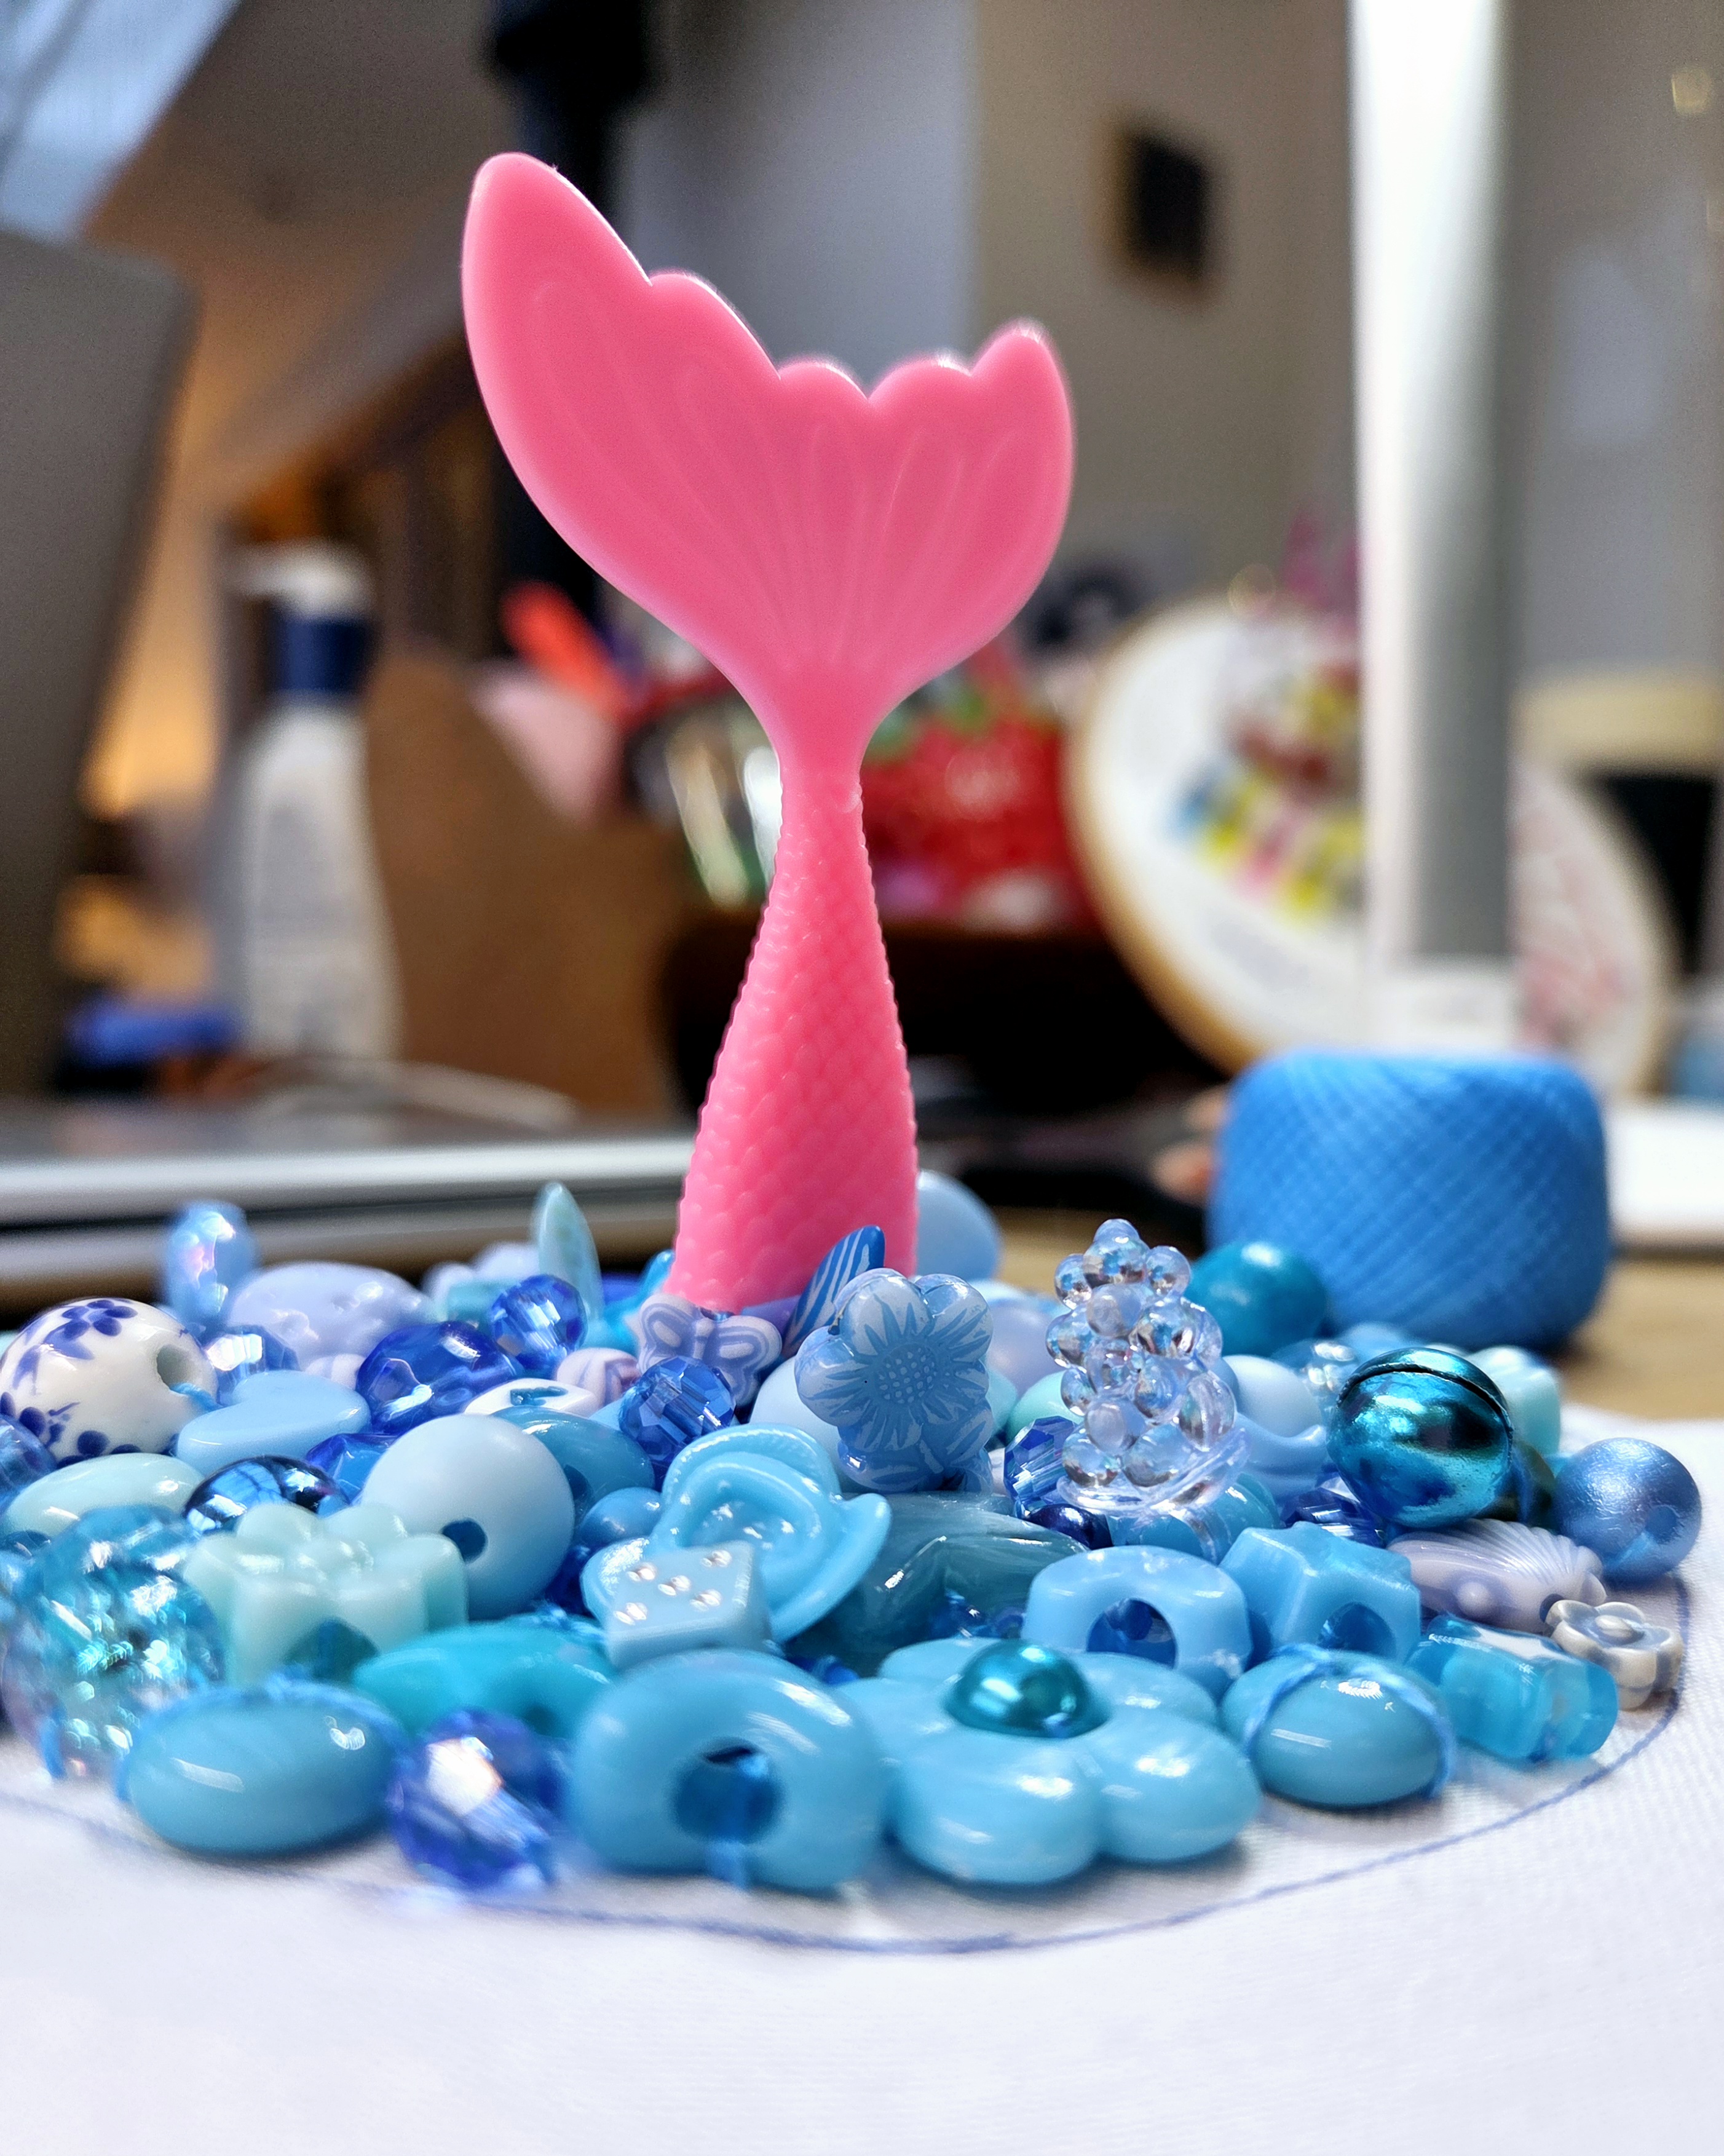
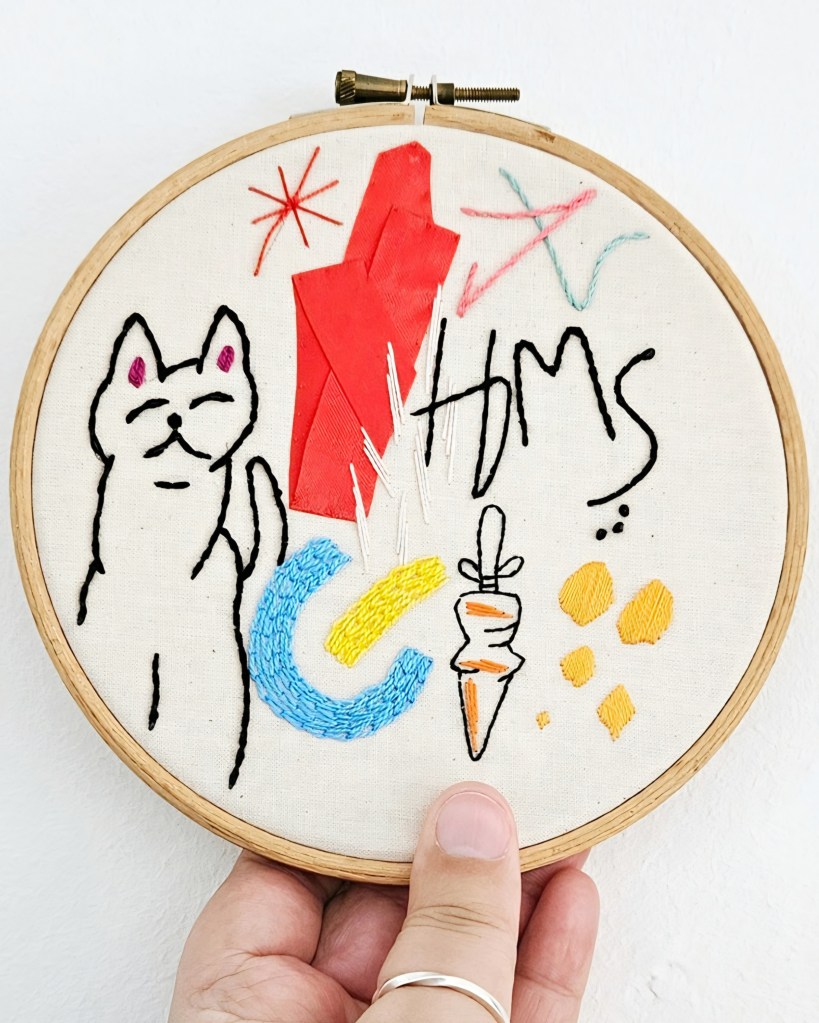
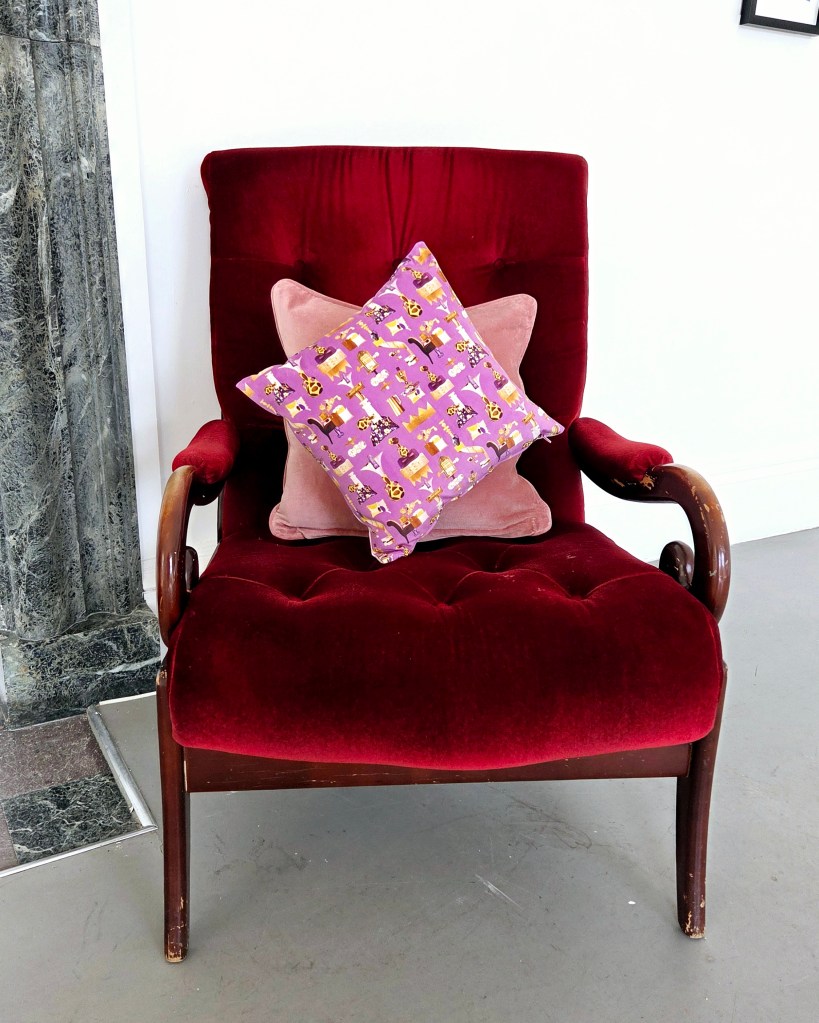
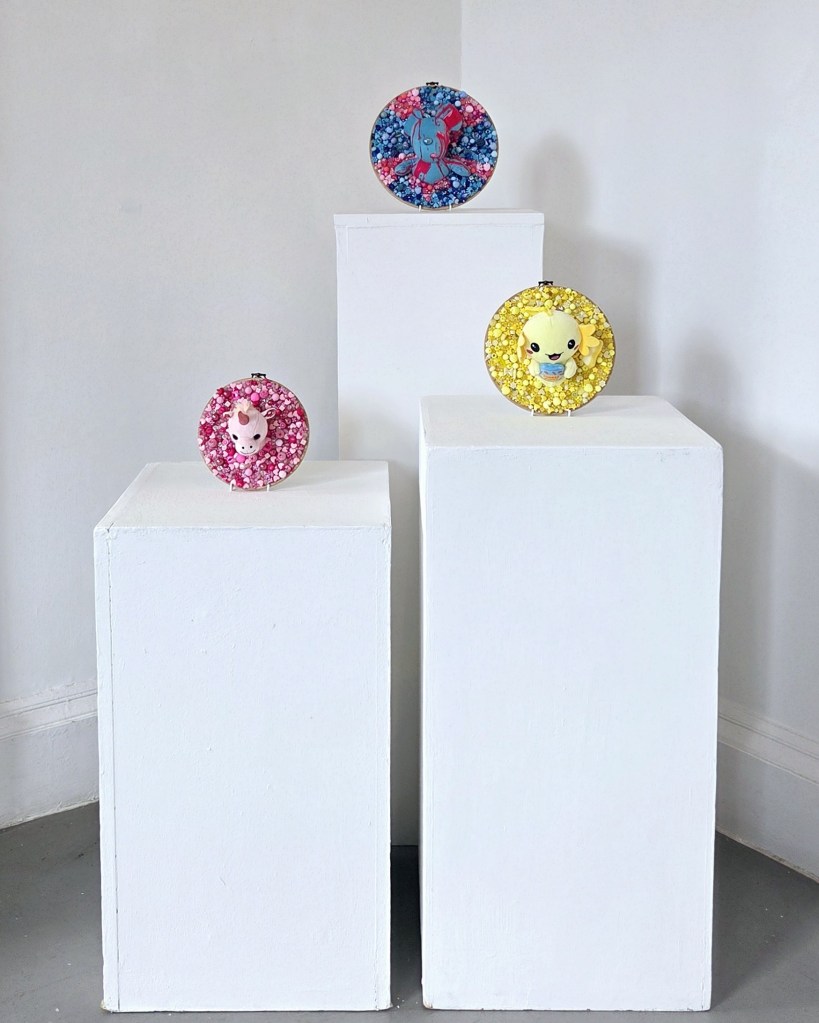
I love creating assemblages and incorporating lots of different materials and techniques to create artwork. During my BA, I was an installation artist and I created larger scale pieces that used my own work and found objects. I love how 3D embroidery can be.
What themes do you use in your work?
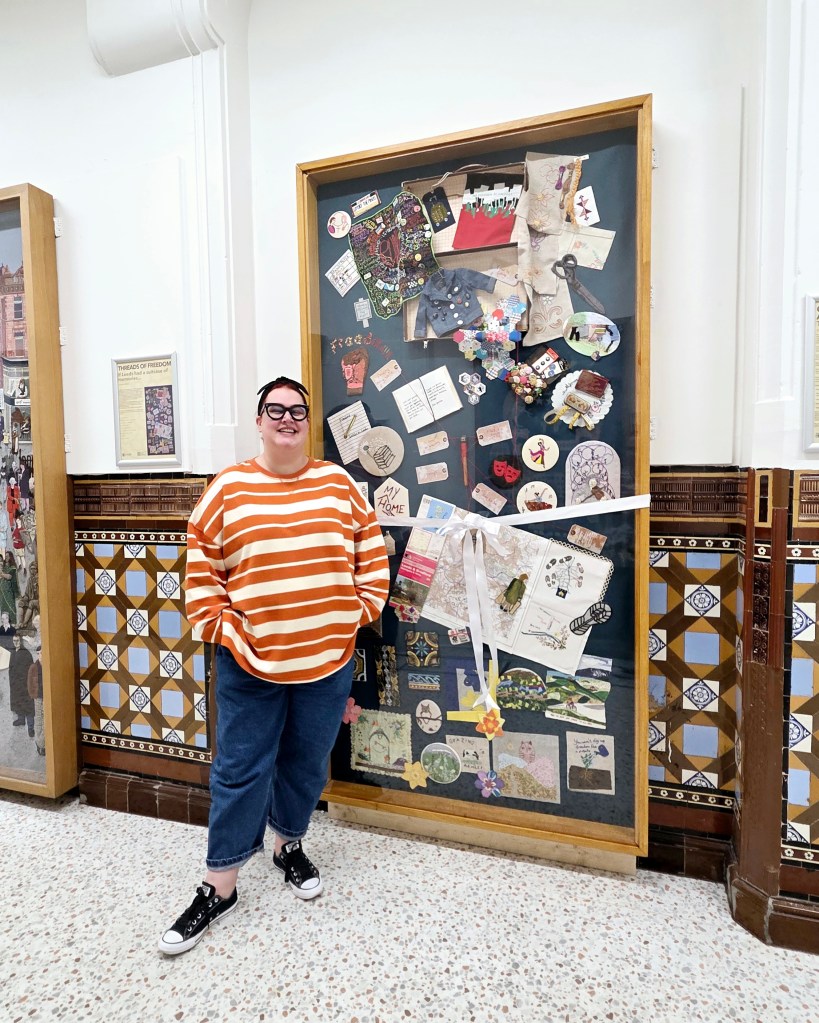
I explore themes like personal memories, mental health and heritage in my work. I’ve created pieces about my lived experience of anxiety and OCD. I also respond to museum collections, helping to bring objects to life. I’ve worked with Whitby Museum and The Thackray Museum of Medicine to create exhibitions.
What jobs have you worked in other than being and artist?
I’ve worked in retail and financial services admin prior to being a freelance artist. In December 2025 I’ll be celebrating 13 years of freelance life.
What memorable responses have you had to your work?
I’ve received lots of wonderful messages about my work exploring mental health. People have emailed to say that my work made them realise they aren’t alone in the way they feel. That was particularly touching. I also get emails saying thank you for reminding them of things from their childhood. In my workshops, people thank me for getting them back into embroidery and inspiring them to create new things.
What’s your favourite or most inspirational place?
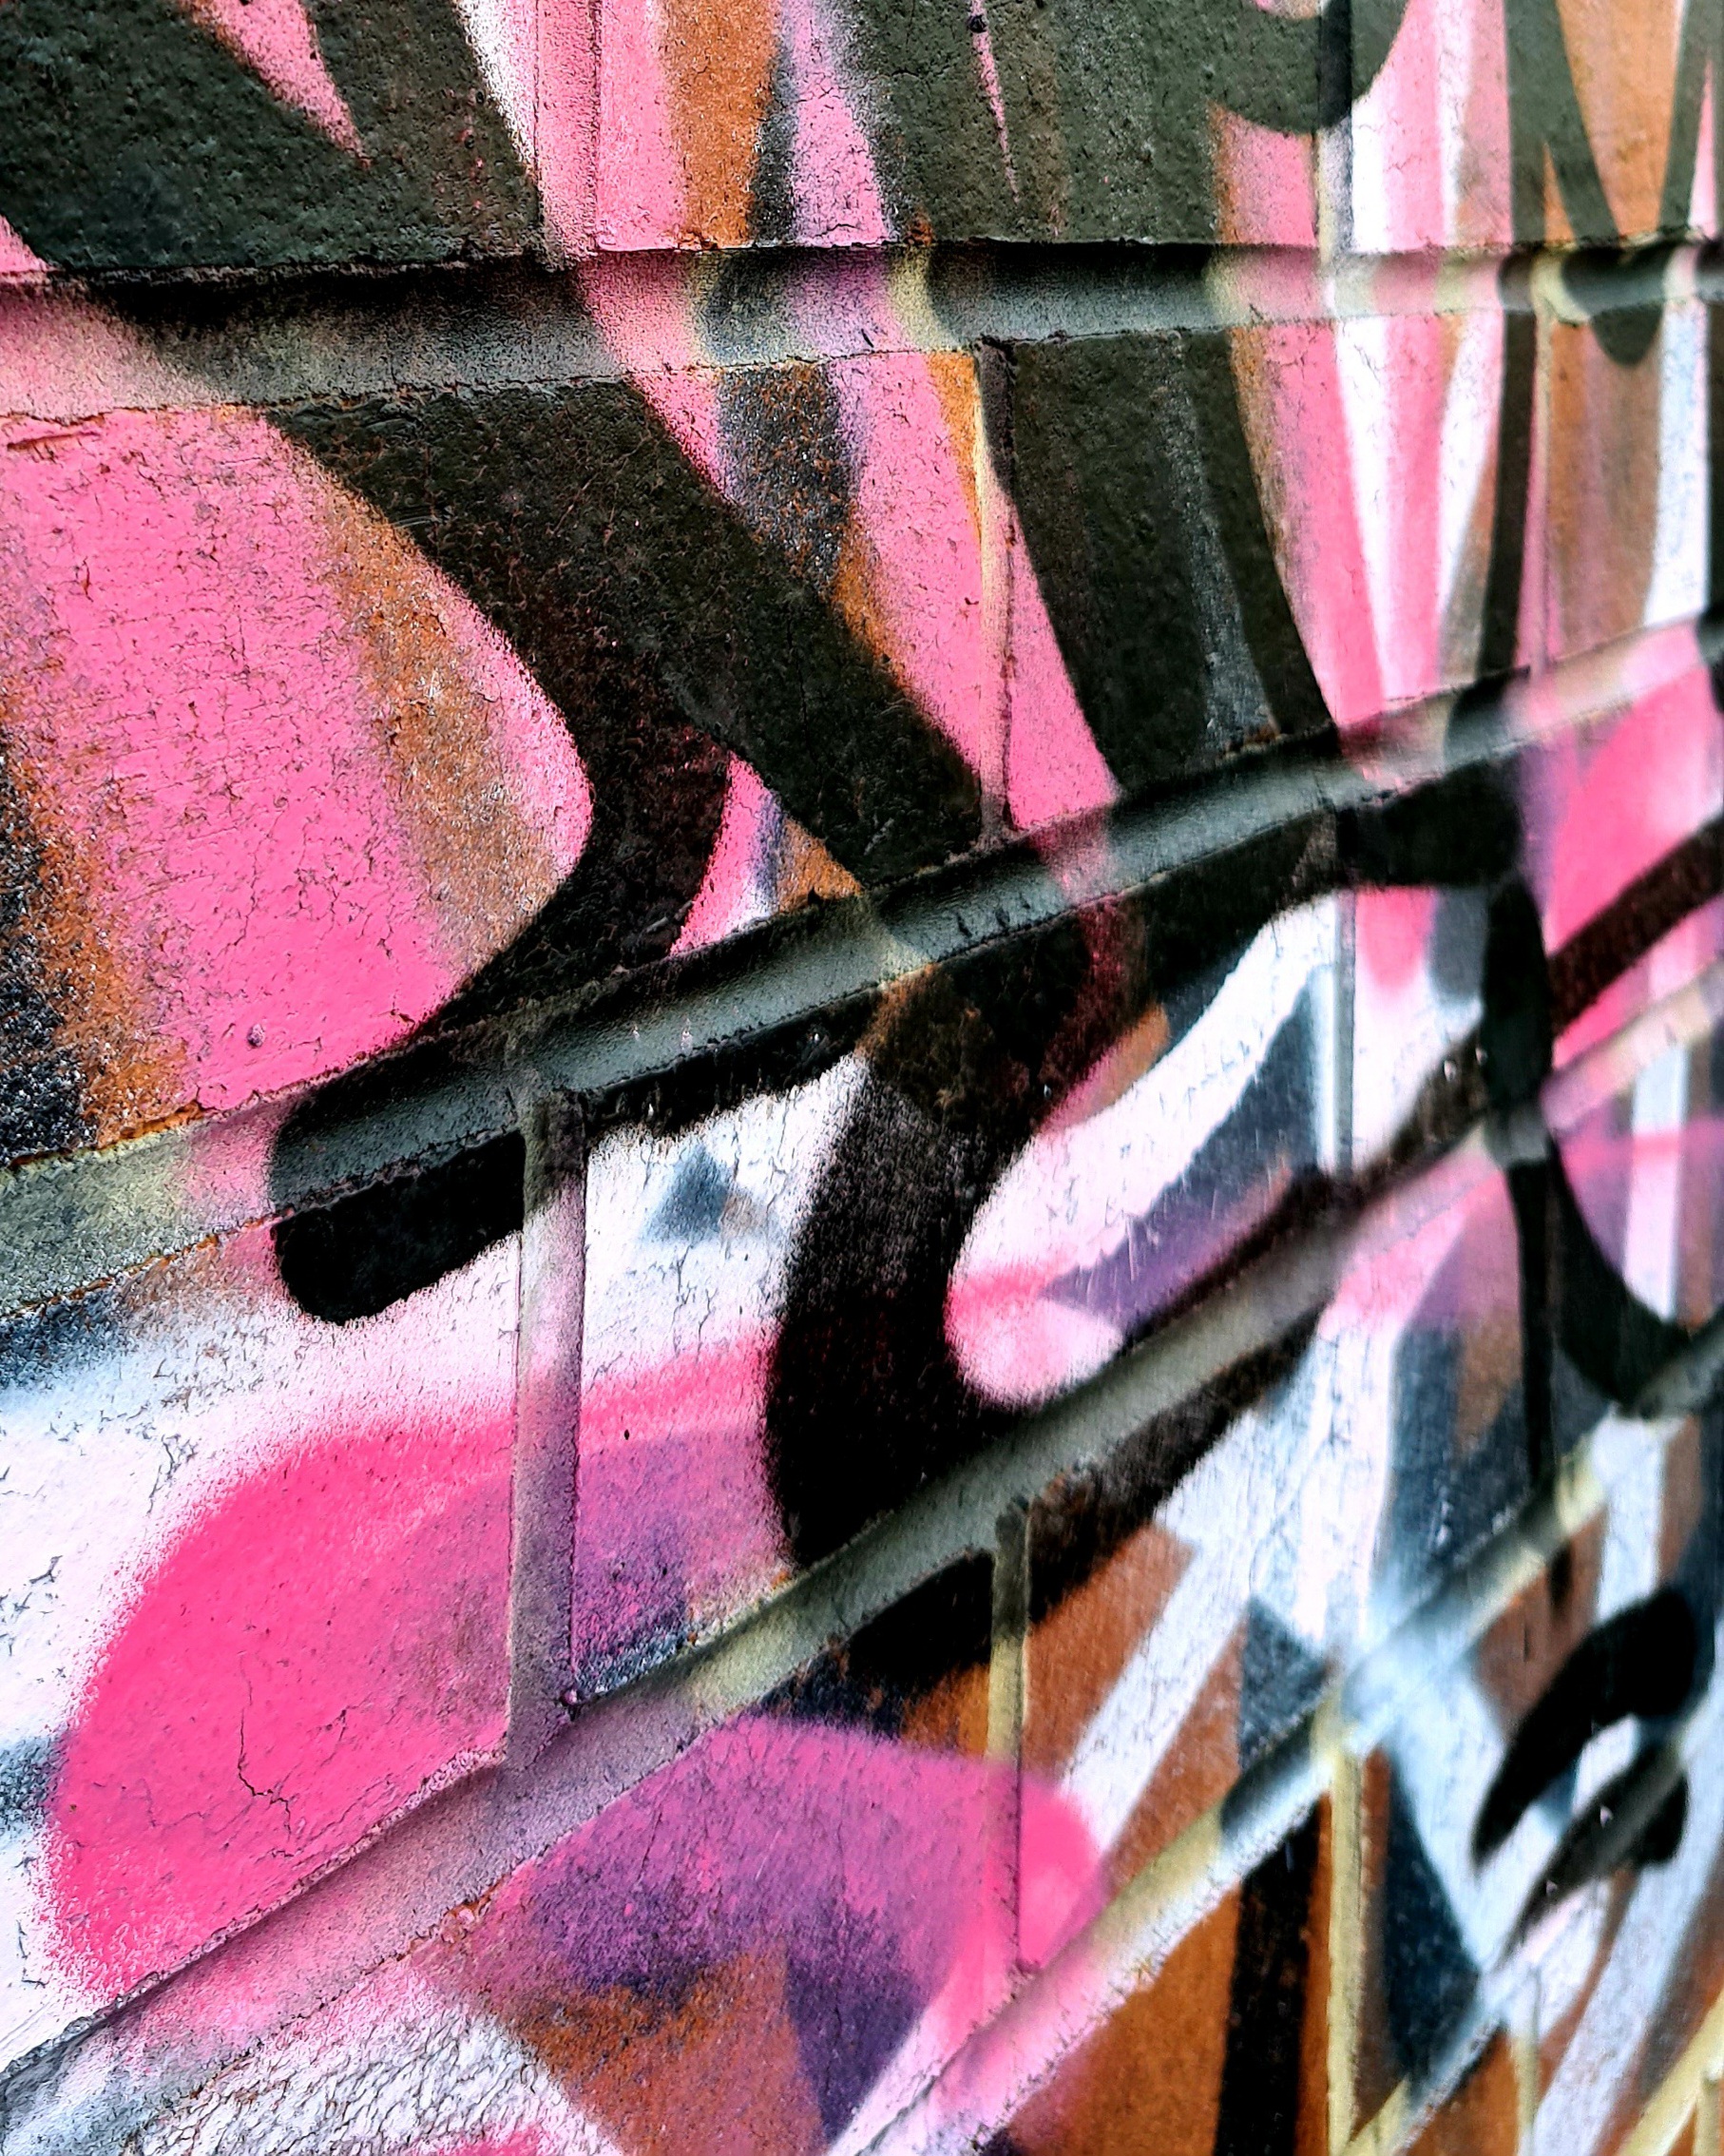
That’s a tough question, it depends on the work I’m doing. I would say the most consistent inspiration comes from the Yorkshire Coast. My work might directly link to the things I see on my walks or the sea air and walks on the beach help me to centre myself and relax so I can create new work exploring other themes.
What research do you do?
I love visiting museums and heritage sites, they have so much inspiration from Victorian laundries to seaside souvenir shops. I take photos on my phone as it’s always to hand. I sometimes make notes on my phone or in my journal. I occasionally sketch but this is something I’m trying to do more of.
What’s the best piece of advice you’ve been given?
On my art foundation course in the early 2000s my tutor William said… “As an artist in the modern age, if someone asks you if you can do something you say yes then Google it” This has always stuck with me and reminded me that by researching and stepping outside your comfort zone you can do so much.
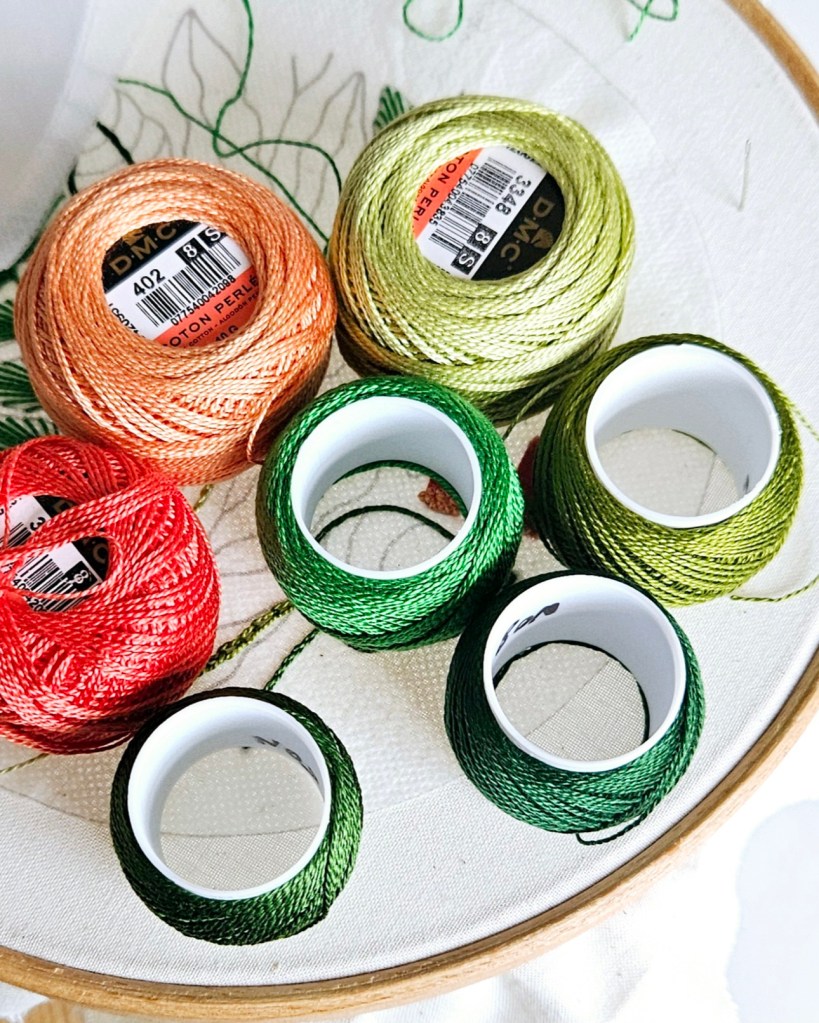
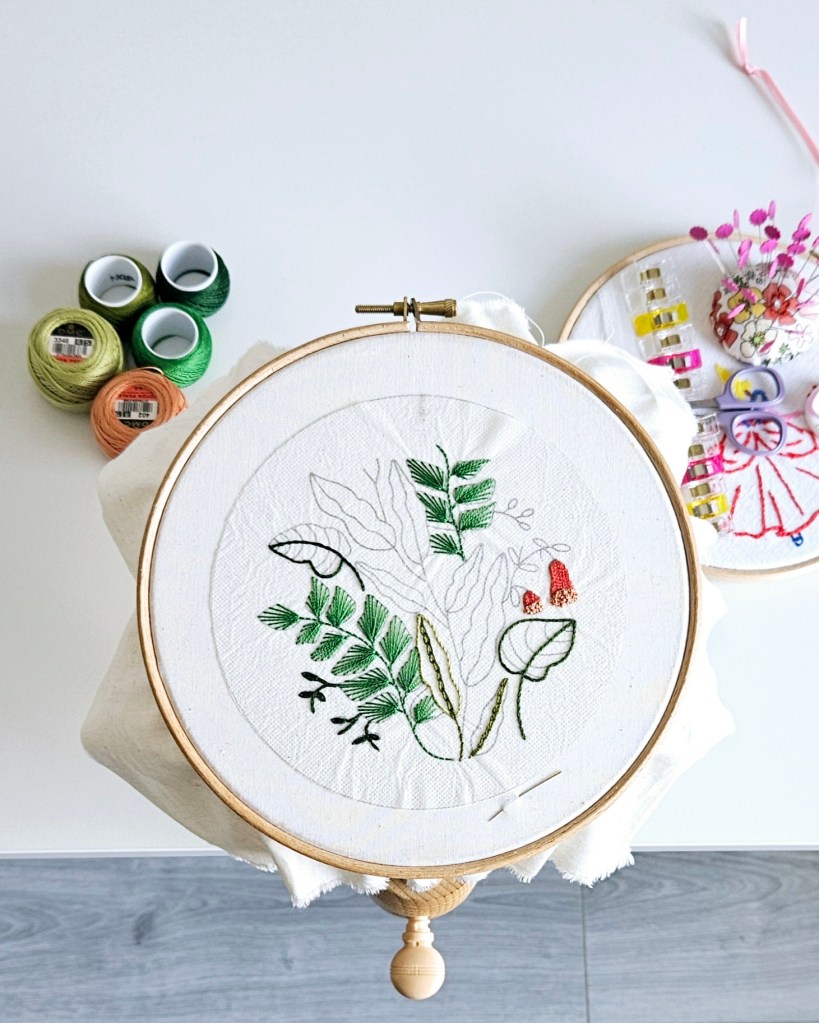
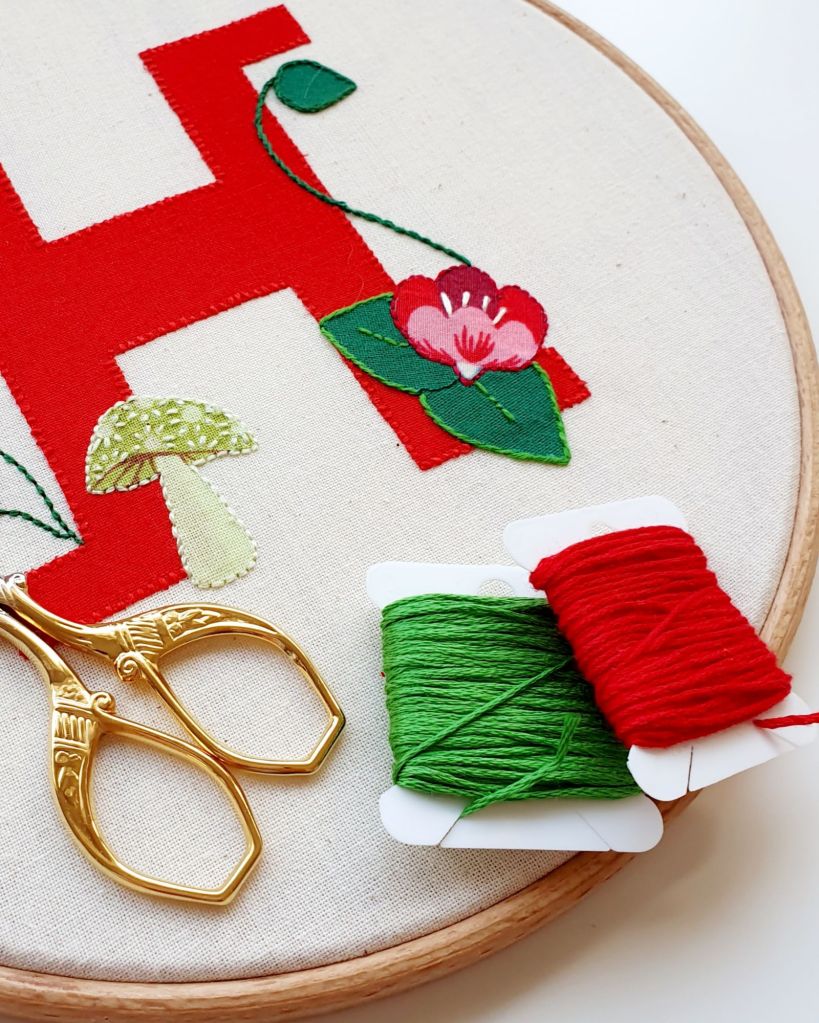
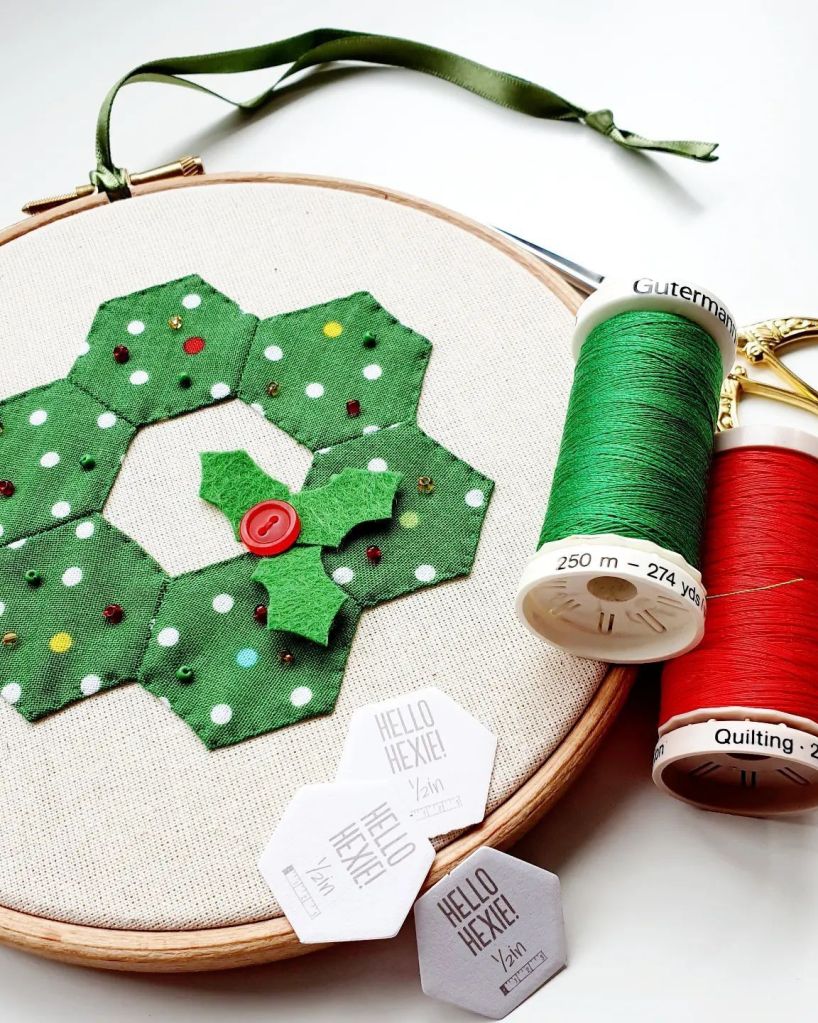
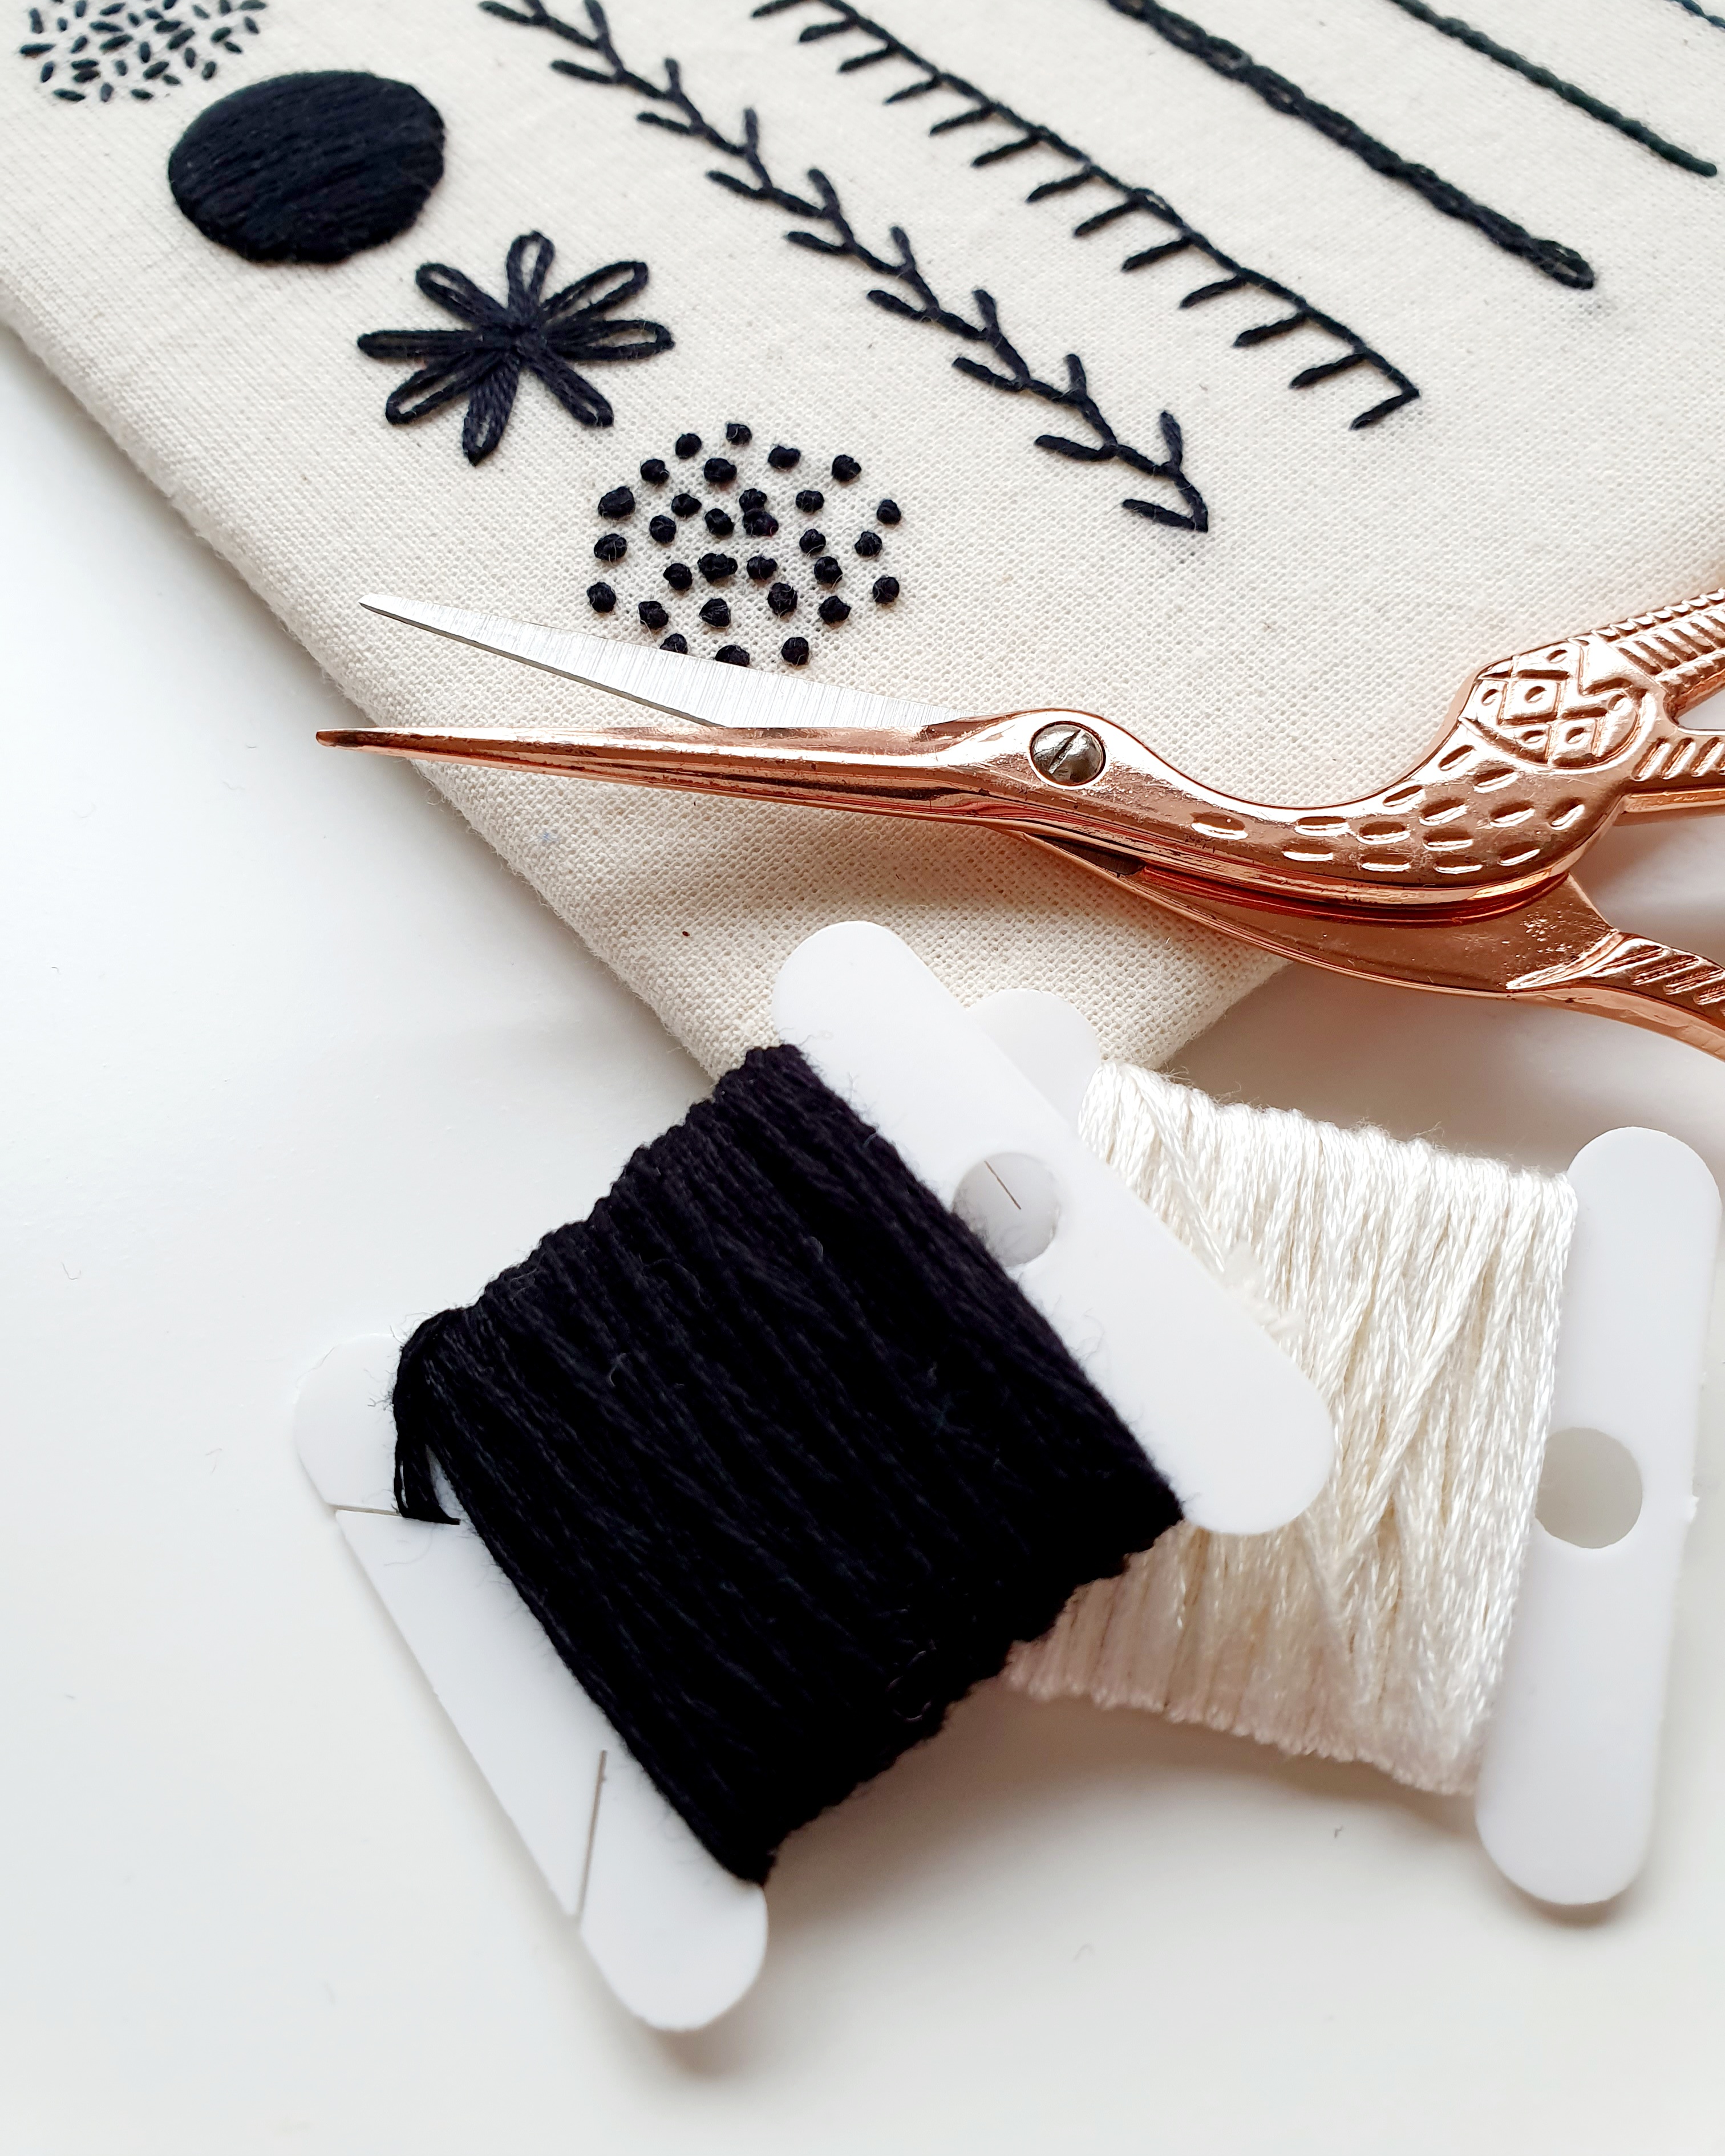
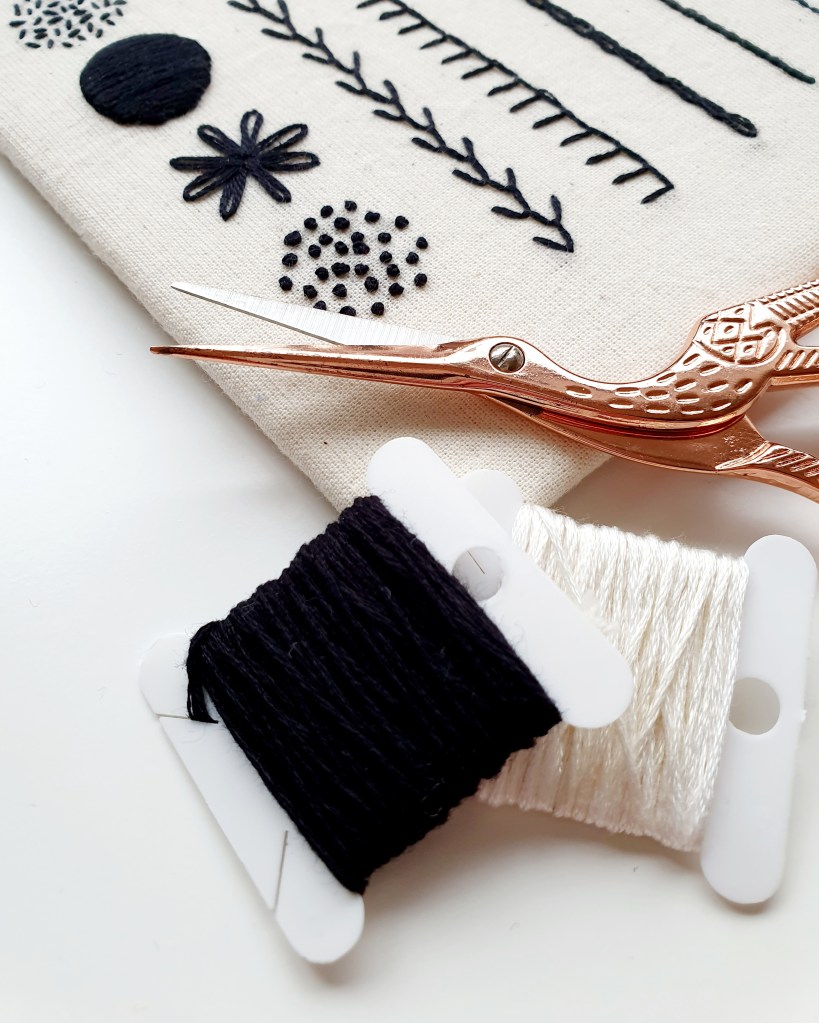
What tools couldn’t you live without?
That’s a hard one to answer as I use so many in my work. My top nine are…
Elbesee table clamp
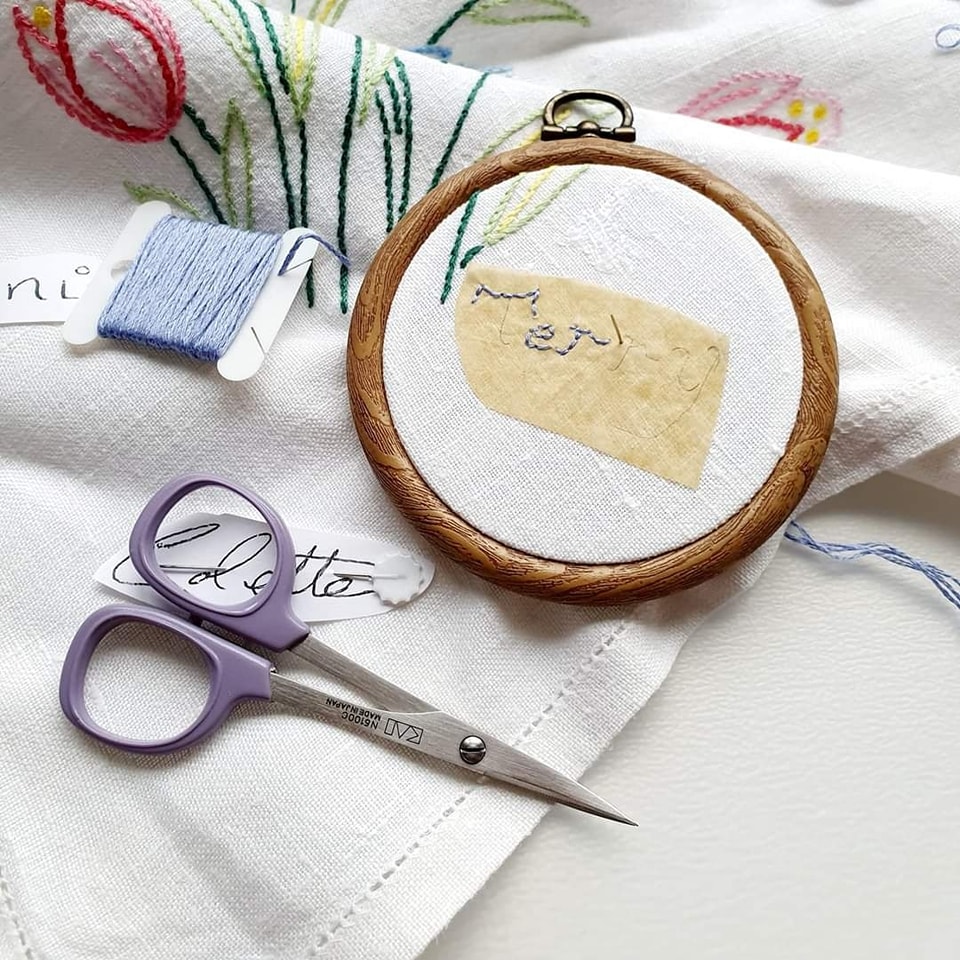
Curved embroidery scissors
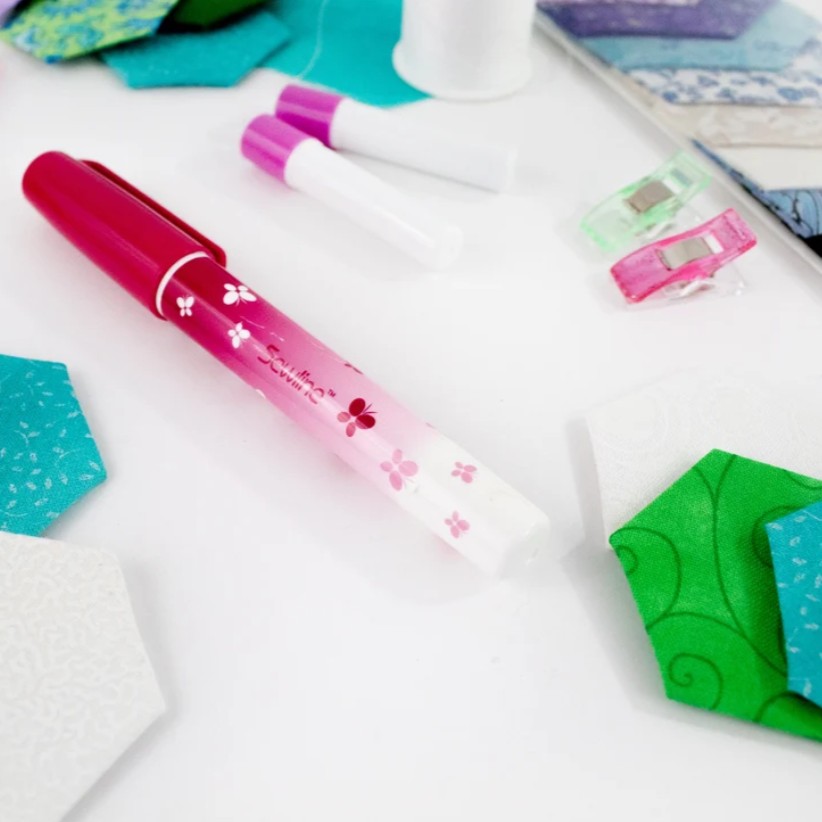
Prym glue pen
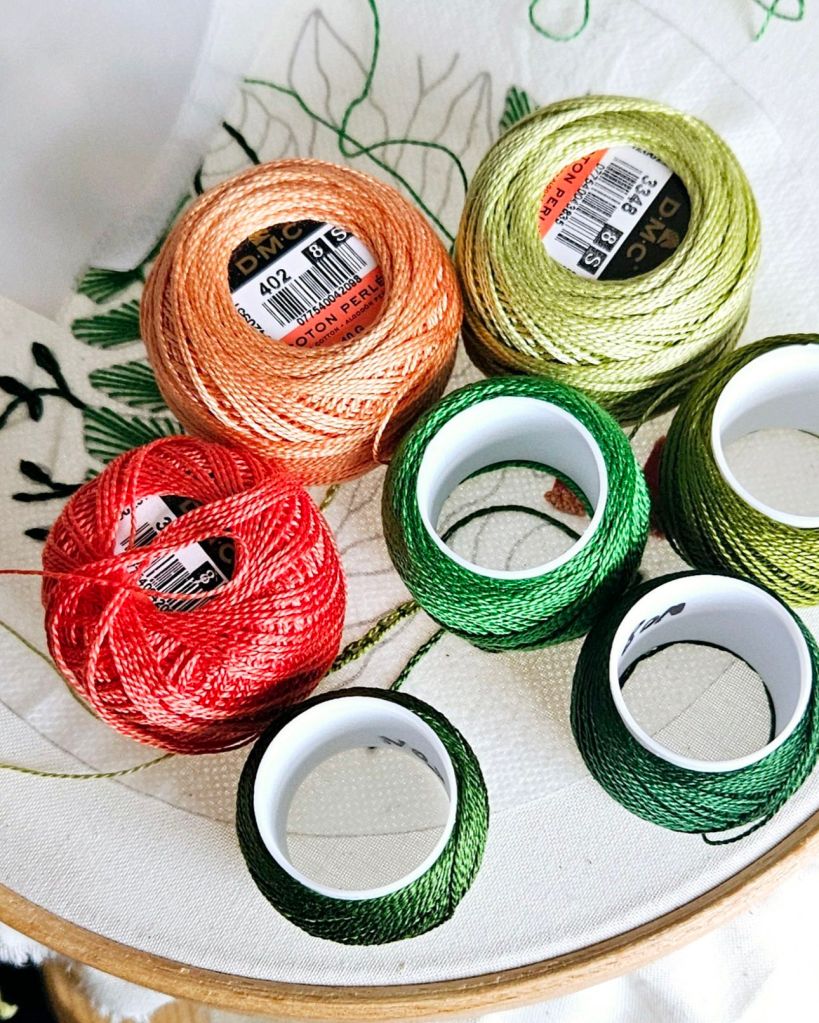
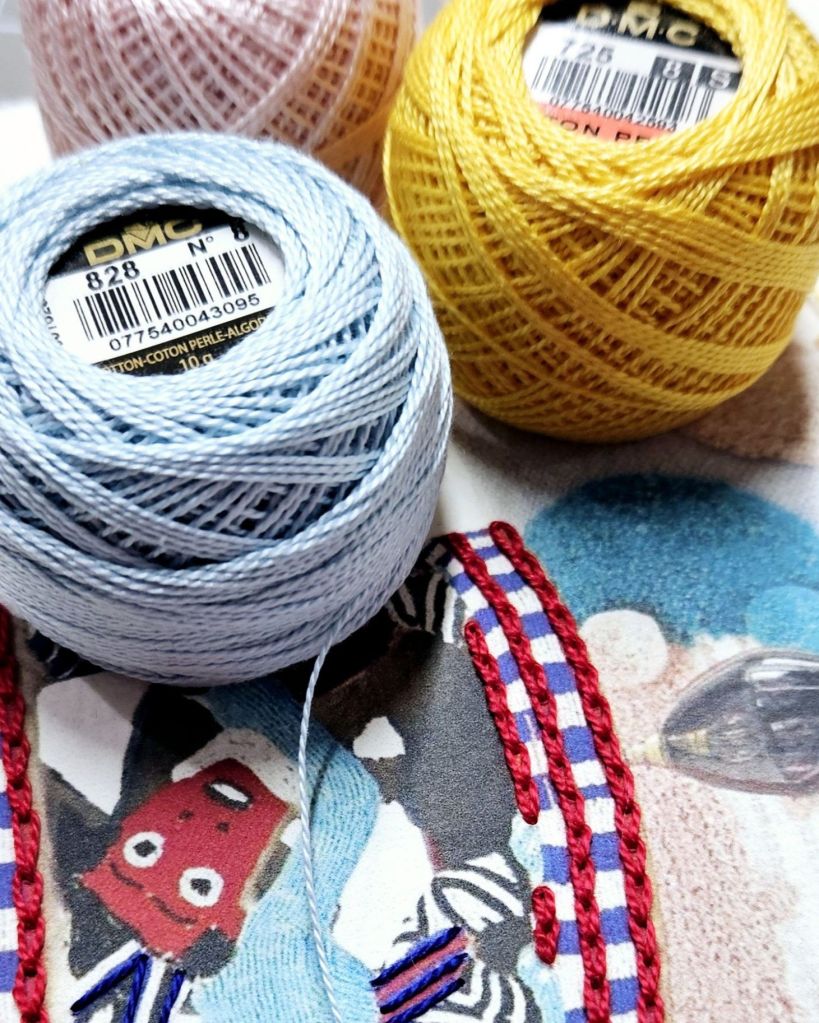
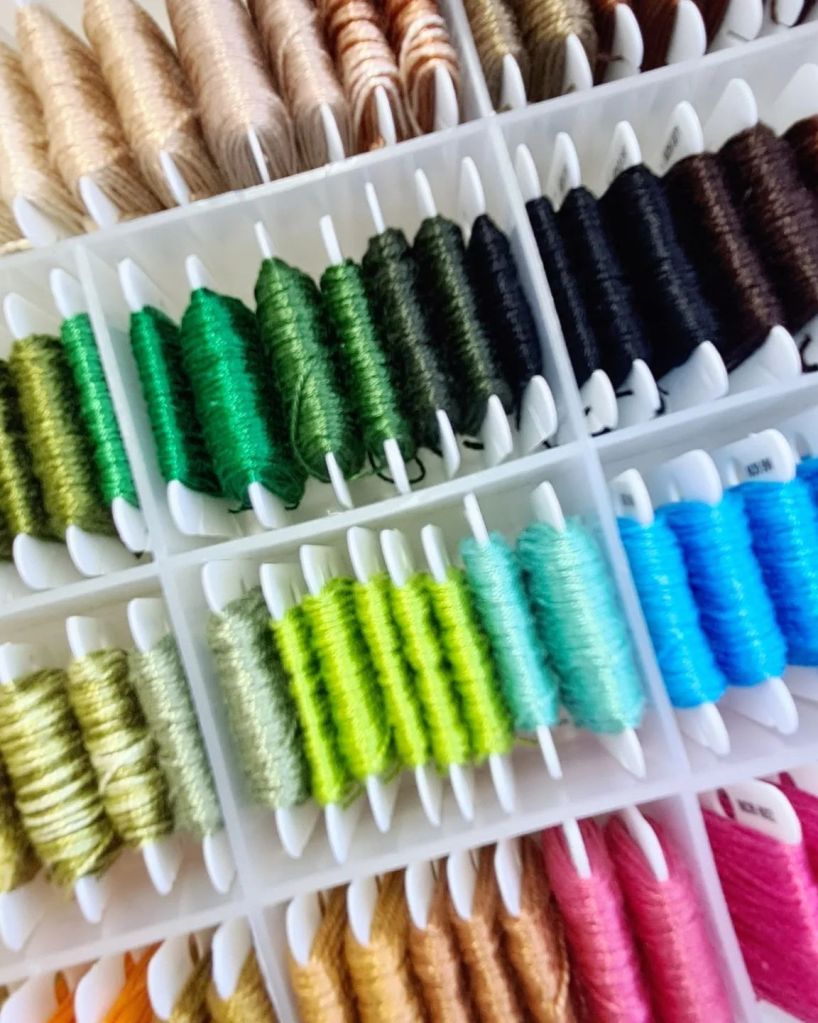
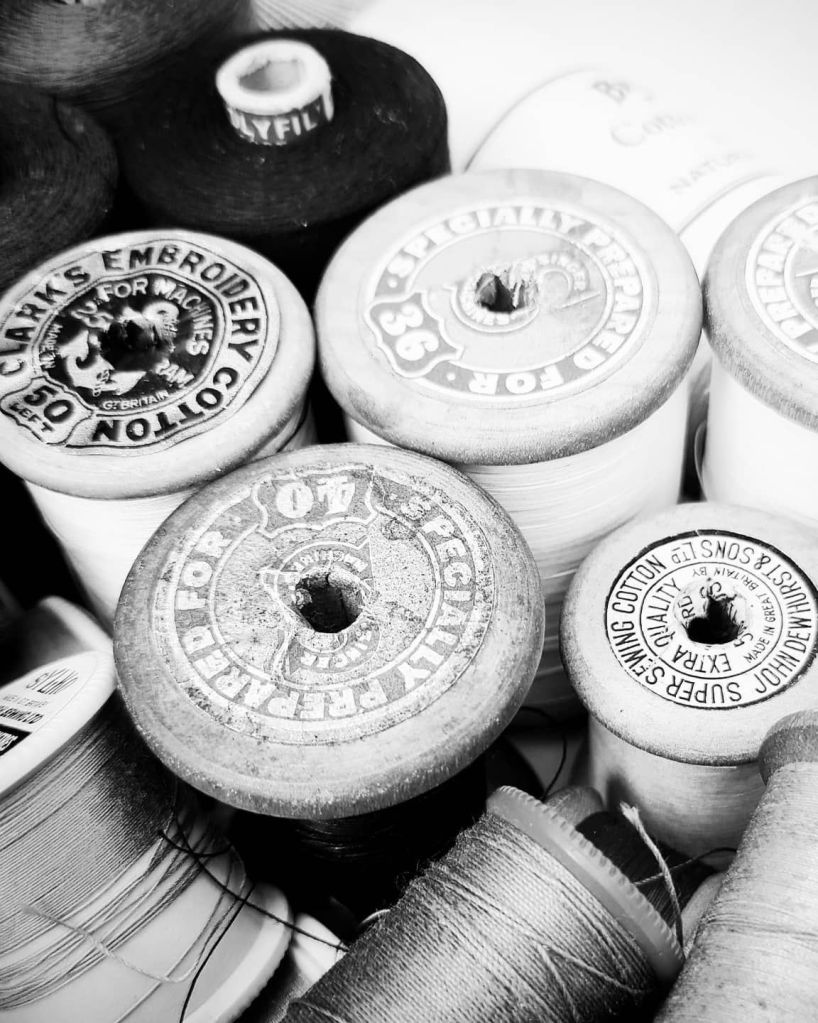
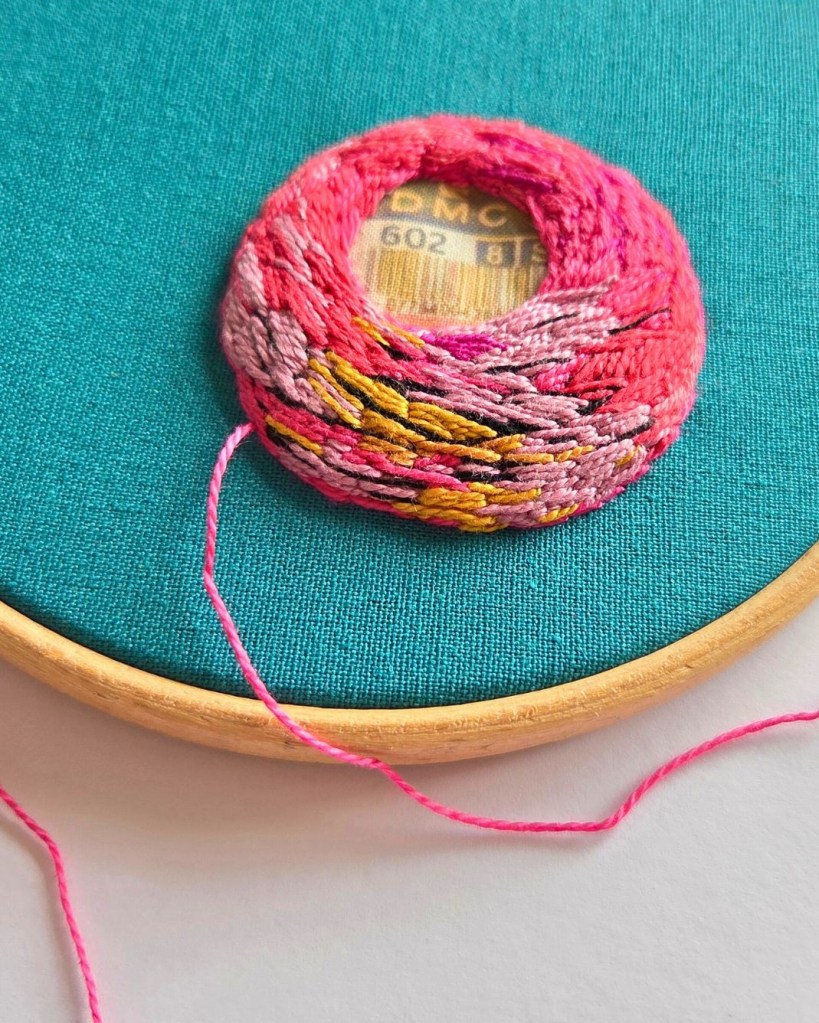
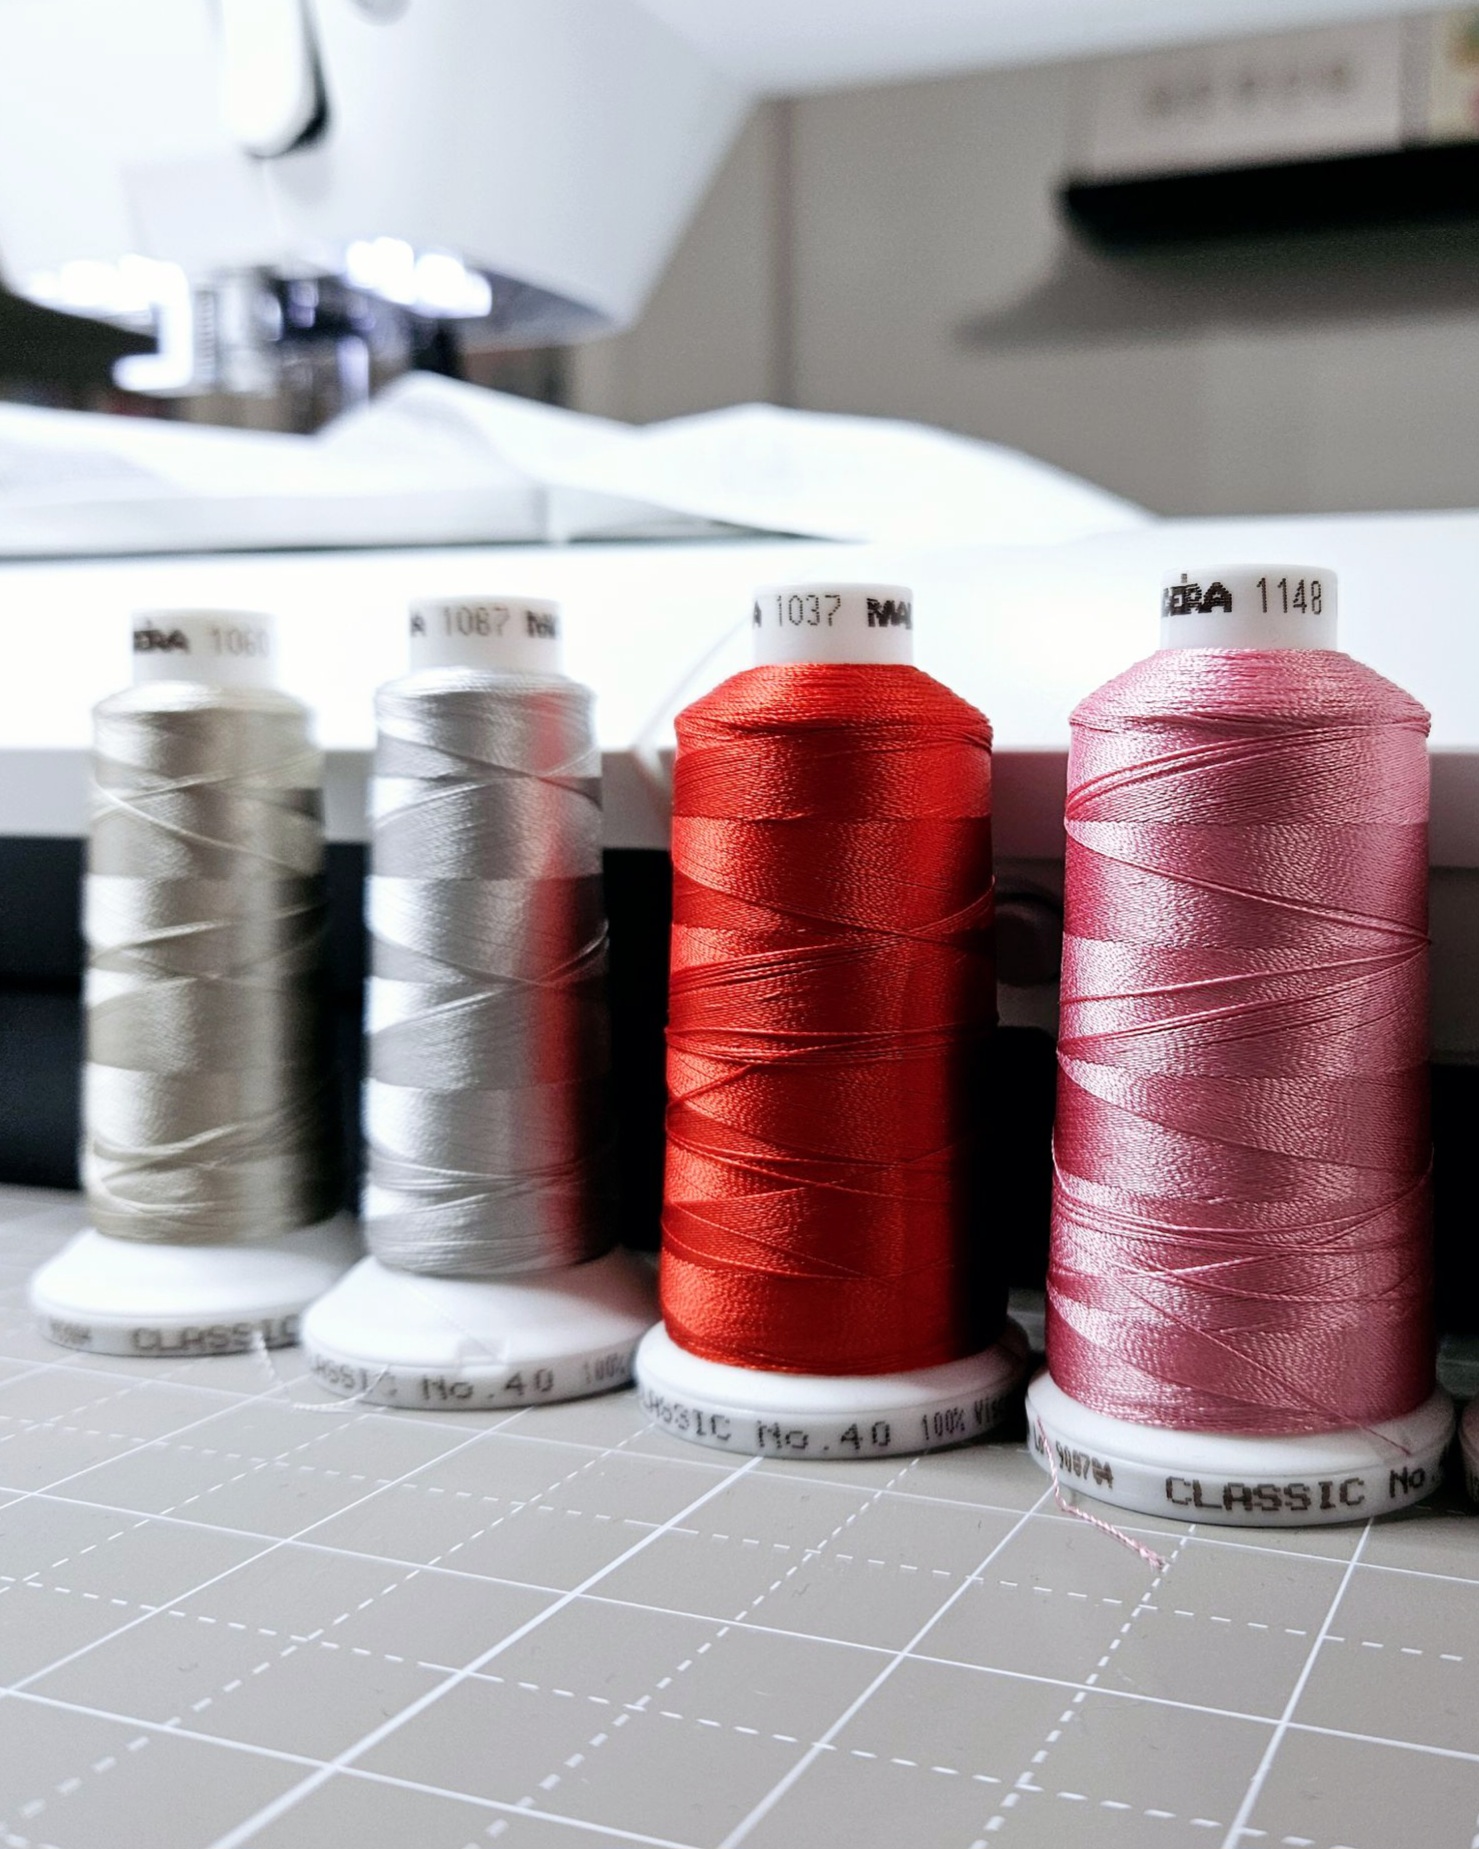
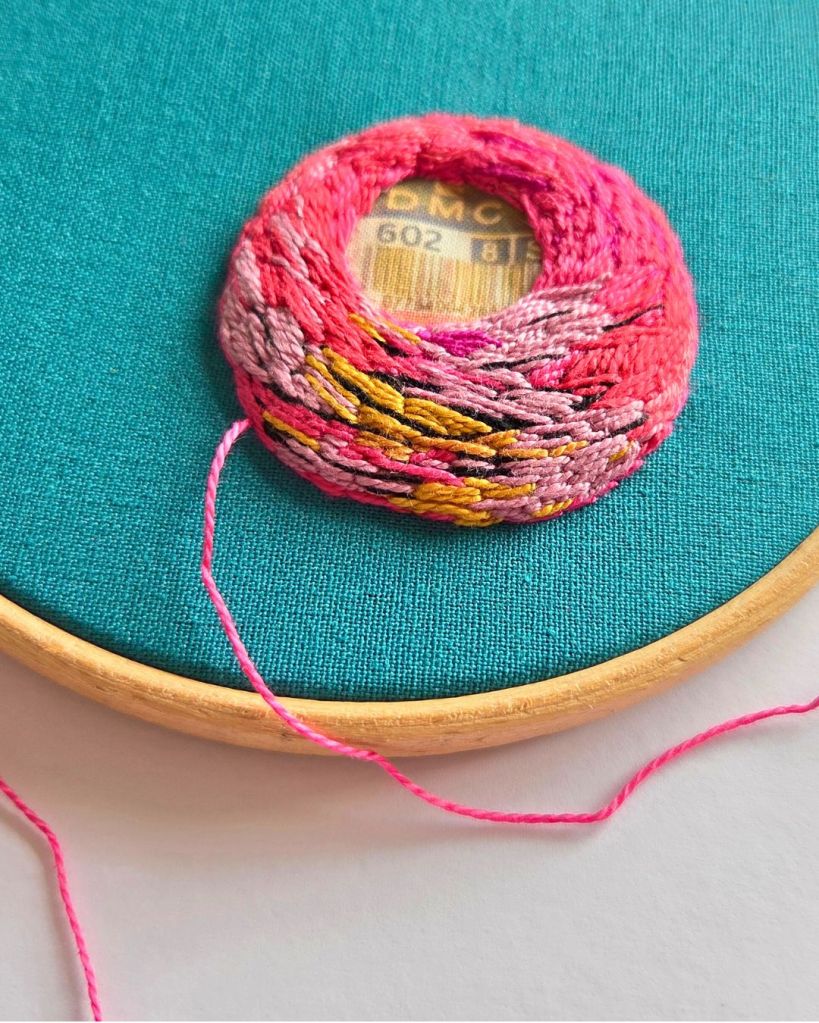
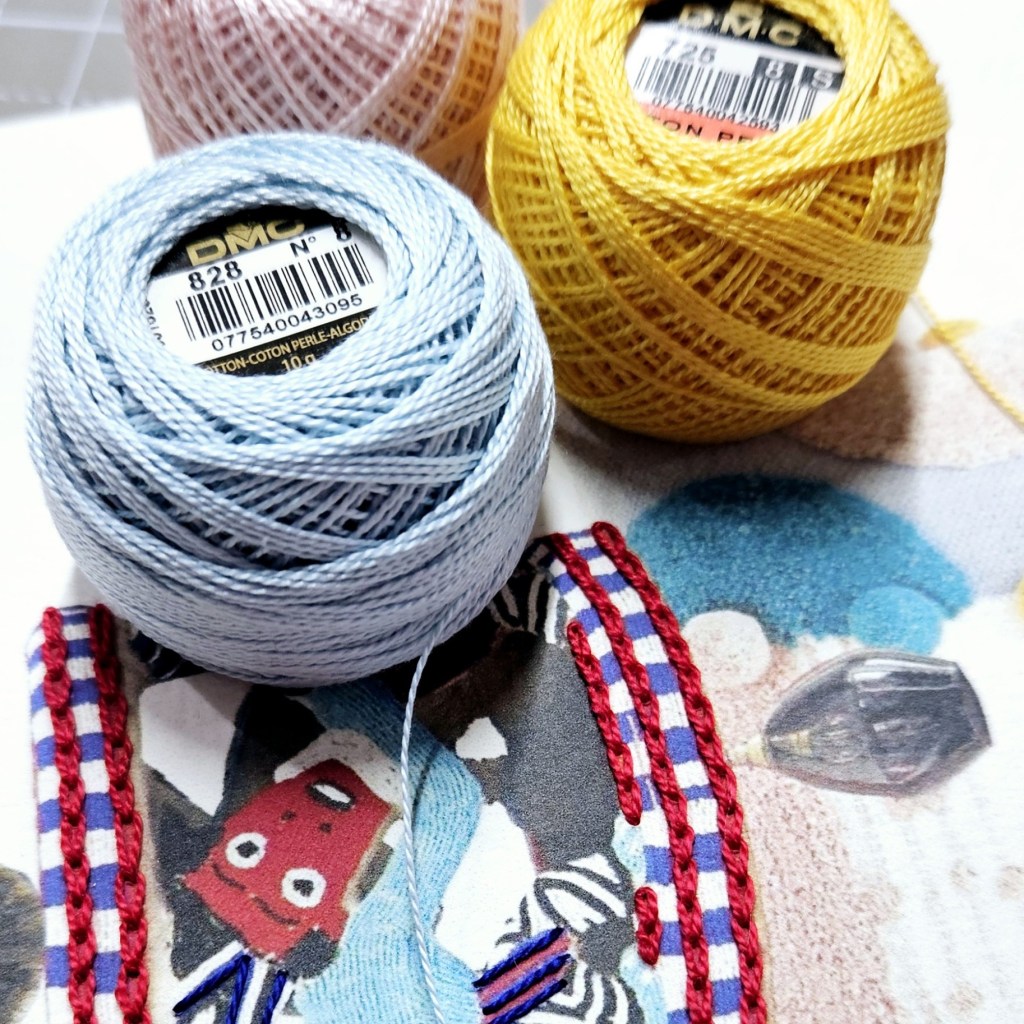
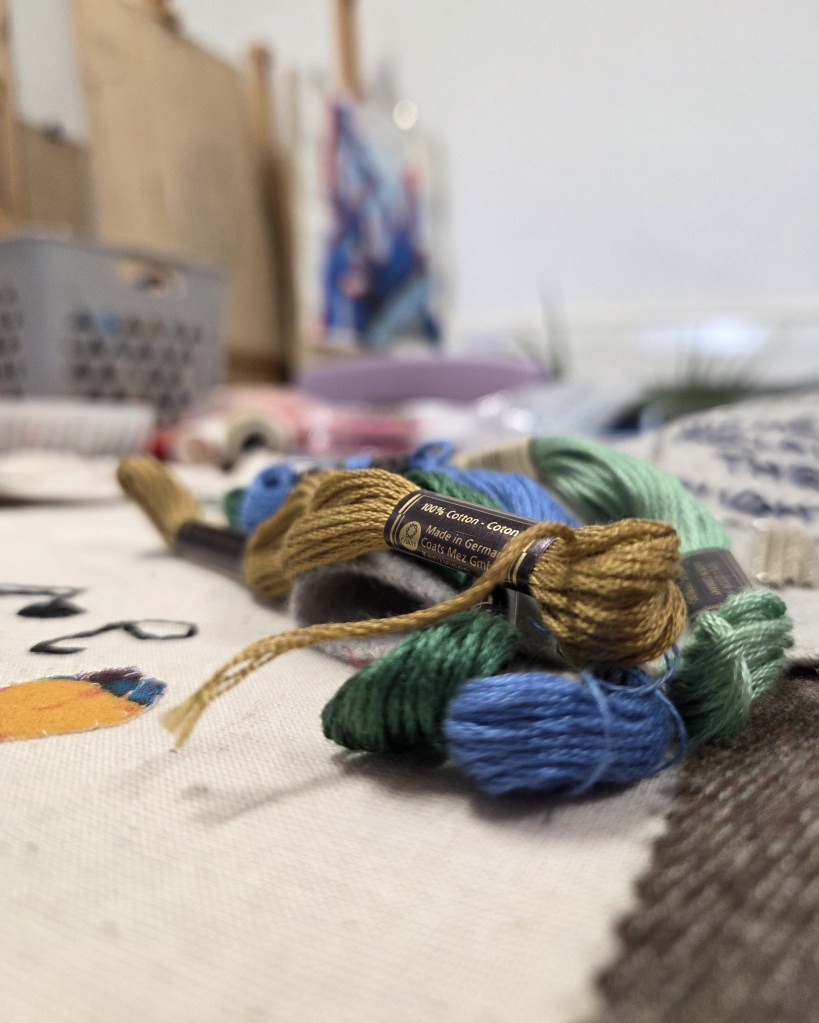
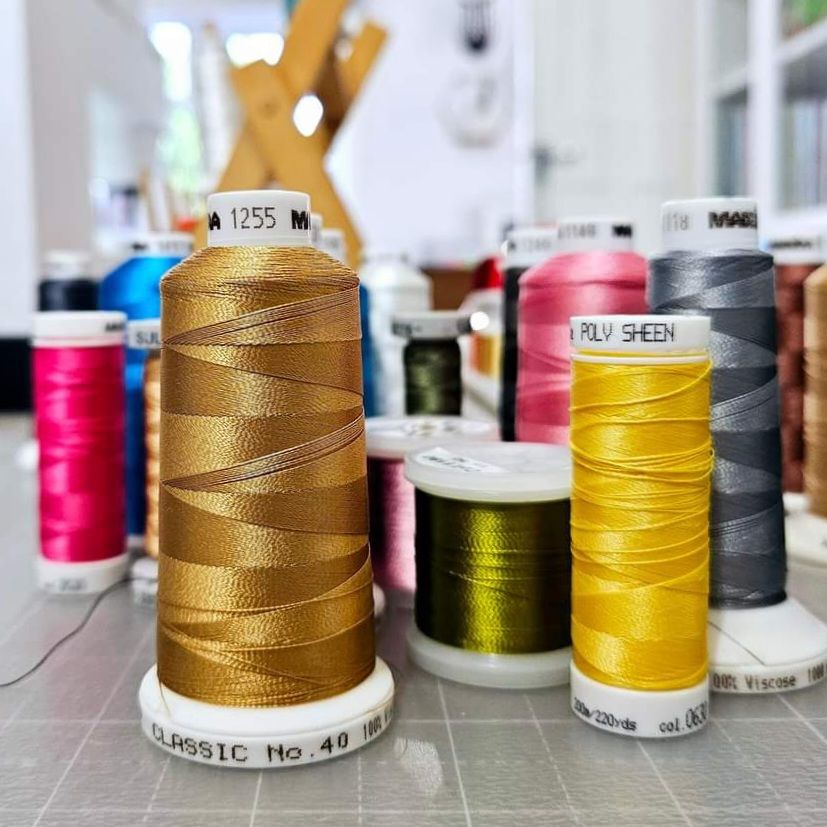
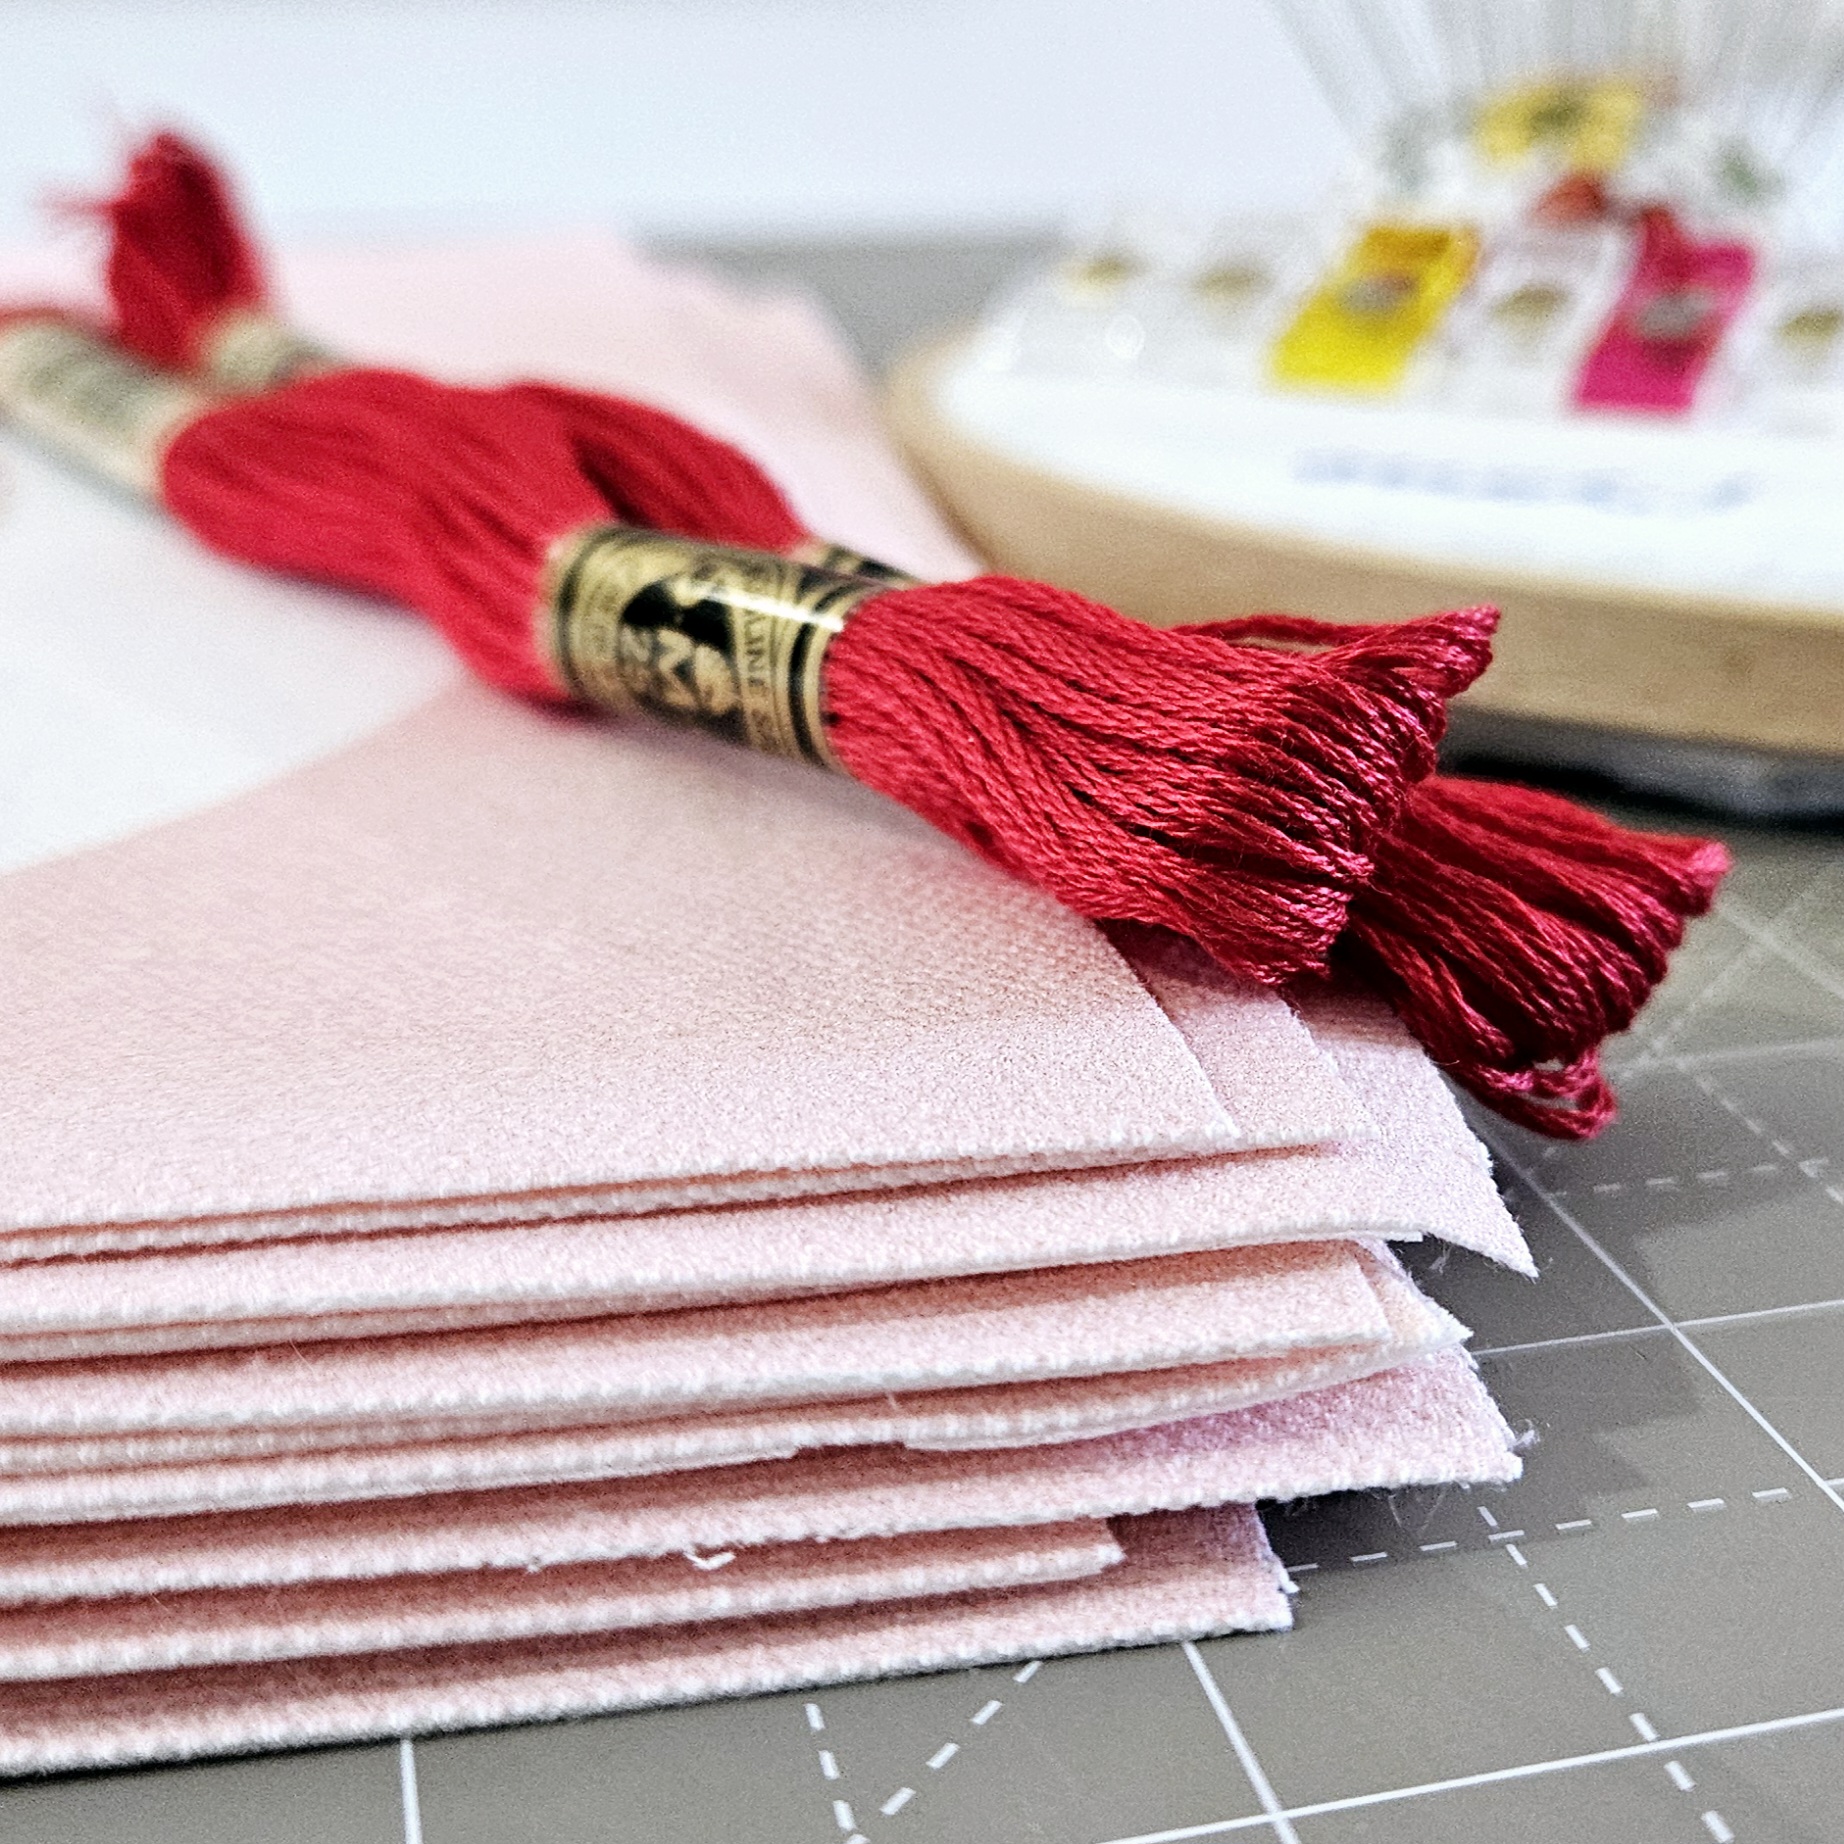
Cotton perle threads
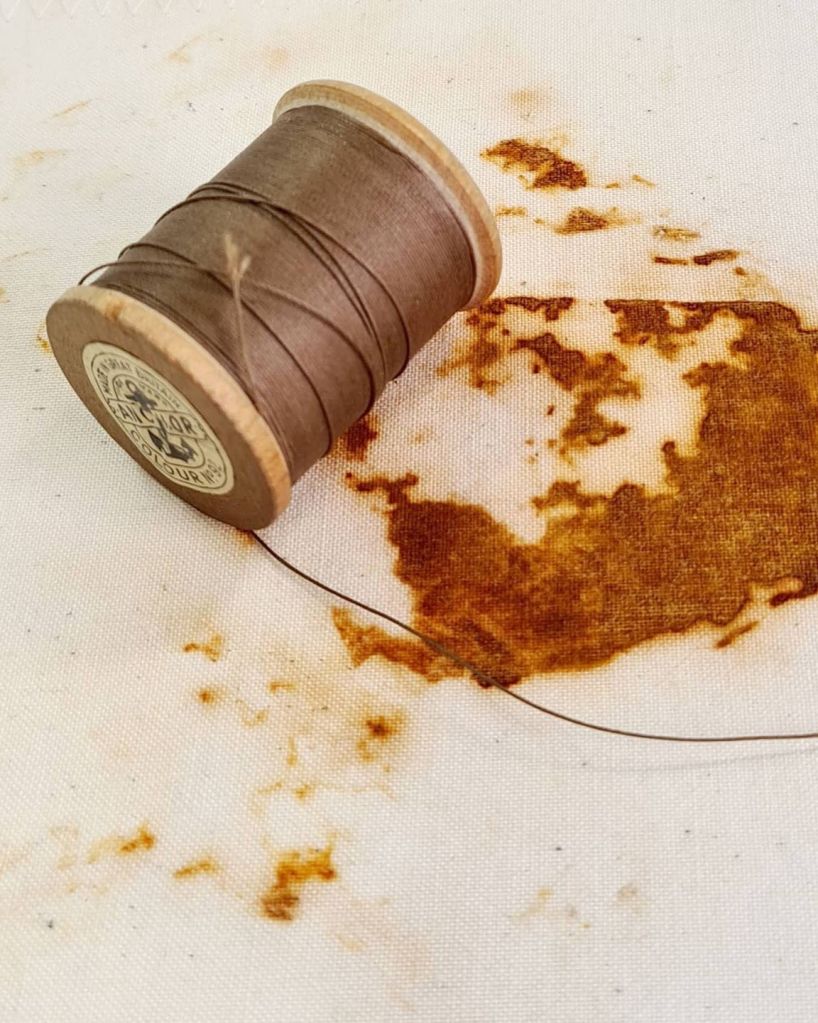
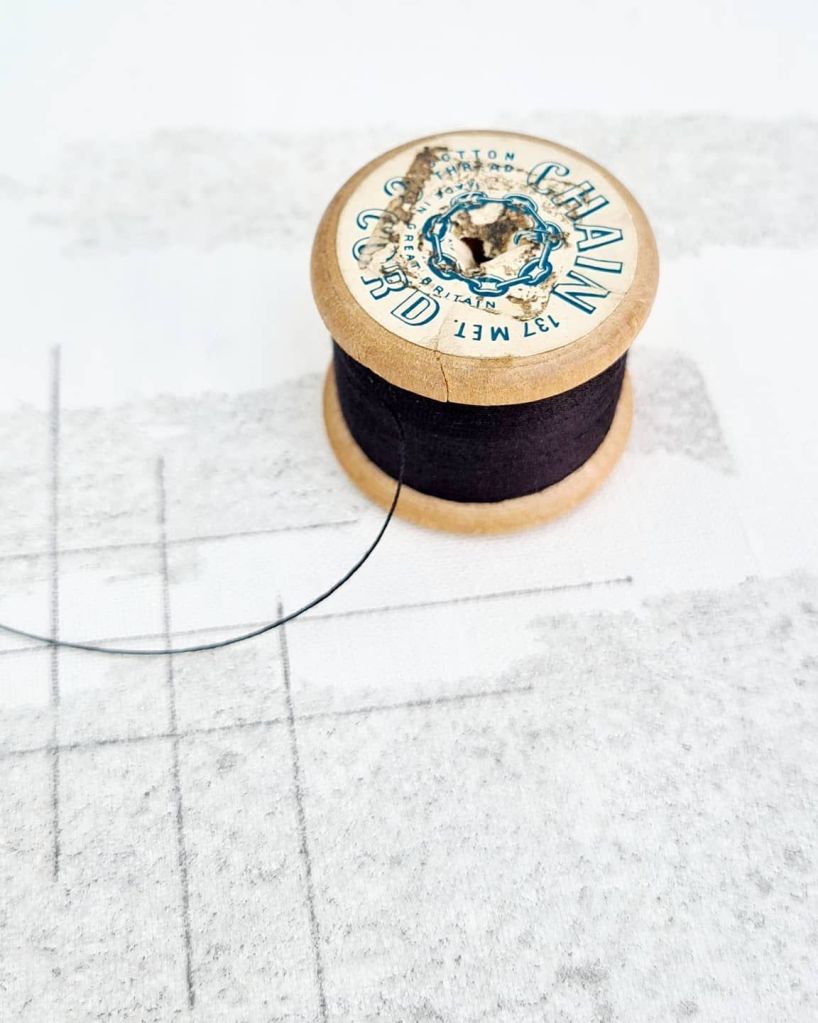
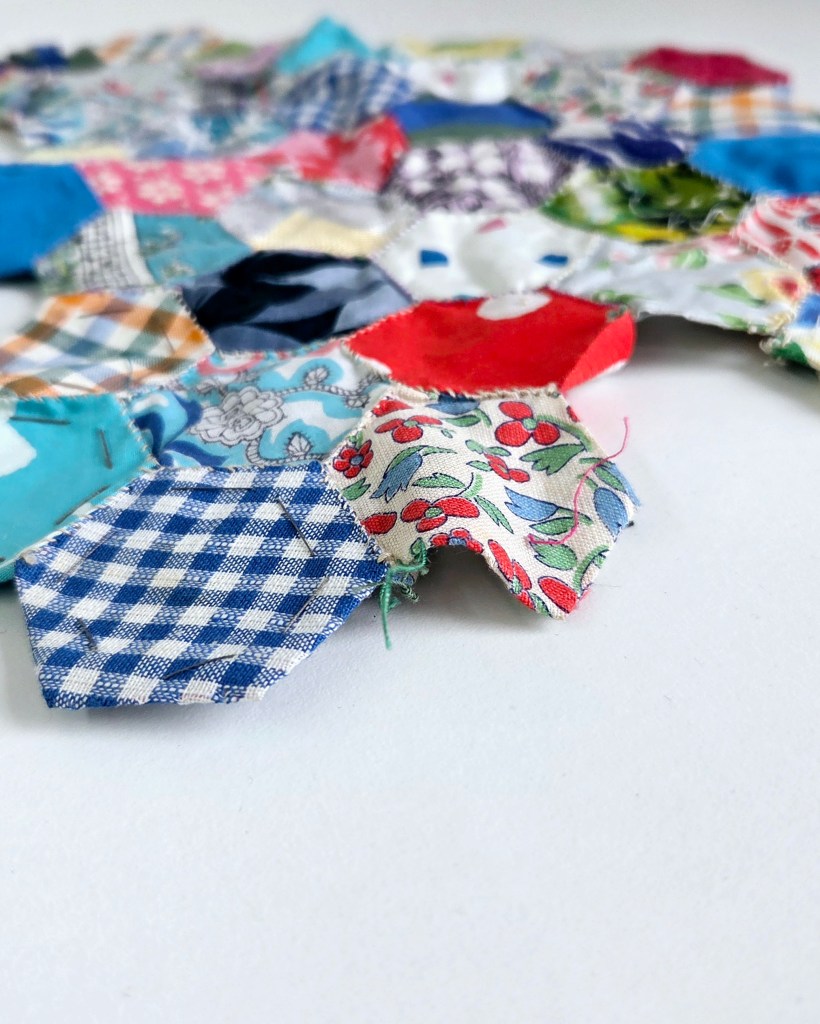
Vintage fabrics
Pilot Frixion pens
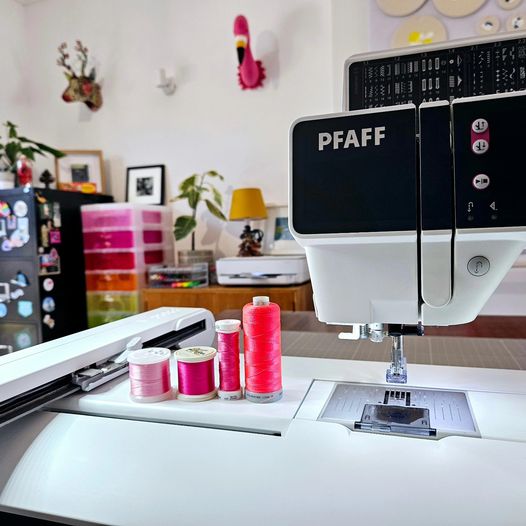
Pfaff Creative 3.0 embroidery machine
Rayon thread
Wash away stabilsers and interfacings
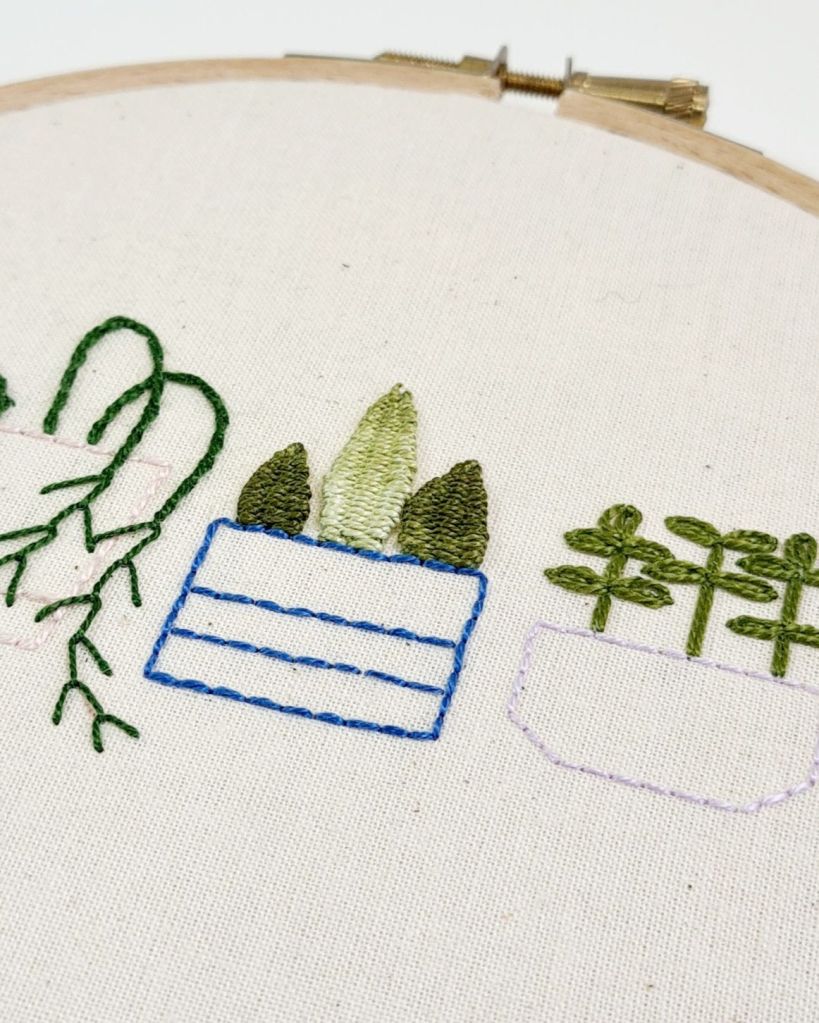
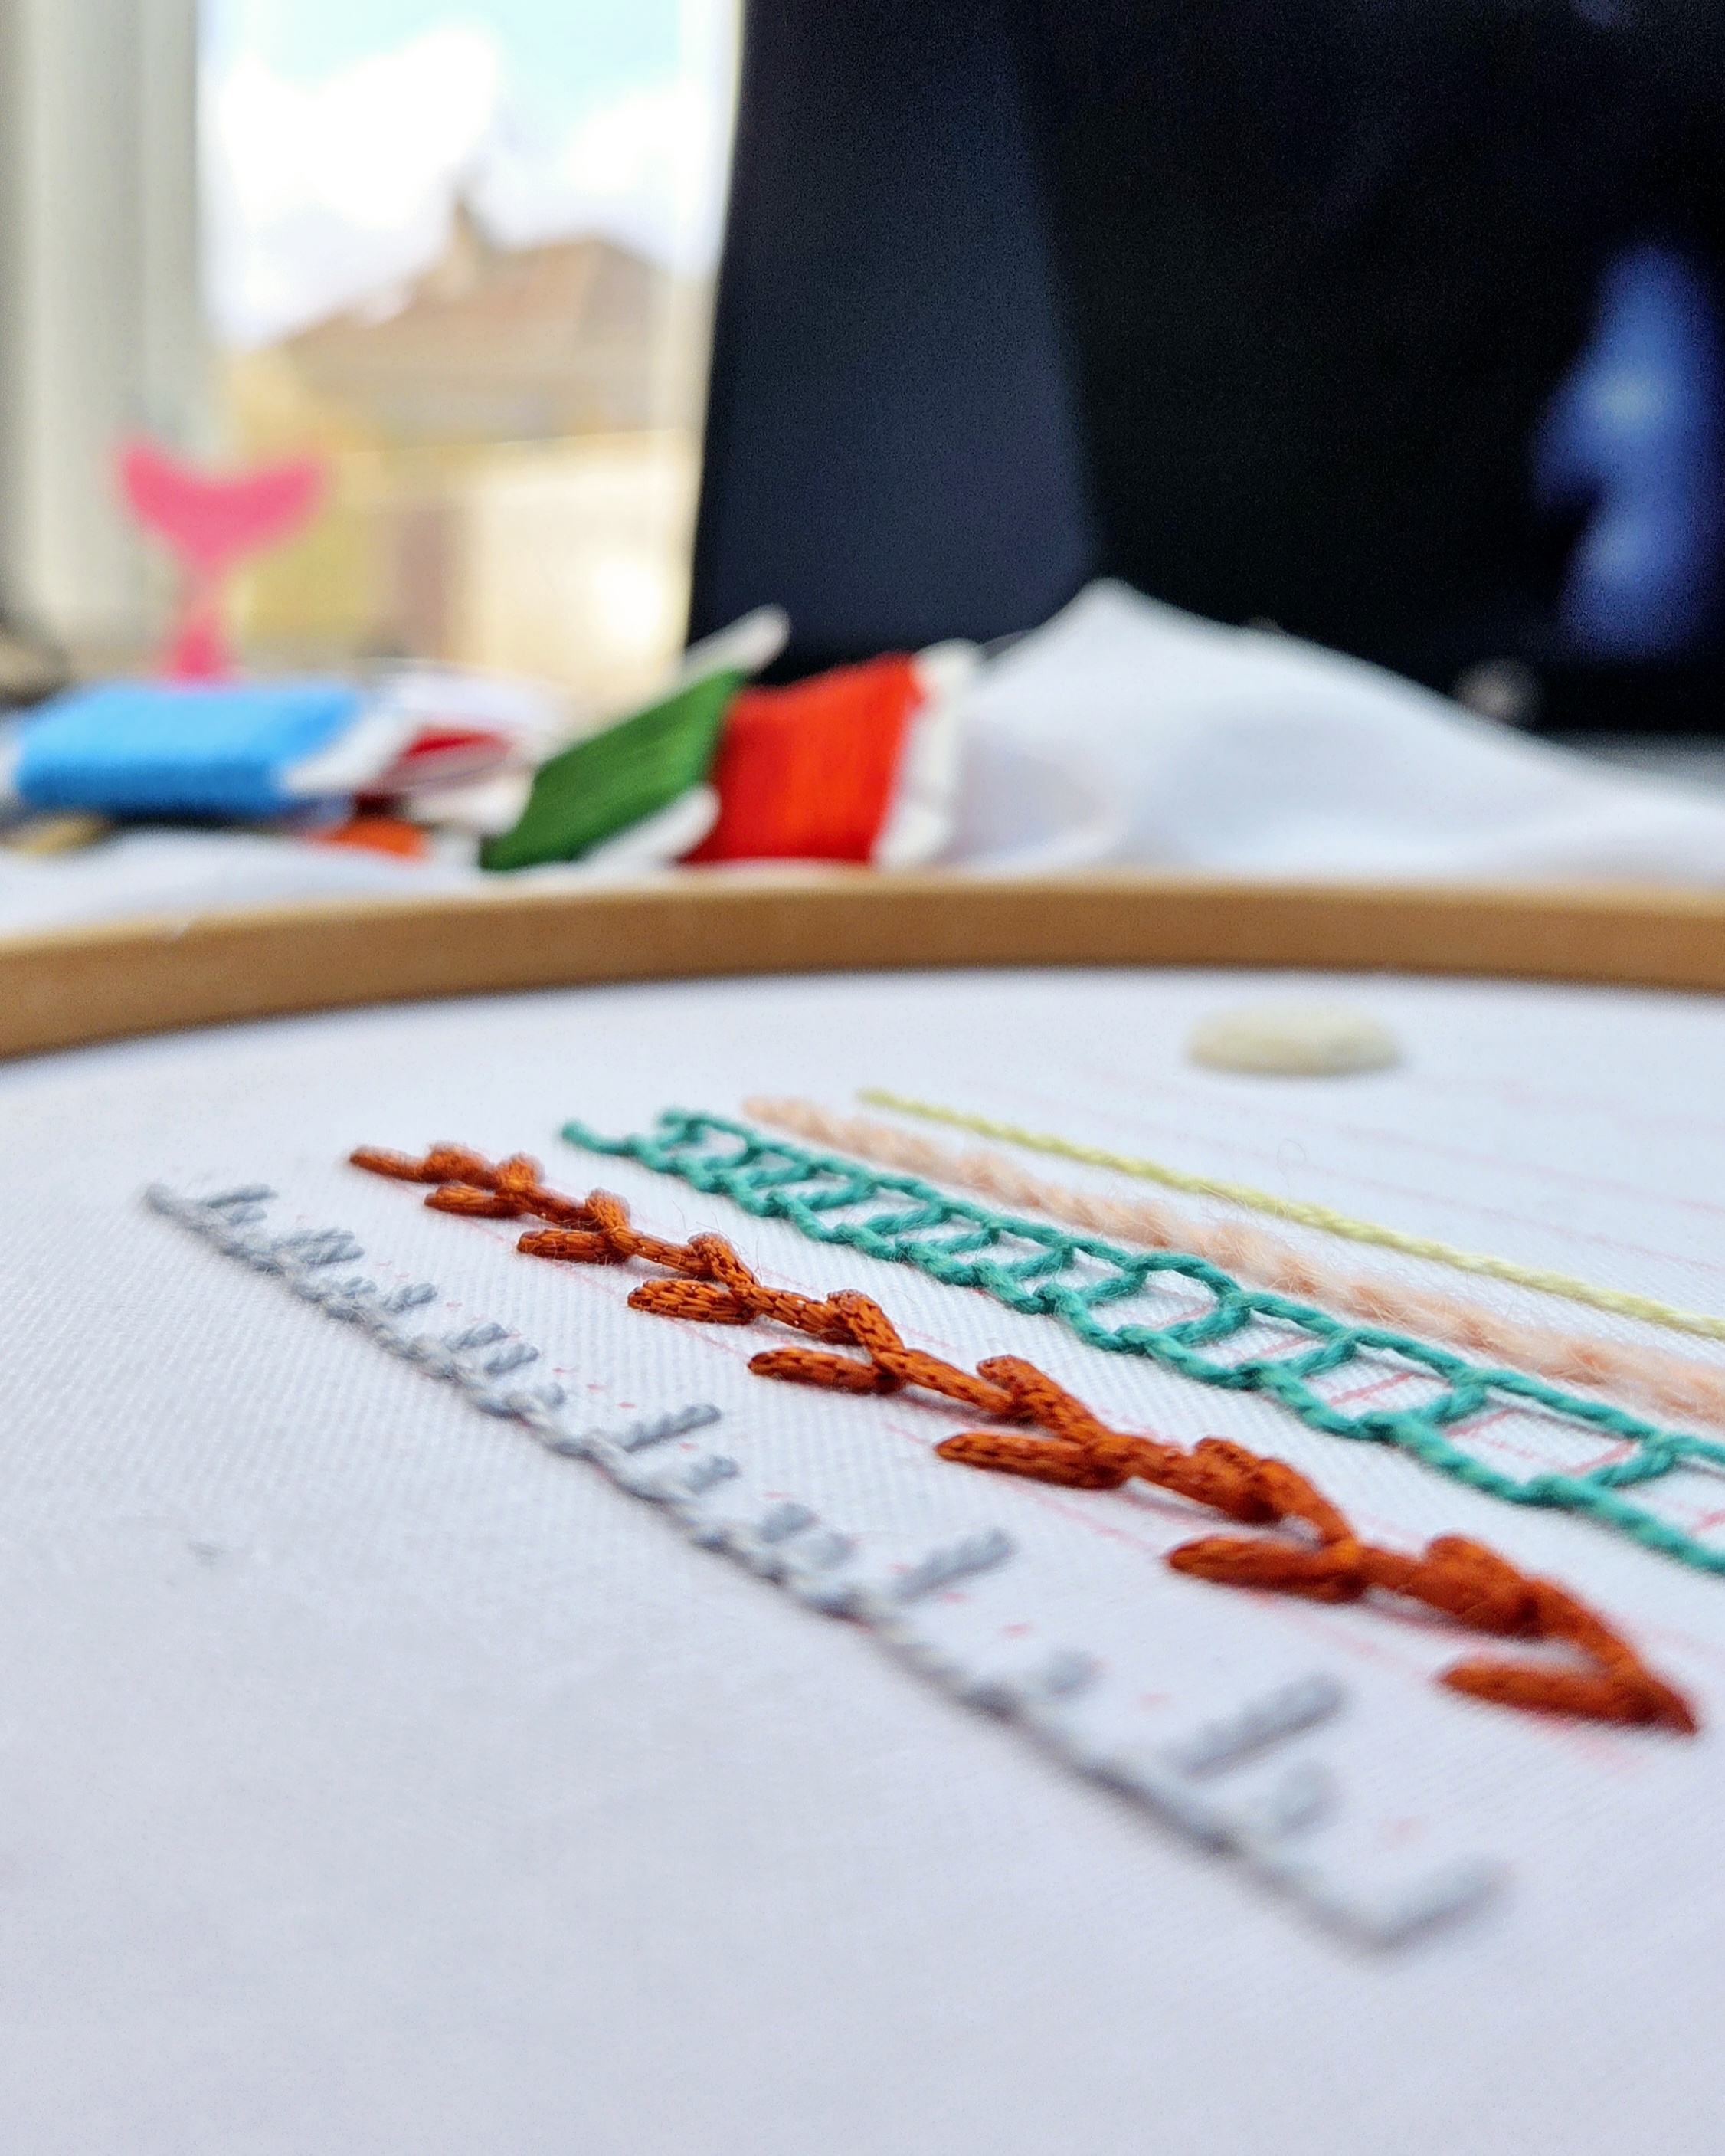
What advice would you give someone who wanted to try hand embroidery?
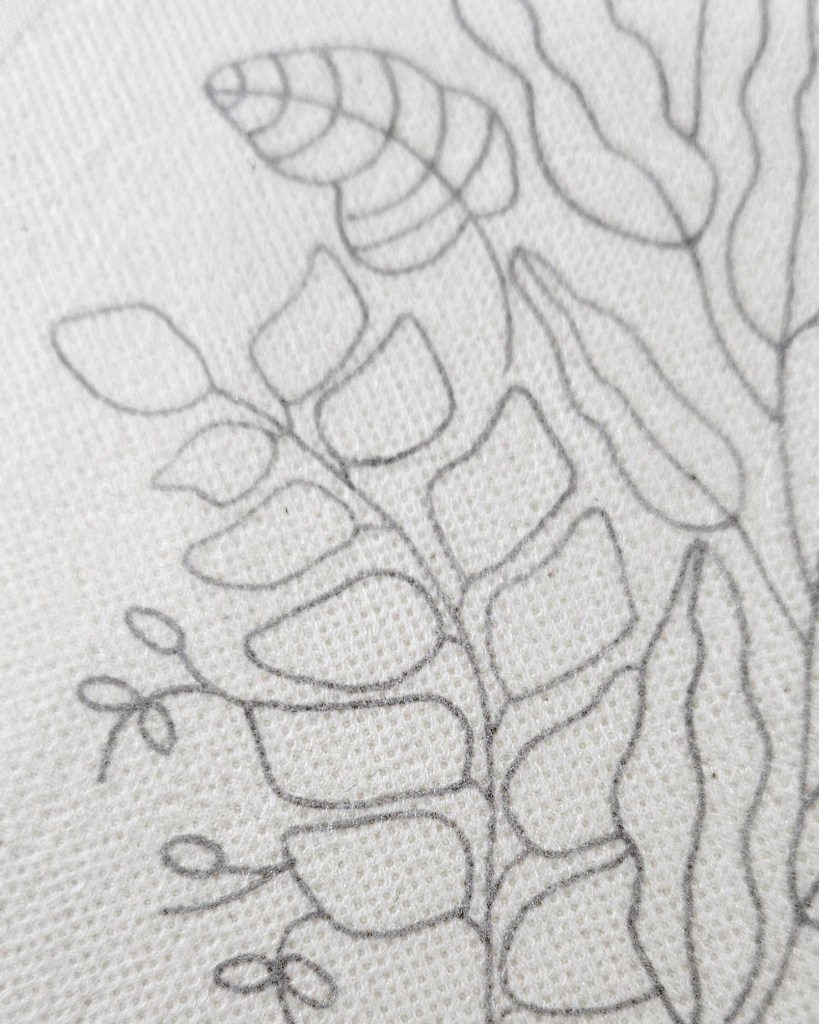
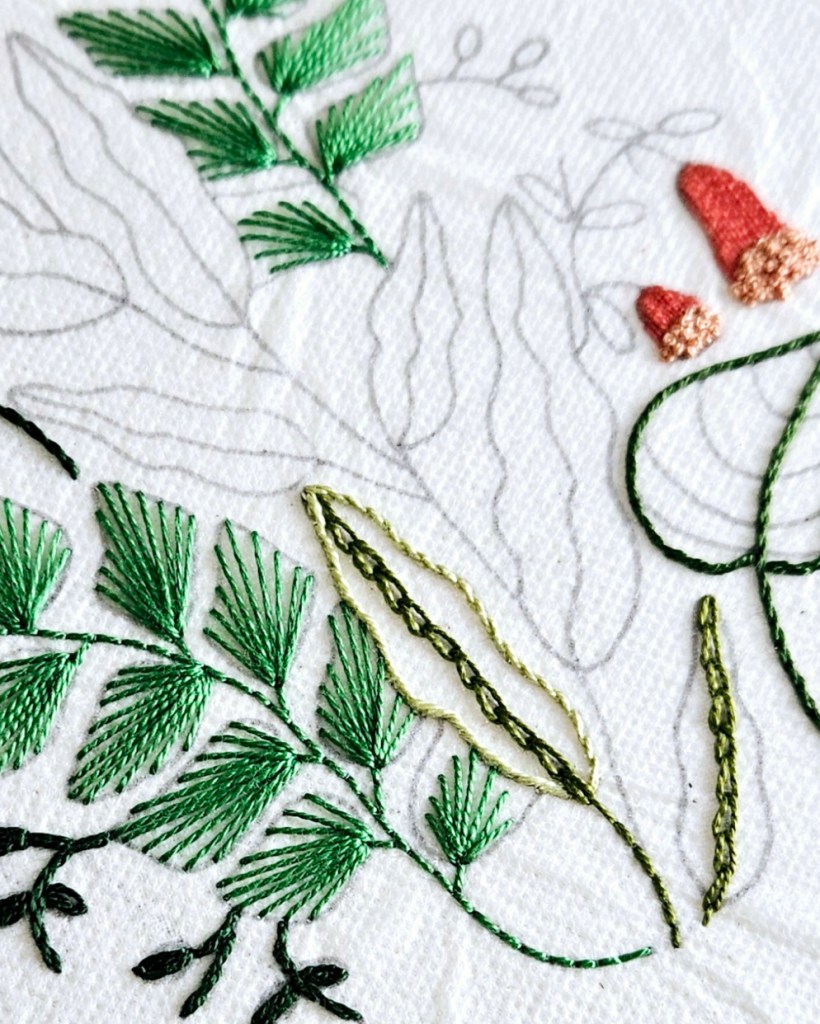
Embroidery is for everyone and isn’t as hard to learn as you might think, you can learn some simple stitches which will create exciting pieces of work. The key is to practice so that you get used to where to hold your hoop and how to anchor the threads. Embroidery is just a series of loops help down in different ways which you will pick up the more you stitch.
All you need to get started is some fabric, embroidery threads, an embroidery hoop, a needle and some scissors. You can use old clothing or tote bags for your fabric and embroidery hoops, needles and threads can be picked up at charity shops and high street shops. Nail scissors are great for embroidery as they allow you to get closer to the fabric to cut loose threads.
YouTube has definitely changed the way we learn to embroider, being able to watch a video of the process instead of those little pictures is amazing. There are definitely some stitches that are harder to learn. I’ve only ever done 2 perfect bullion knots in my life, in 2013 and in 2023. I confidently predict that if I try again in 2033 it will be perfect!
For regular updates about upcoming workshops and events you can sign up to my monthly newsletter, and for cat pictures and work in progress follow me on Instagram.