
In these posts I like to share some tips and tricks with you to make your embroidery projects easier. In this post I’m responding to a question I get asked about my work
“How do you transfer your design onto fabric?”
I get asked this question a lot, especially when I’m stitching in a cafe or showing a sample in a workshop. When I’m creating a design I think about the fabrics, threads and the original image I’m using and this informs how I transfer a design.


I like to create my design on paper first, this might be drawing a completely new design or printing a photograph out. I find this helps me to get the design right before I start adding it to fabric, especially if I’m using vintage fabrics that I can’t replace.
Pilot Frixion Pens
For this technique, once I’m happy with my design, I place my fabric in the embroidery hoop to keep it nice and flat. I then place the paper underneath the fabric and trace the lines using the pen. If my design uses lines, I always use a ruler to keep them straight.
If you want a design to grow organically, you can draw straight onto the fabric with the pen too, I often do this when I’m working on a stitchscape and want a guideline to stitch to. The design you create on paper doesn’t have to be followed exactly either, it can change as you start to stitch and want to make changes.
Pilot Frixion Pens are heat erasable, this means when you have completed the embroidery you can remove them with the heat from a dry iron or hairdryer. Make sure that you test the pen on the edge of the fabric first, it doesn’t always fully disappear on vintage fabrics and can come back if the fabric gets very cold.
Tissue Paper Transfer
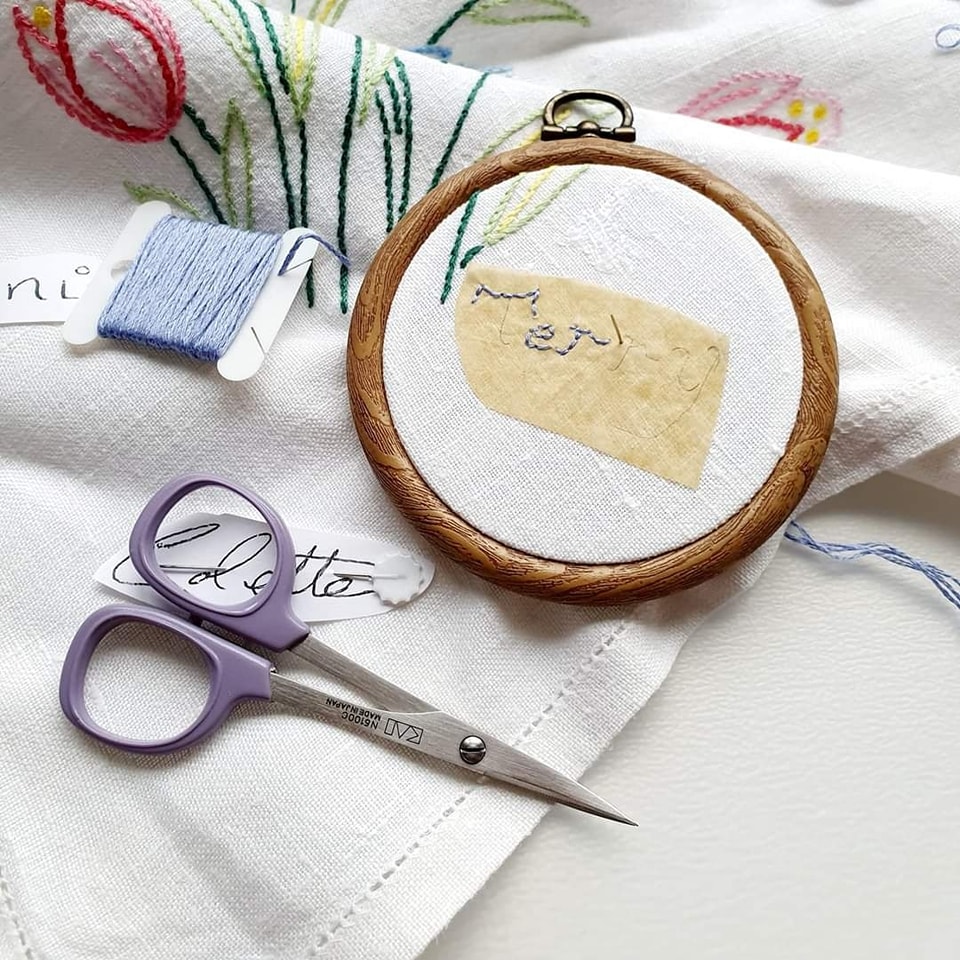
When I’m working on private commissions and with intricate text, I like to use the tissue paper method to transfer my designs. This method might sound a bit strange but I find it really useful.
I trace the hand writing from a client onto the paper with a mechanical pencil. I then cut around leaving a border and stick the paper to the fabric temporarily with my Sewline Glue Pen. The tissue paper is easy to stitch through and when that area of the design is complete, I tear away the tissue paper with fine papercraft tweezers.
This technique can be fiddly but it doesn’t leave residue on the fabric and I don’t have to wash or iron away the transfer method.
Wash Away Interfacing
Recently, I tried using self adhesive wash away interfacing to print a design I created on my laptop. You can read more about that technique in my recent post Learning New Tricks.
I’ve been using Madeira Avalon as I had a roll in my cupboard that I bought about 10 years ago. I created a design on my laptop and printed this out on my inkjet printer. Once the design dried I stuck the interfacing to my fabric.
A word of warning, I recently completed an autumnal design and when I washed away the interfacing the colours in some of my threads bled and stained the fabric. I recommend testing your threads to check if they are colourfast before you start stitching using this method. I usually use DMC threads as they are colourfast when washed.
I recommend trying a few different methods for your projects to see what works best for you and the fabric and threads you’re using.
