In my Artist’s Q&A post, I shared the tools I couldn’t live without. I thought it would be good to write about these tools in a separate post so you can find out more about them and how and why I use them.
Good to Know: As you become a more experienced embroiderer you will find tools and equipment that work well for you and your craft. The best tools for you might not be what people would recommend and this is okay as it works for you.
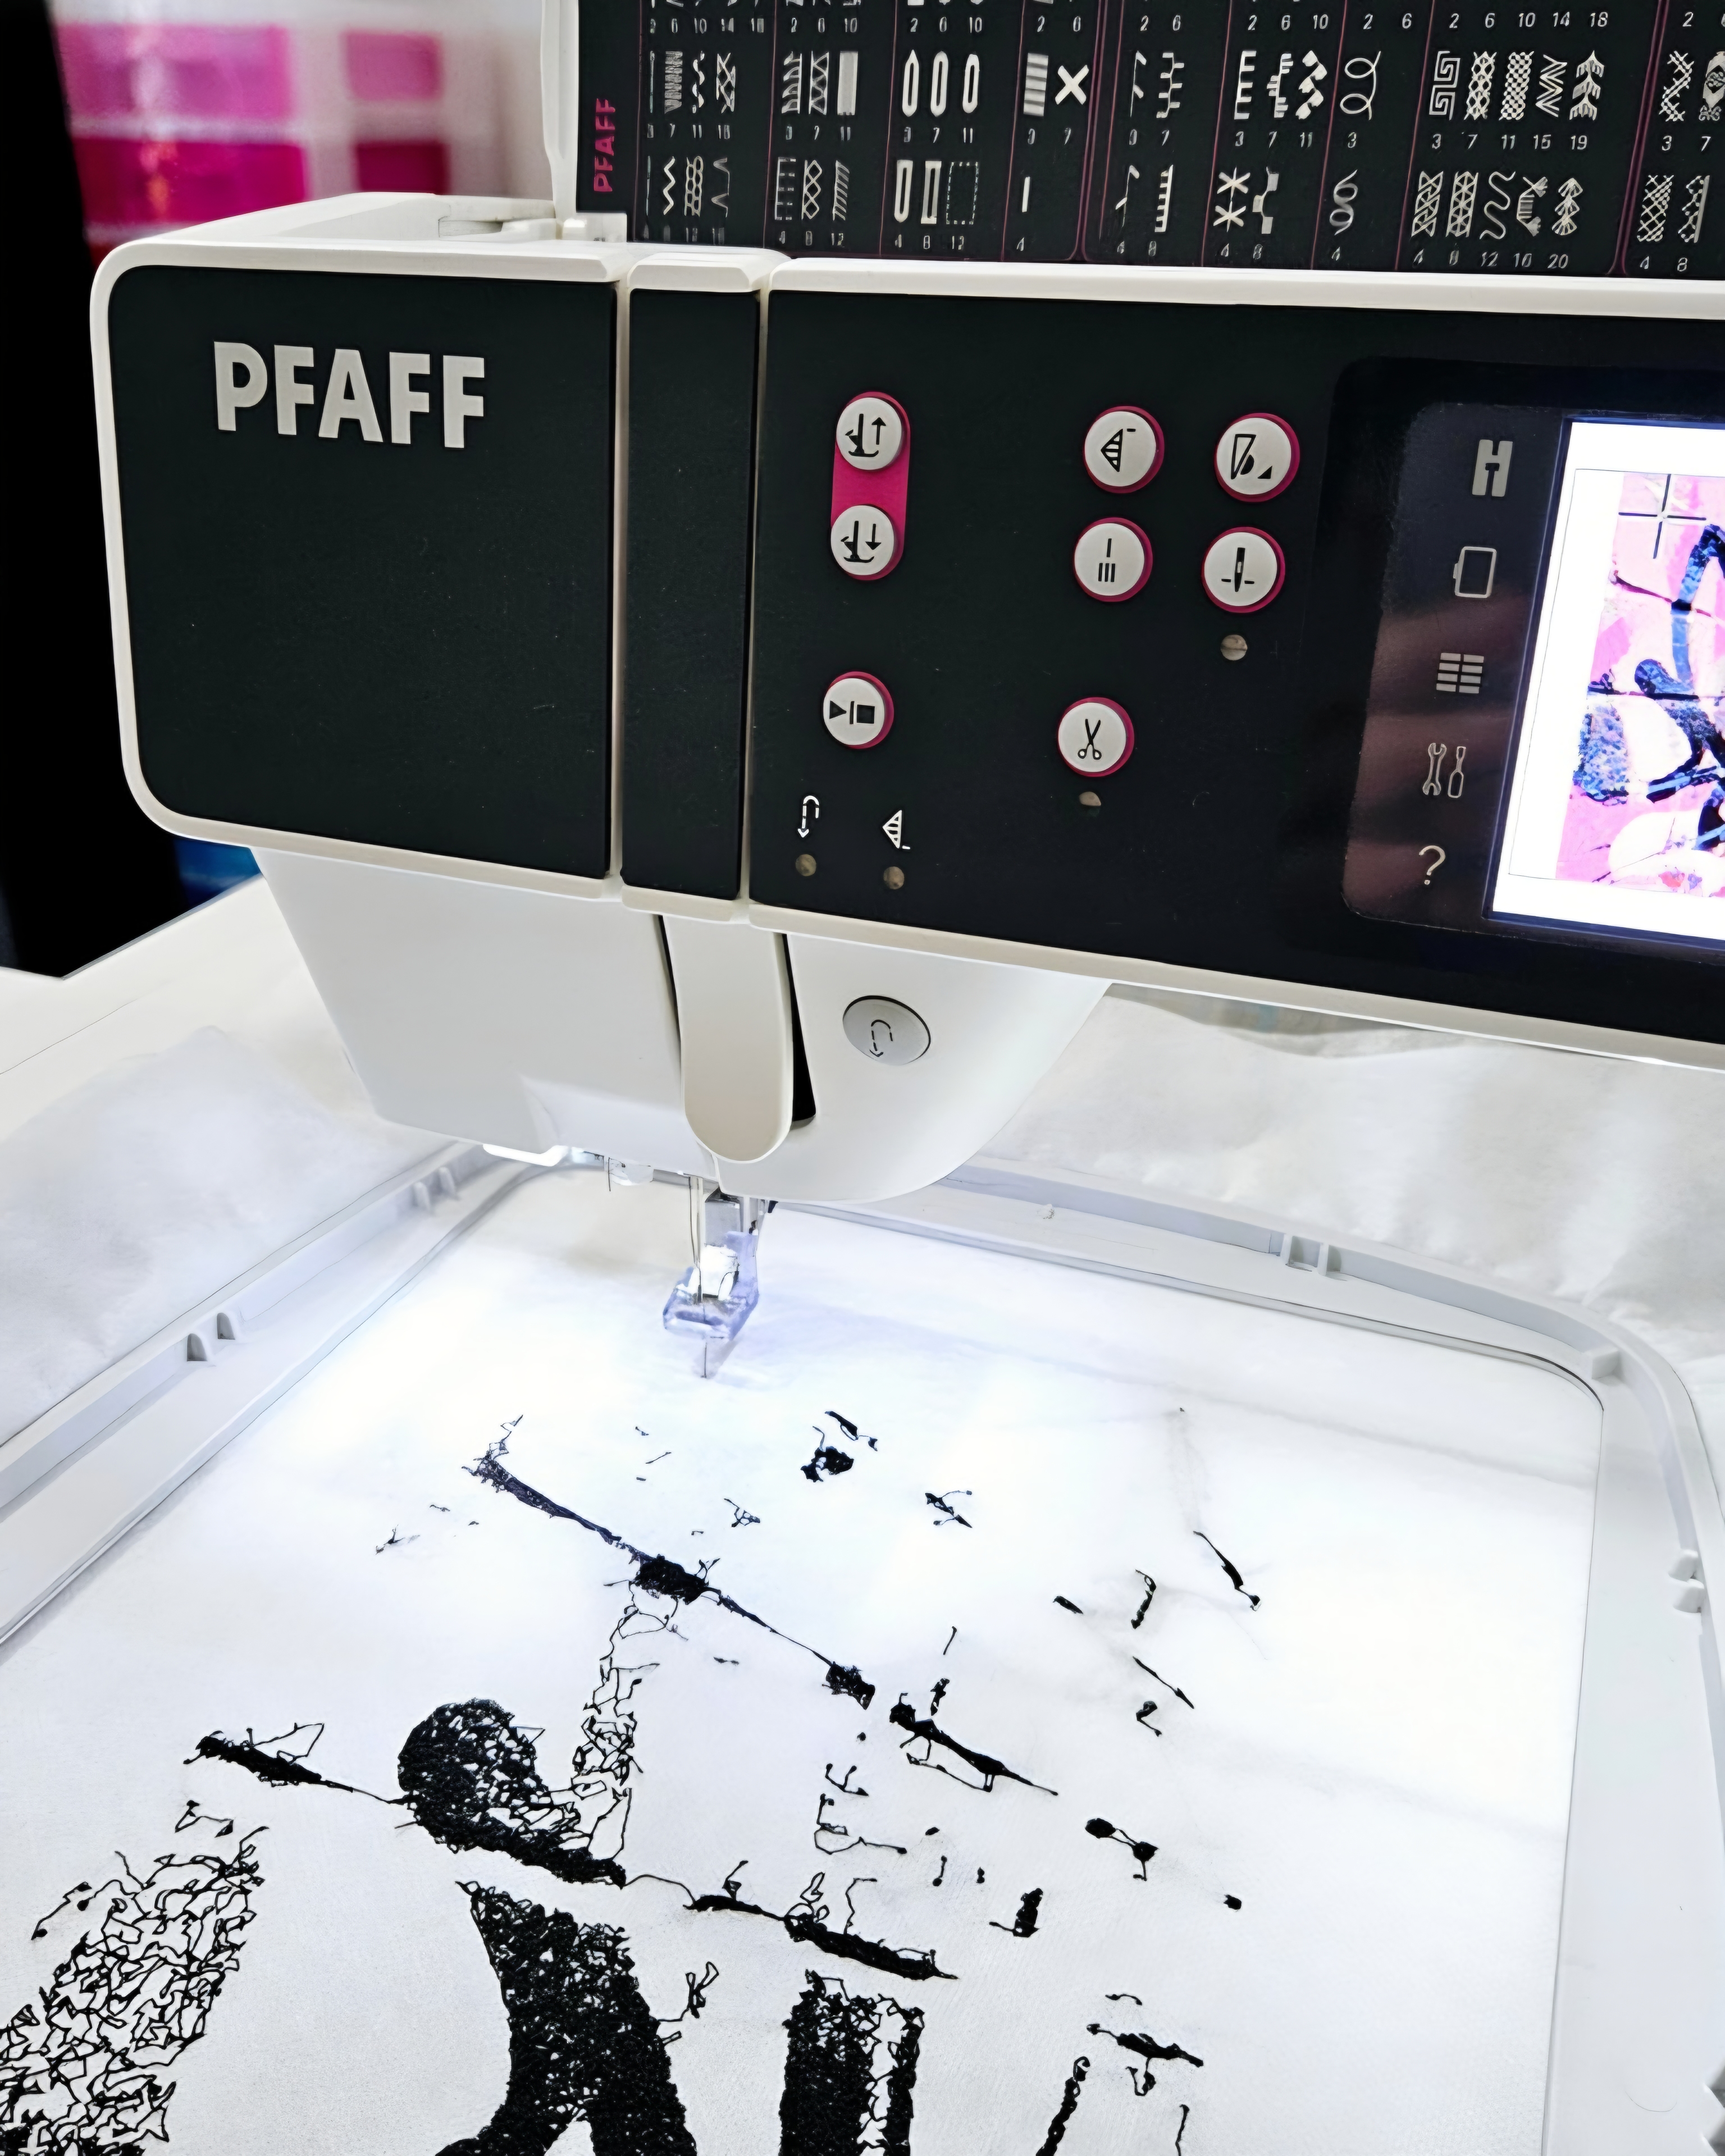
Pfaff Creative 3.0 Embroidery Machine
During my MA in textiles I was lucky to have access to digital embroidery machines. They changed my practice, and in 2013 I was able to buy one for myself. Working in conjunction with mySewnet Embroidery software, this machine allows me to stitch my photographs and drawings and bring my ideas into being.
I love working with the machine at every stage and it definitely needs to be watched rather than left to its own devices in my opinion. I like to ensure I’m using the right colour of bobbin thread and making sure that the colours are working well together as the design progresses.
If you’re visiting a big crafting event like Festival of Quilts or the Knitting & Stitching Show I recommend watching them in action. They can do a lot more than stitching traditional florals and monogramming.
Elbesee Table Clamp
A few years ago I was struggling with a neck and shoulder injury. Embroidering was really tough because of the way I was sitting and holding the hoop. When I started to feel my shoulder hurting again I bought myself an Elbesee table clamp and hoop, it’s like a holiday for my shoulders.
I use the clamp when I’m sitting at my desk or on the sofa with a folding table. It keeps both my hands free for stitching and I don’t get tired holding the hoop. You can get a universal hoop holder which works with your existing collection or they offer a range of hoops with the attachment built in which I prefer.
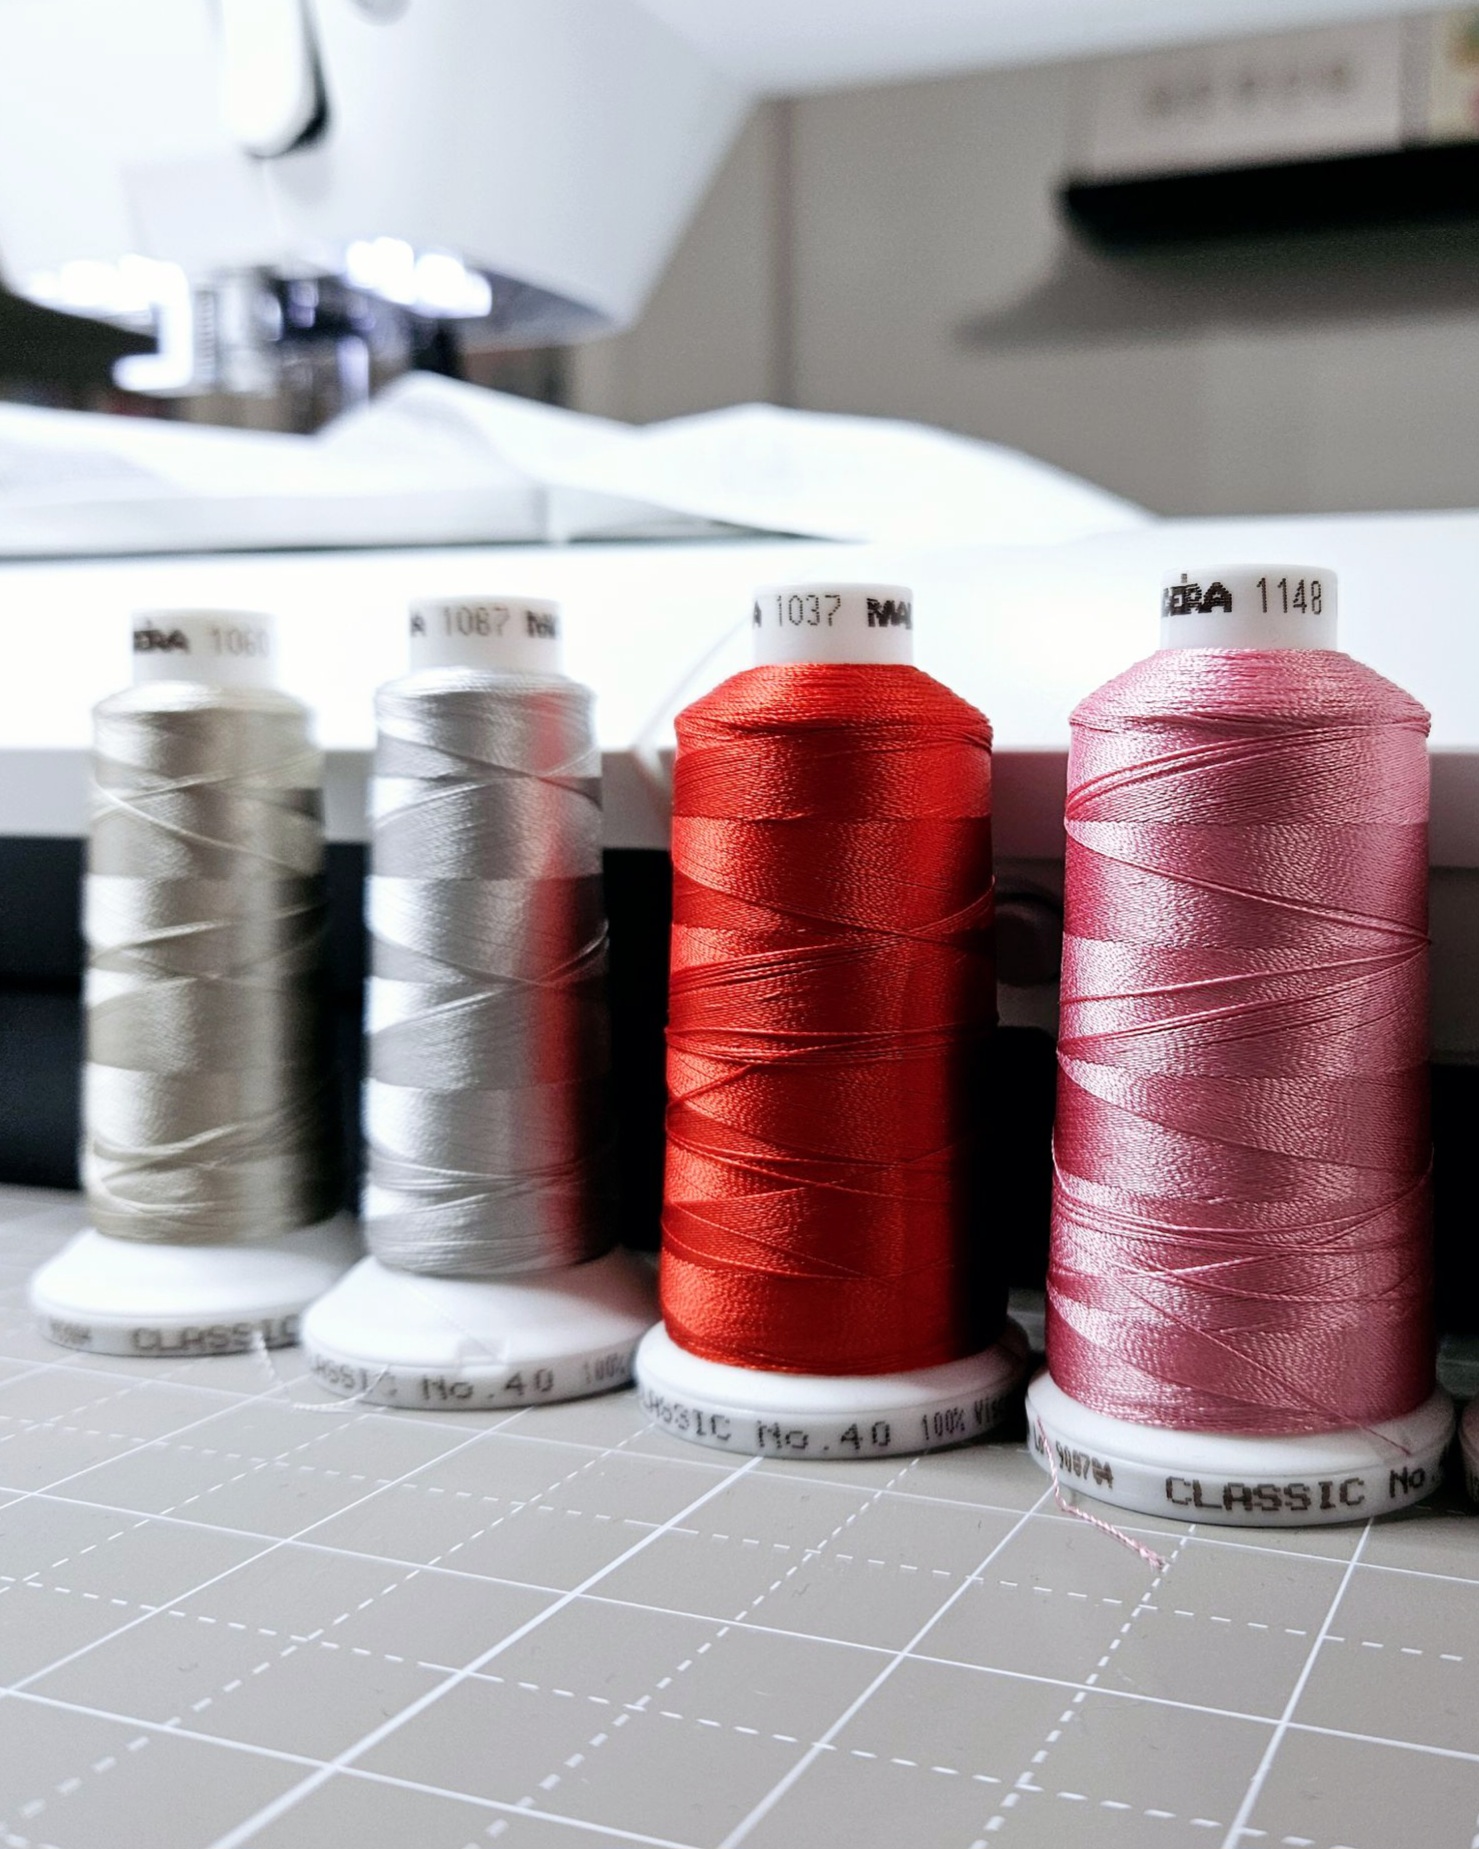
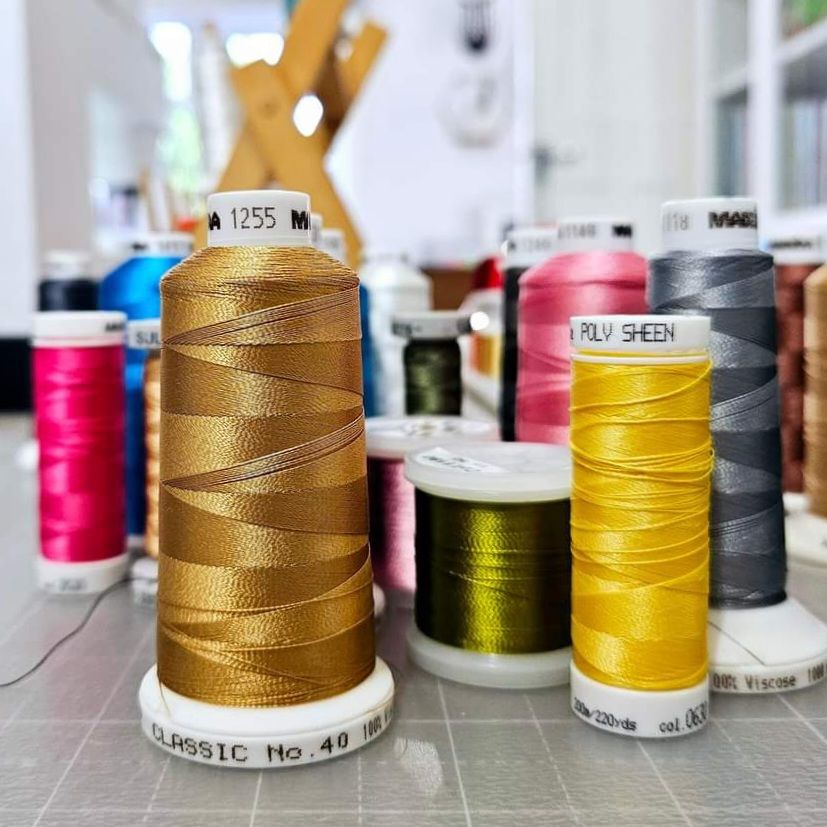
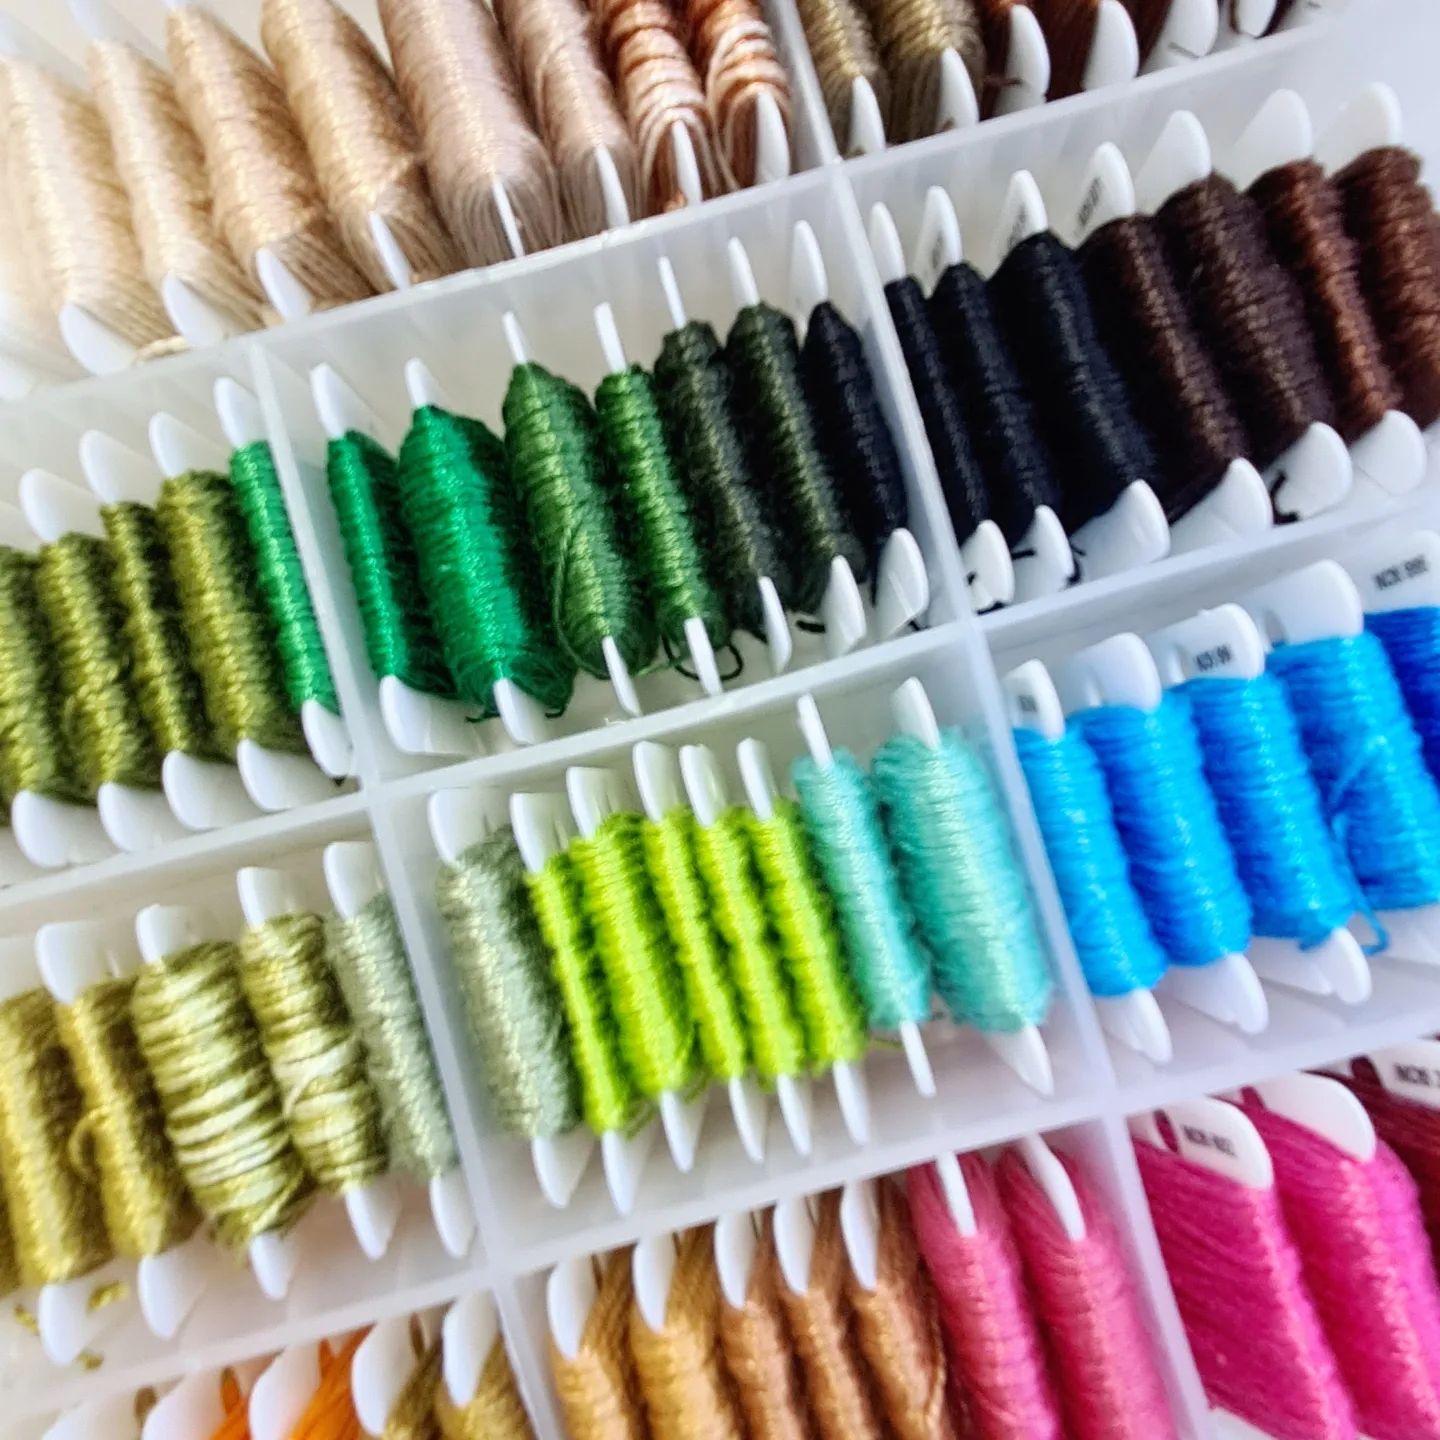
Rayon Thread
Used in my digital embroidery work, rayon thread comes in a vast array of colours. I use 40 weight which gives me the best results, as with other threads, the higher the number the thinner the thread. You can also use rayon threads for free motion embroidery, they are strong and have a great finished when used densely.
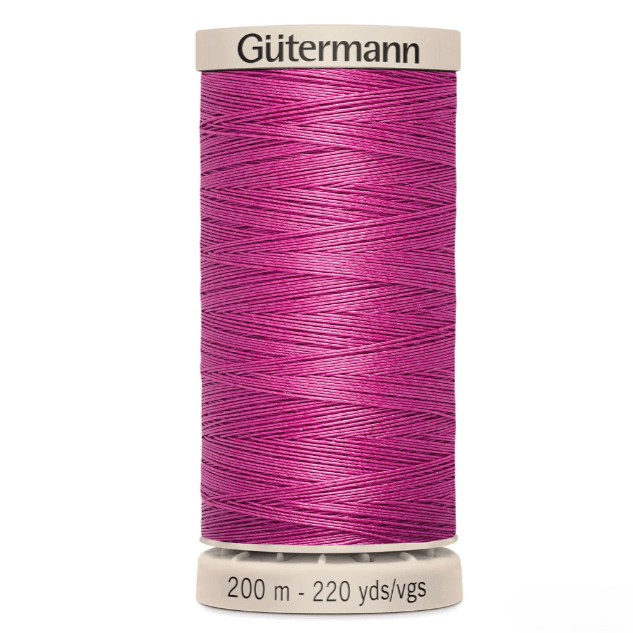
The brands I use the most are Gutermann Sulky, Madeira Rayon 40 and Mettler Poly 40 but there are lots of other great brands too.
Good to know: Barnyarns are a great supplier for embroidery threads. They have a great range and do multibuy offers too. I use them for lots of my supplies and they are really knowledgeable about all the products they sell.
Wash Away Stabiliser
There are a few different names and products that fall under this category of wash away fabric, I use them for my digitally embroidered projects. I prefer the type that feels more like a fabric than a sheet of plastic. This is usually called Aquasol or Solufleece. I find this feels nicer and is easier to work with, I use two or three layers depending on how dense the embroidery will be.
Top Tip: This is supposed to be cold water soluble but I’ve found that it washes away much quicker with slightly warmer water, I use my mixer tap in the central position. To keep your embroidery flat when you wash away the fabric you can tack it to a polystyrene printing tile, this works well for very lacey designs.
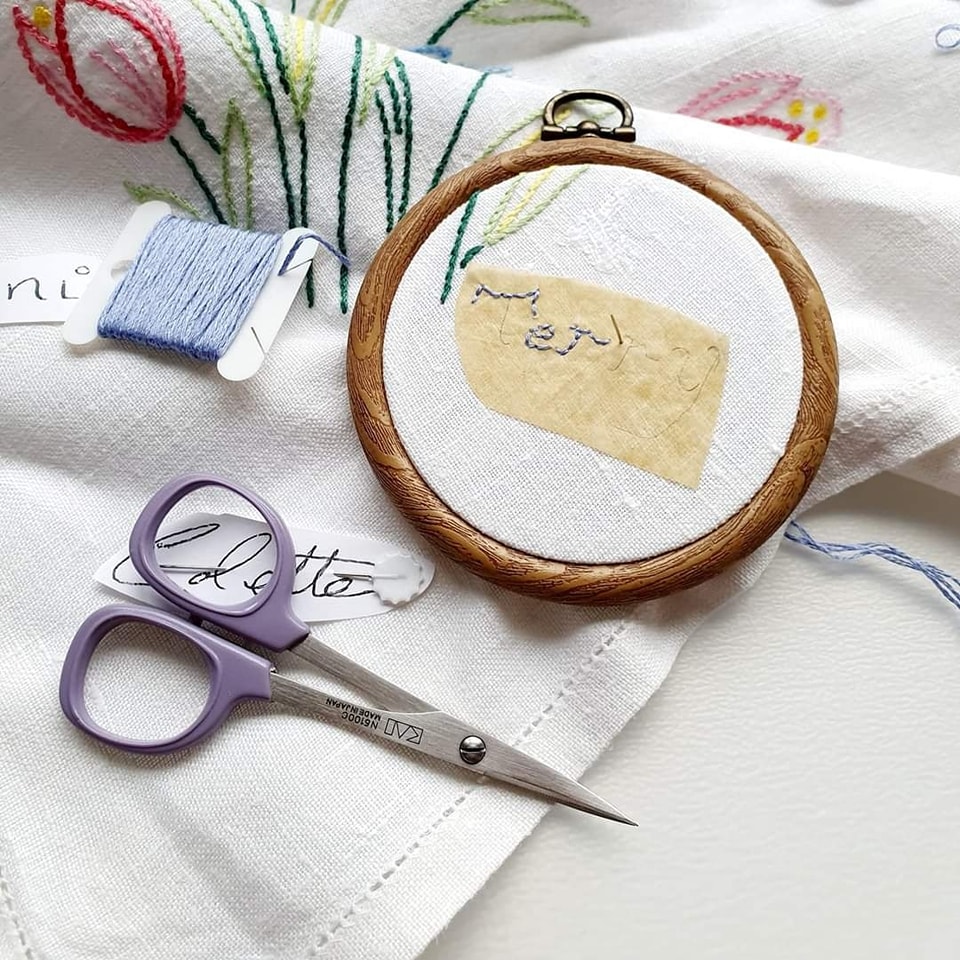
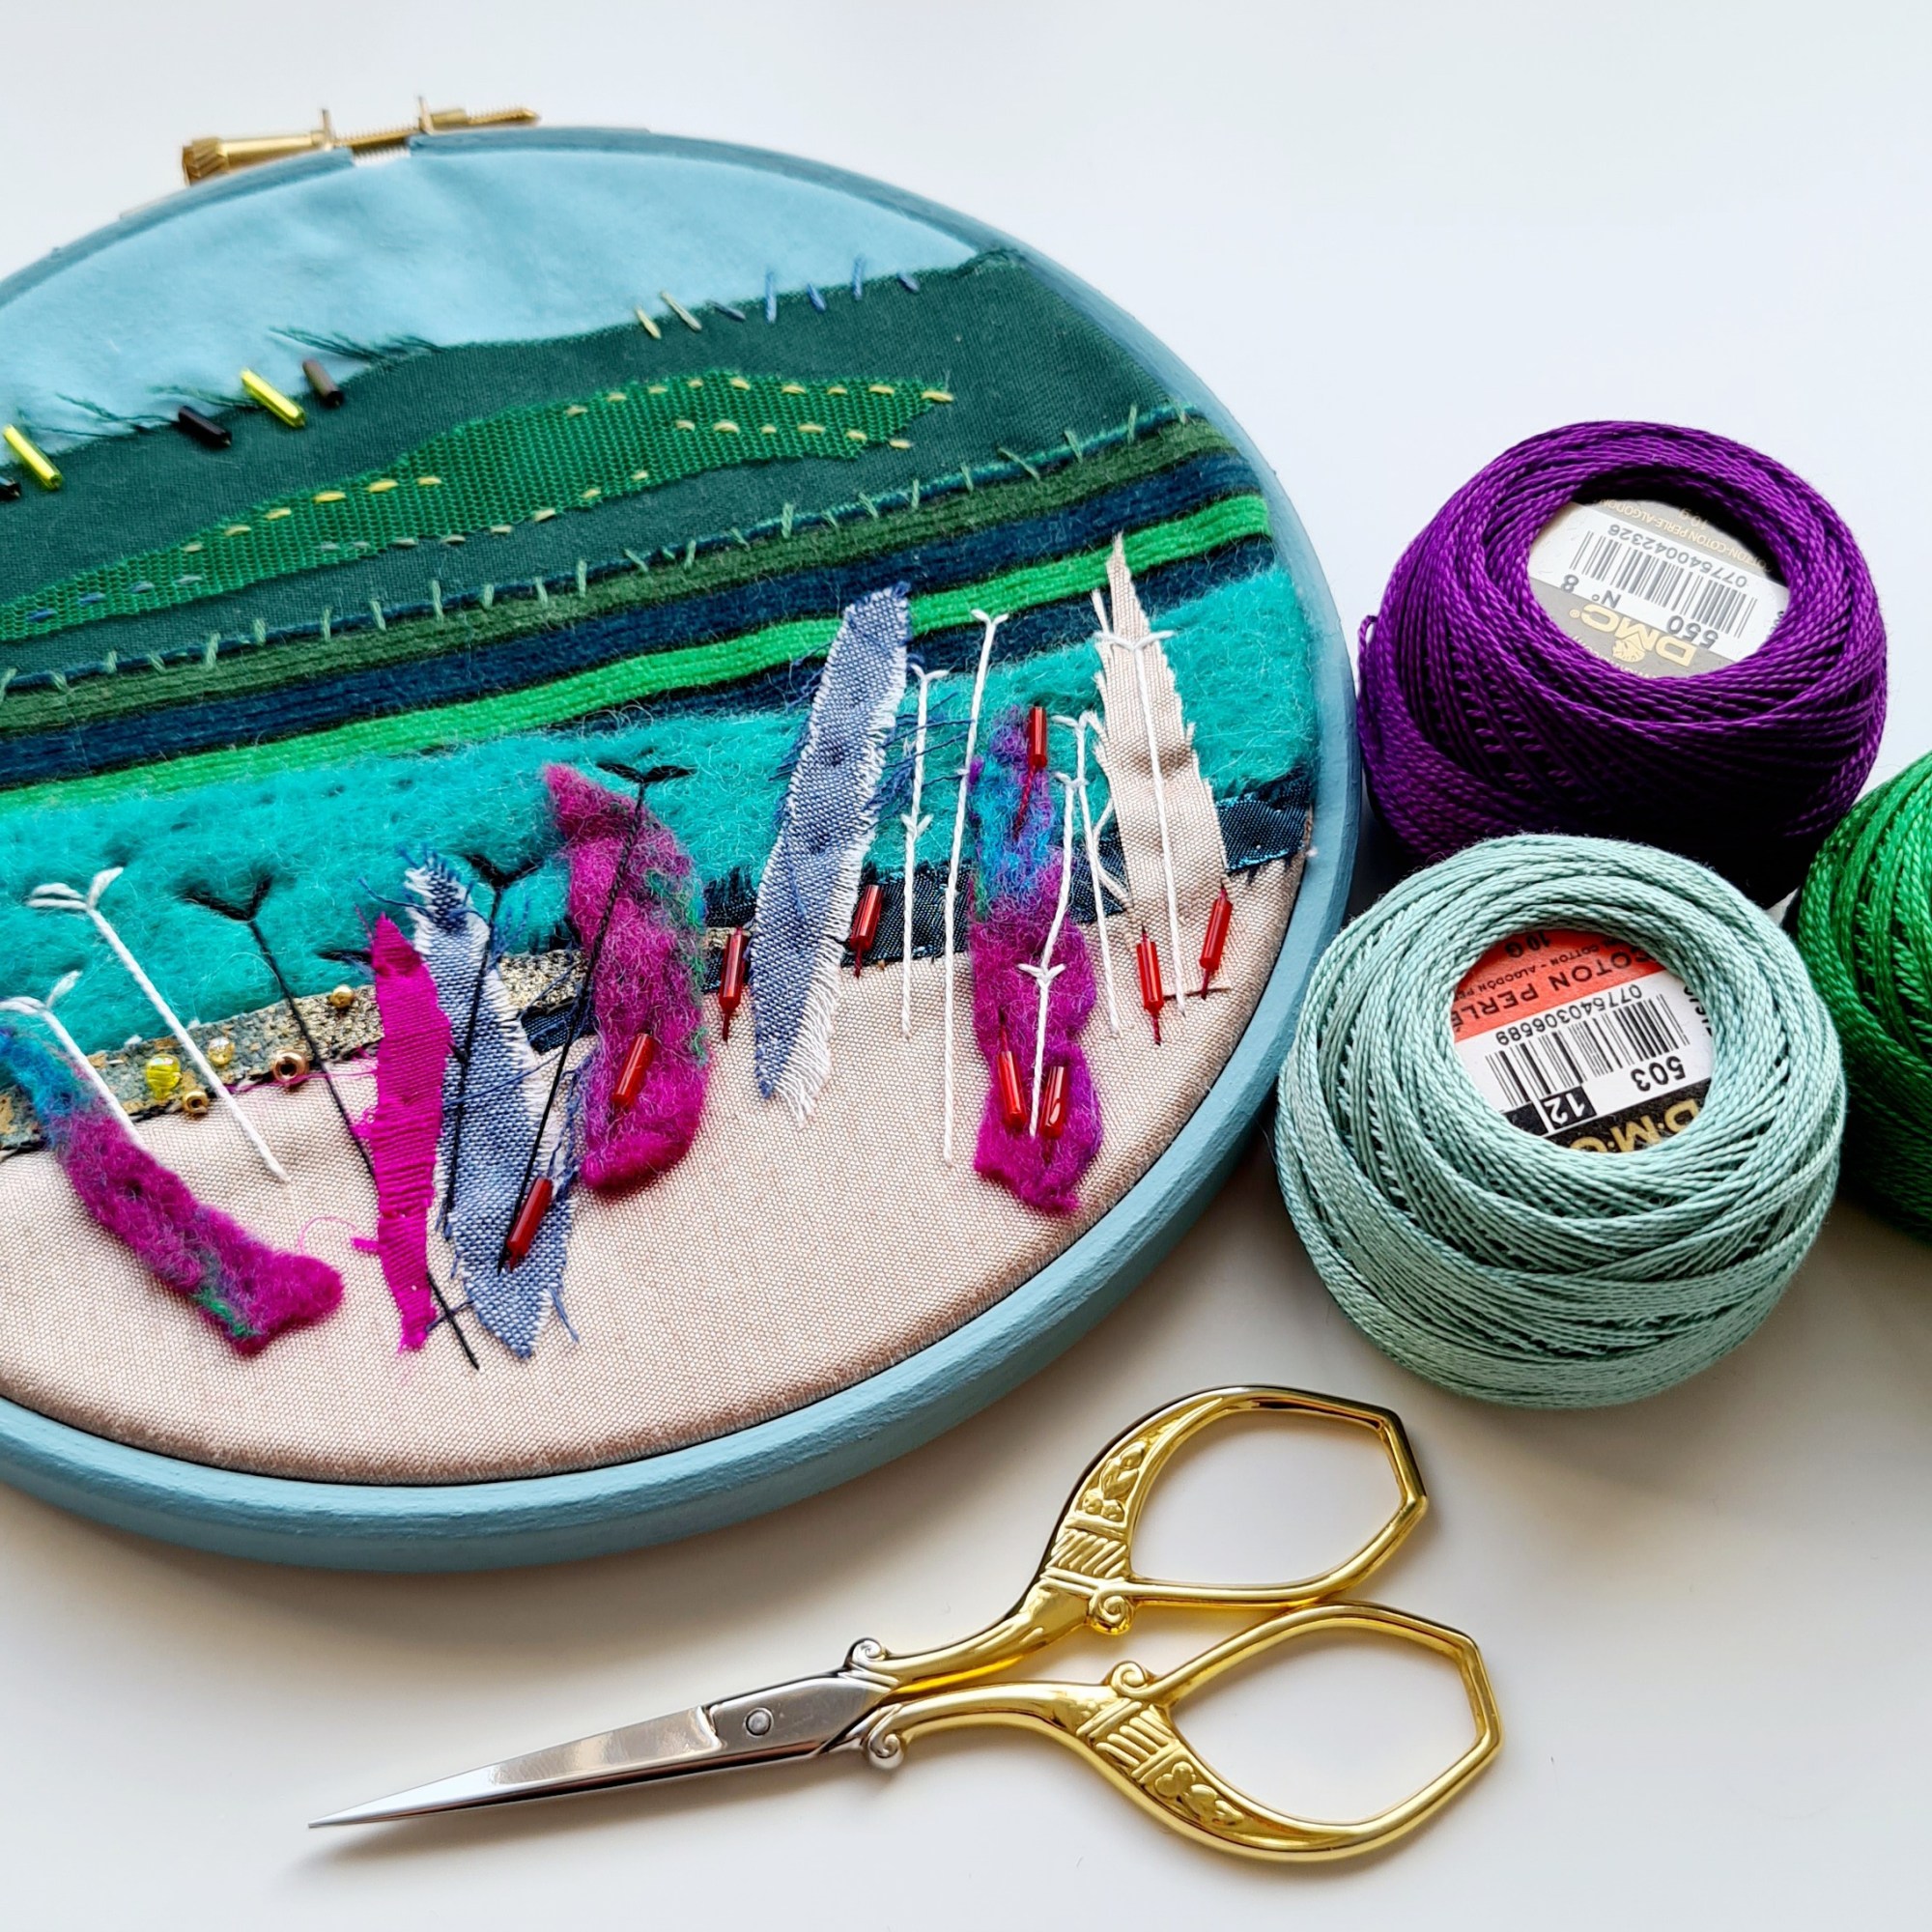
Embroidery Scissors
I love my curved embroidery scissors, they are great for trimming loose threads on my digital embroidery and unpicking stitches. They are great for getting right on the surface of the fabric and cutting away loose threads as the blades are sharp right to the end. These are my go to scissors for any hand or machine embroidery project.
Top Tip: Be careful when handling these scissors, the pointed blades can stab you if you leave them in the bottom of a box or bag.
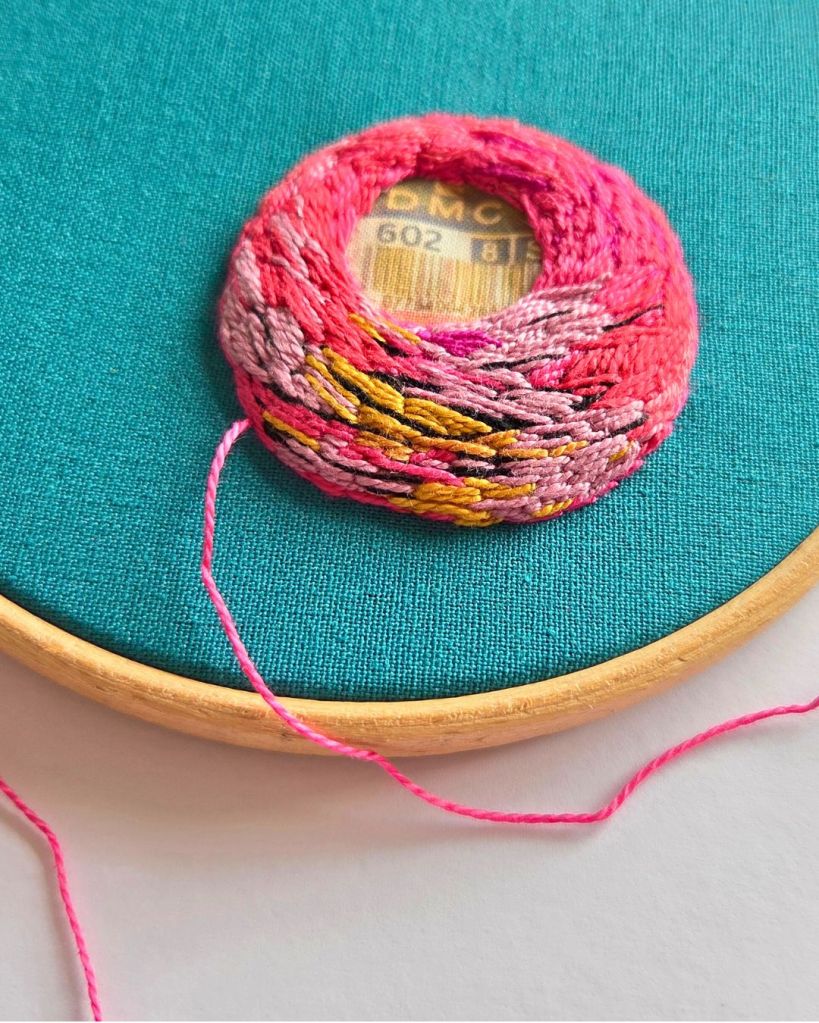
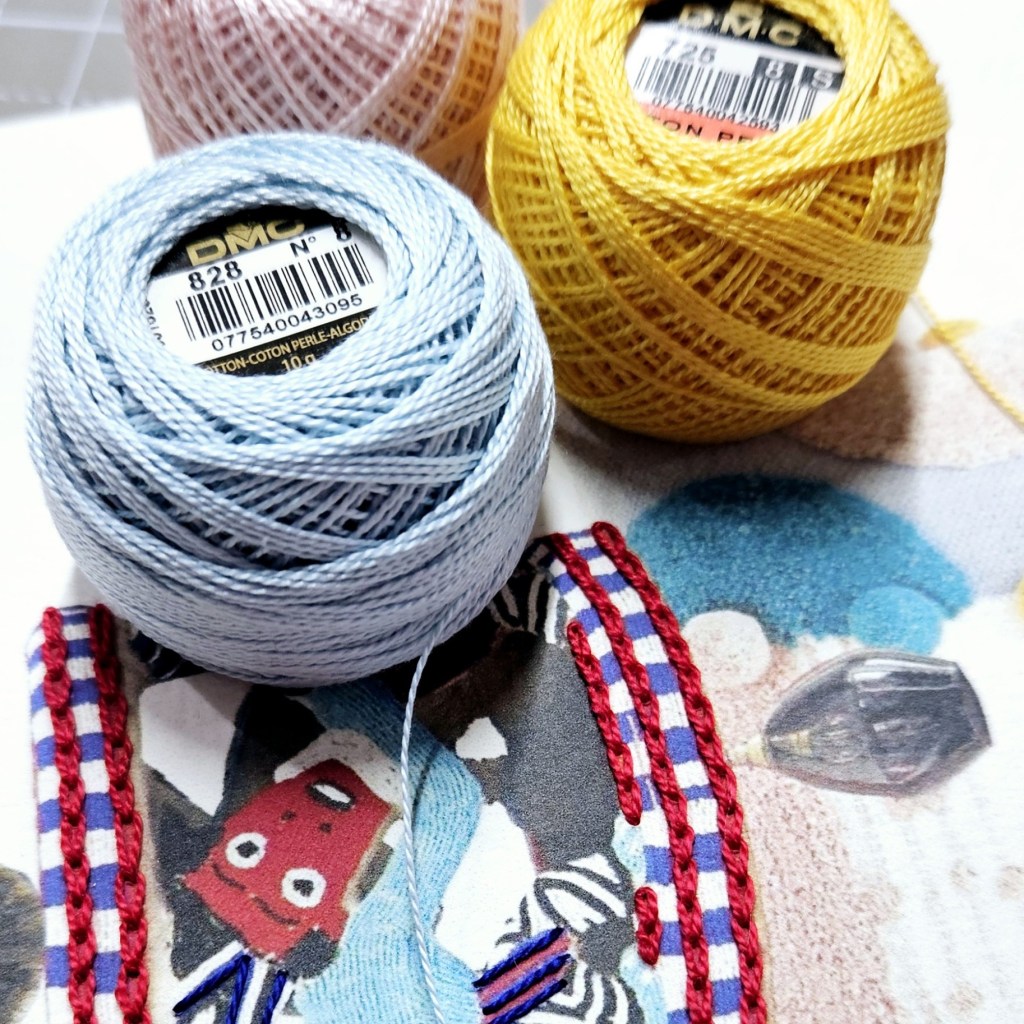
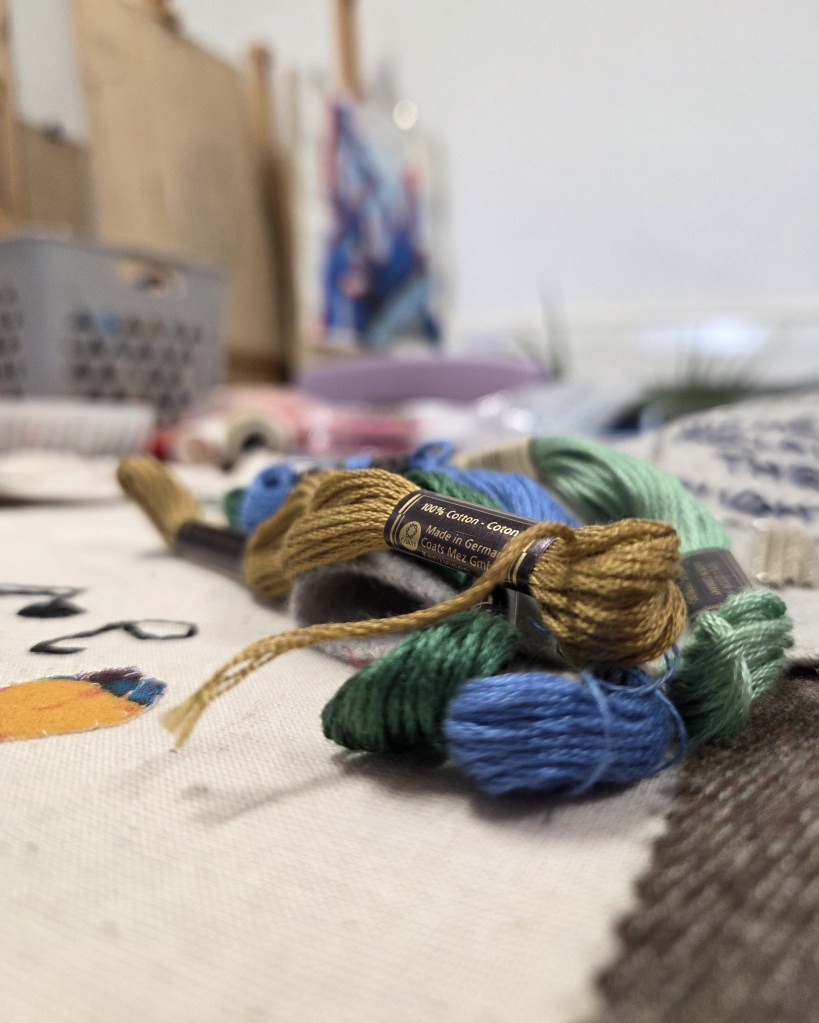
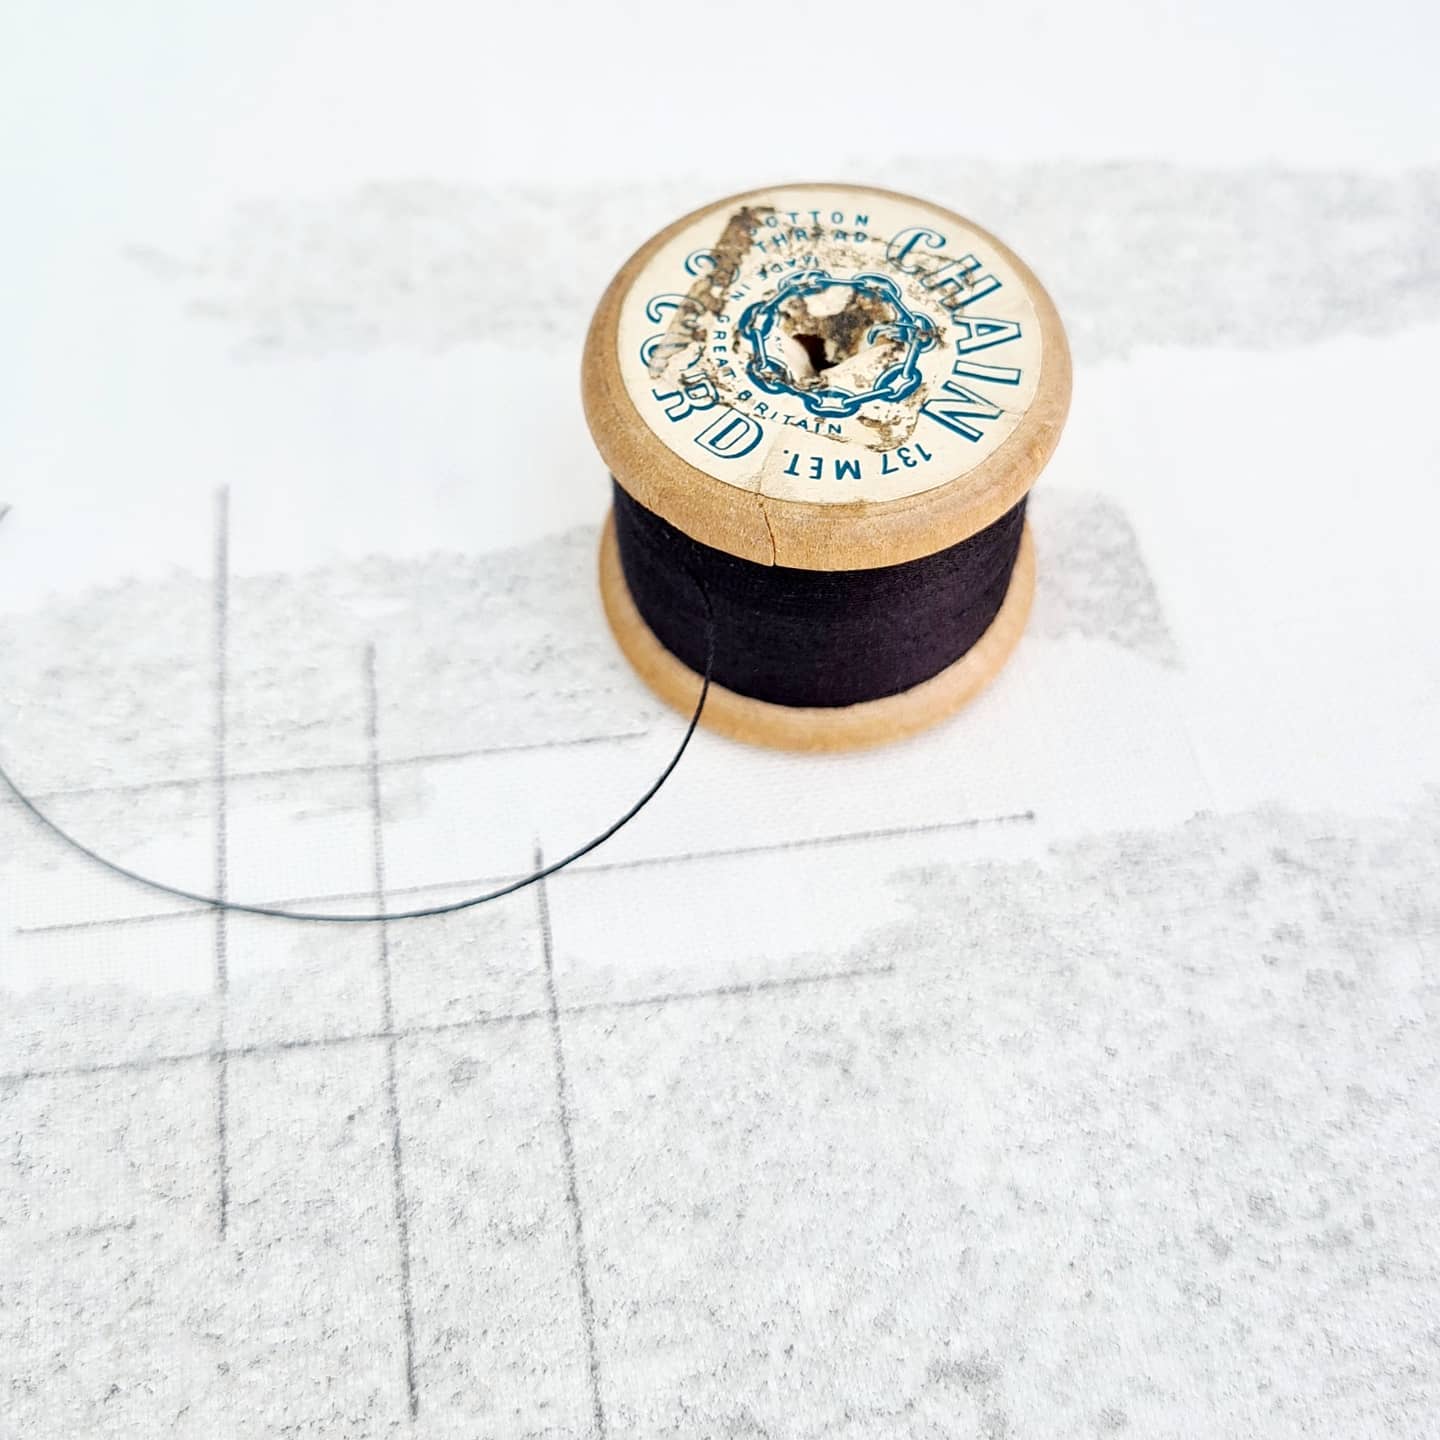
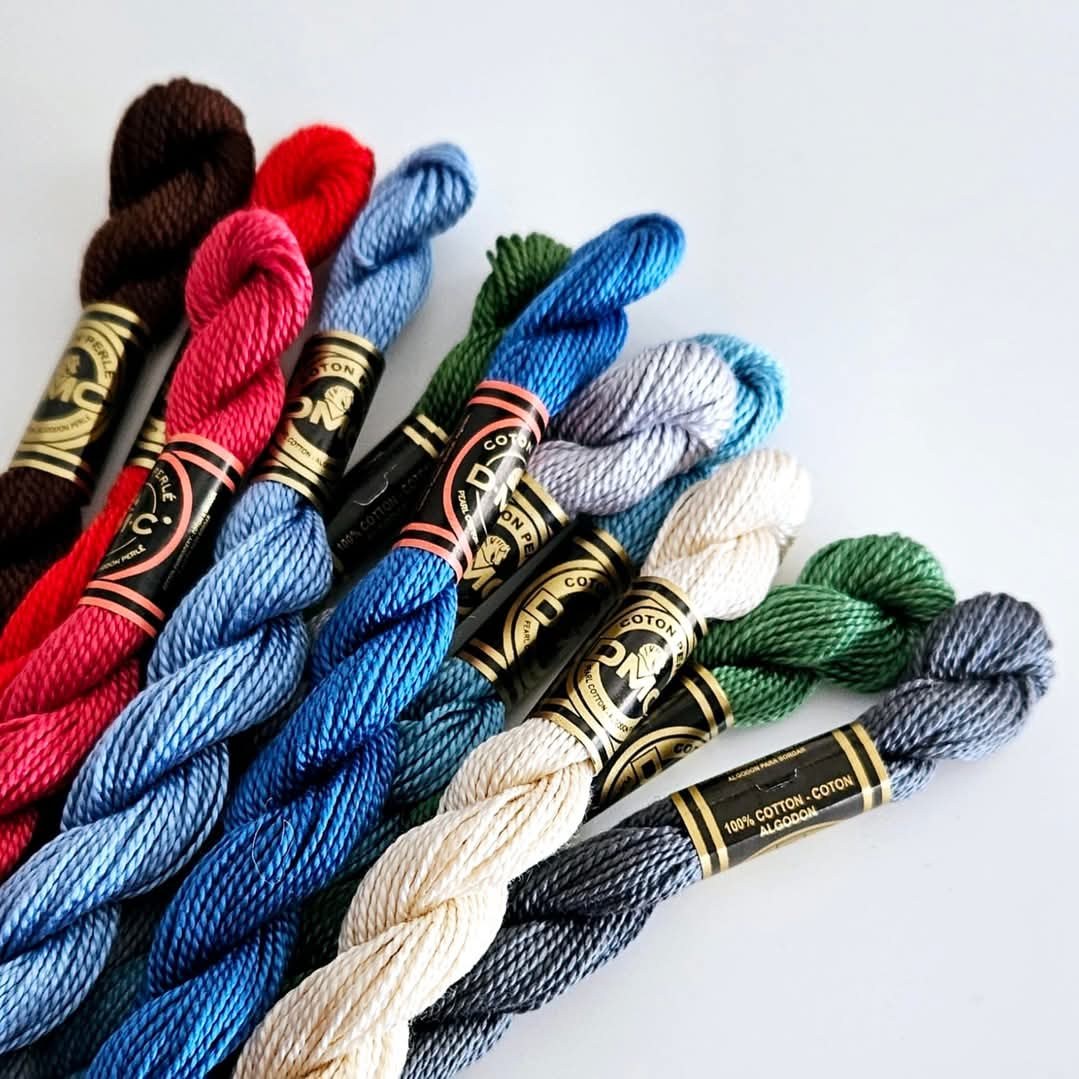
Cotton Perle Thread
Cotton Perle thread is 100% cotton, it has a distinctive twist and a slight sheen which gives it a lovely finish. This thread doesn’t get fluffy easily and is suitable for many types of hand embroidery. The heavier weight of this thread will give your project a raised texture and great definition. I started using cotton perle when I was given a ball in a mixed bag of vintage threads. I love to use it to add texture to my hand embroidered pieces and recently I’ve been experimenting with the different colours to build up layers.
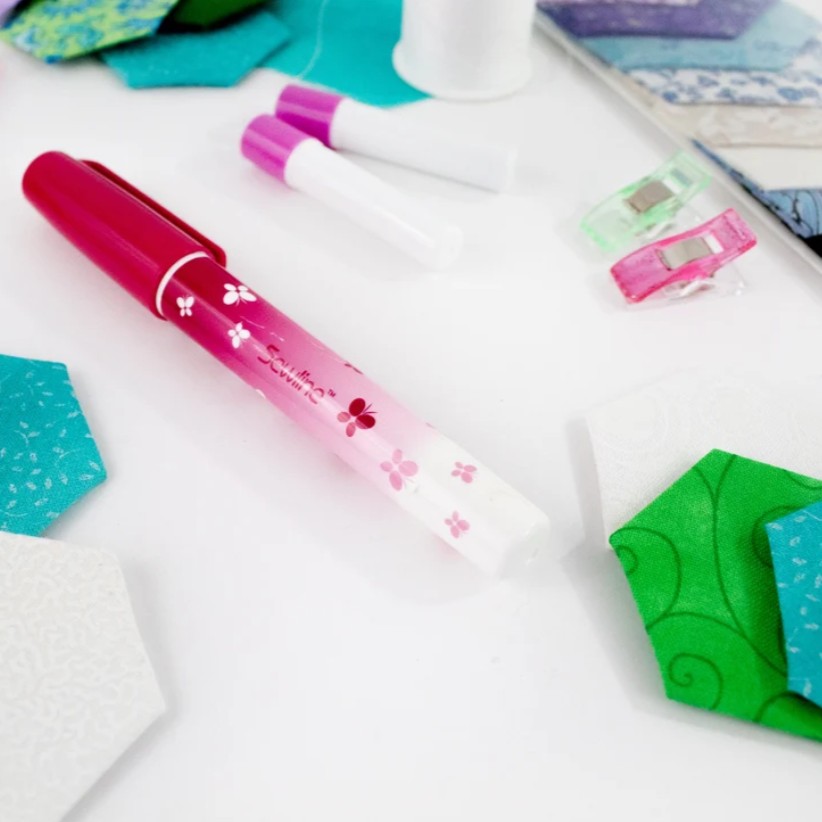
Glue Pen
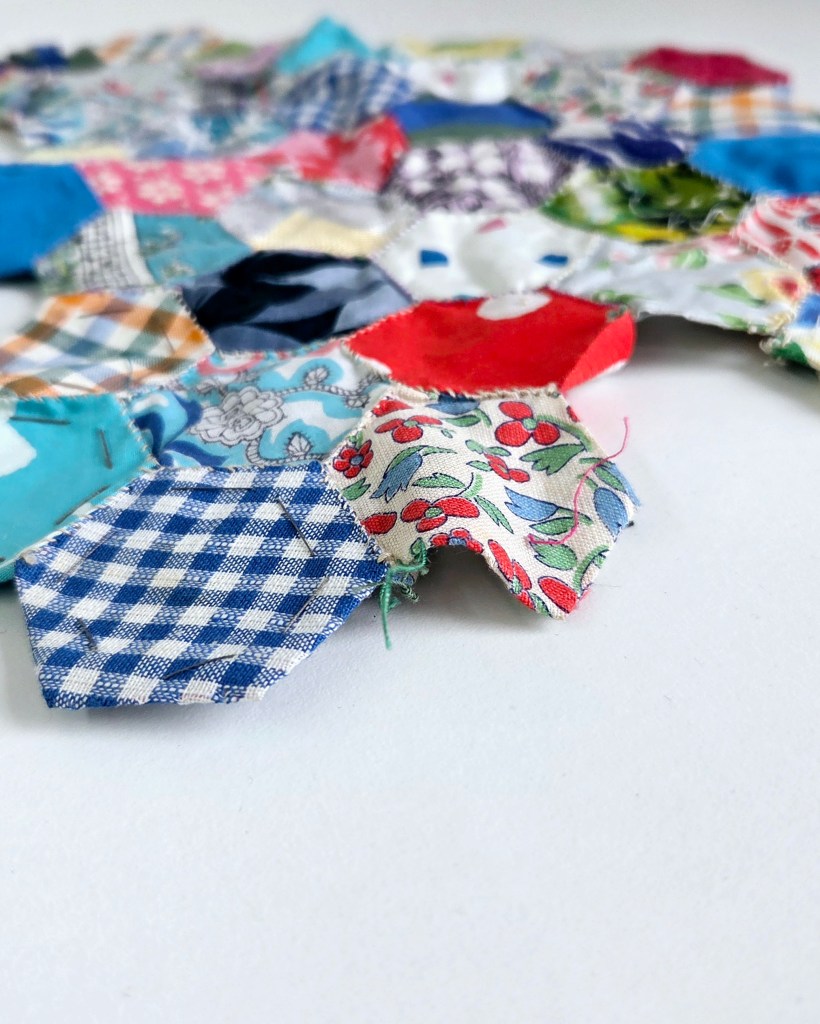
I’m a big fan of the Sewline or Prym glue pen, it’s really handy for temporary fixing of seams before you sew them and I use mine to secure paper hexagons to the fabric when I’m doing English paper piecing or adding small scraps for a stitchscape. The refills come in a variety of colours but dries clear. I use the fluorescent yellow as it’s easily visible on both light and dark fabrics.
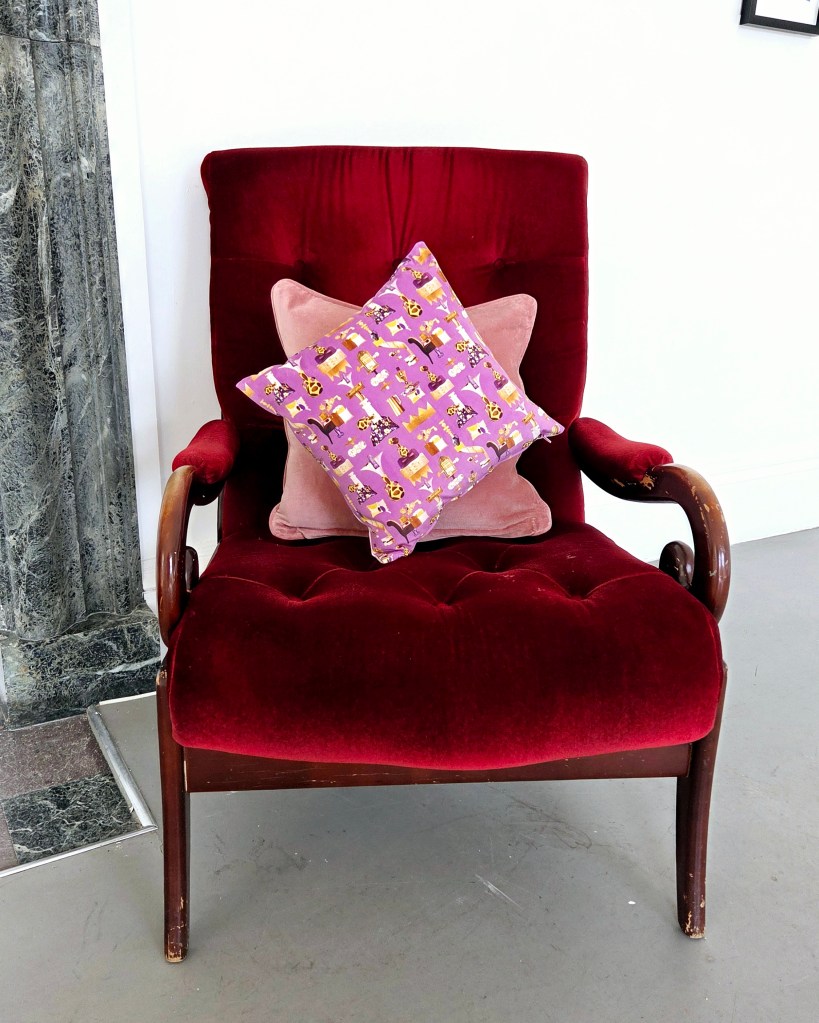
Vintage Fabrics
My favourite type of fabric has to be vintage, in particular vintage cotton like tray cloths and bed sheets. The smooth worn surface makes it perfect for hand embroidery, dyeing and printing. I like to make use of the features on the fabric too, like printed designs for embroidery or labels and laundry marks. You can pick up some great vintage pieces with prices starting at around £1.00 per item in charity shops. It’s great to think about reusing rather than buying new for every project.
You can freeze vintage fabrics for a couple of weeks to get rid of anything like clothes moths and gently hand wash them to remove any strange smells!
Pilot Frixion Pens
I’m often asked about the best way to transfer designs onto fabric ready to embroider, I use a variety of different pens for my work. These heat erasable pens are my go to for speedy projects, it disappears with the heat of an iron or hairdryer.
Good to know: Make sure you check that the pen will hear erase by testing an area of the fabric. These pens can mark vintage fabrics and the marks can return if the fabric gets very cold. I have to be mindful of this is my work is being archival frozen for a museum collection.