In my September 2025 post, Finding a Creative Spark I shared how I find and record my sources of inspiration. I thought a great follow up post would talk through how I go from finding inspiration to creating a piece of work.
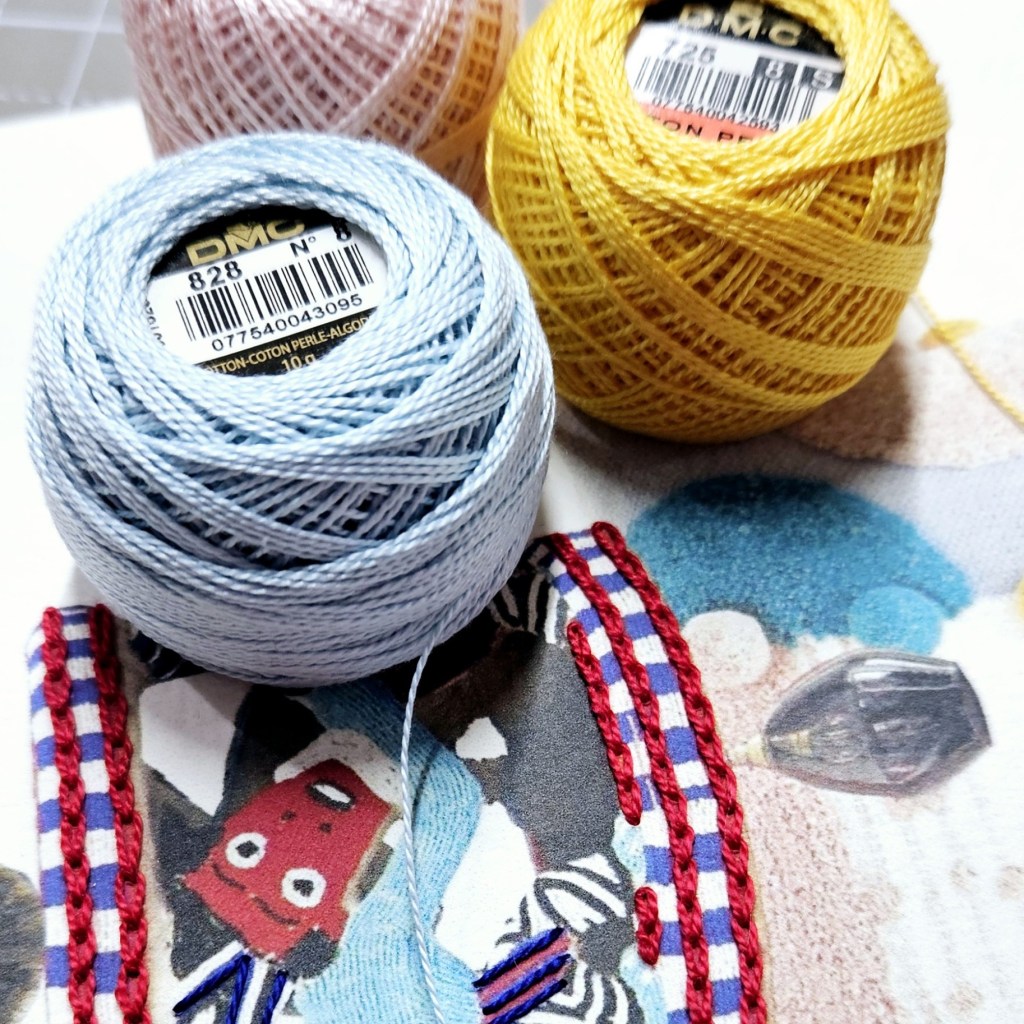
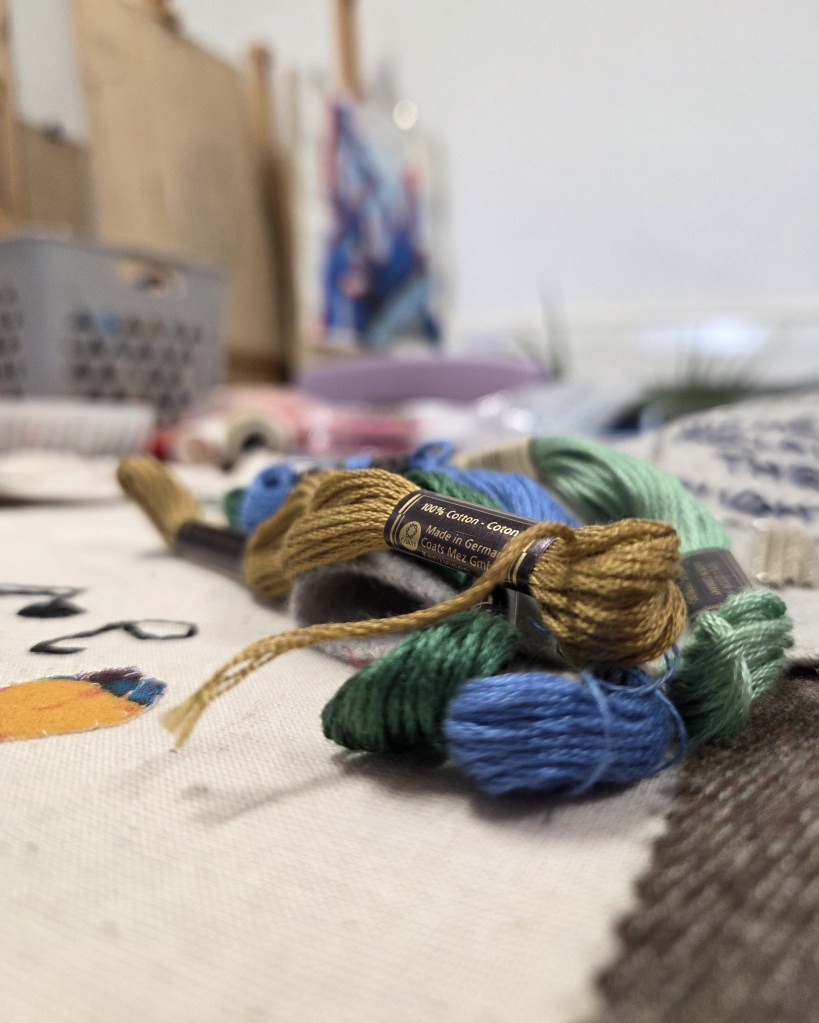
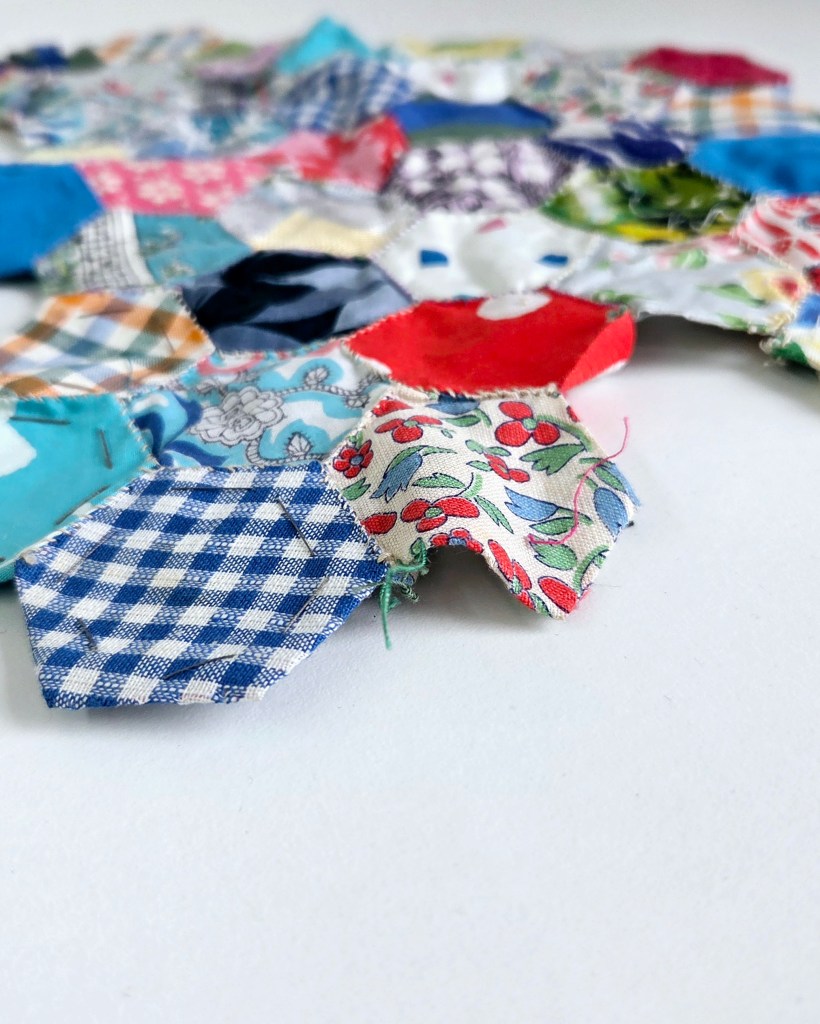
I like to lay out inspiration images and threads that I would like to use to as this helps my creative process. Sometimes I will sketch ideas for the finished work and sometimes I just start making an embroidery and see what ideas I come up with as I’m making.
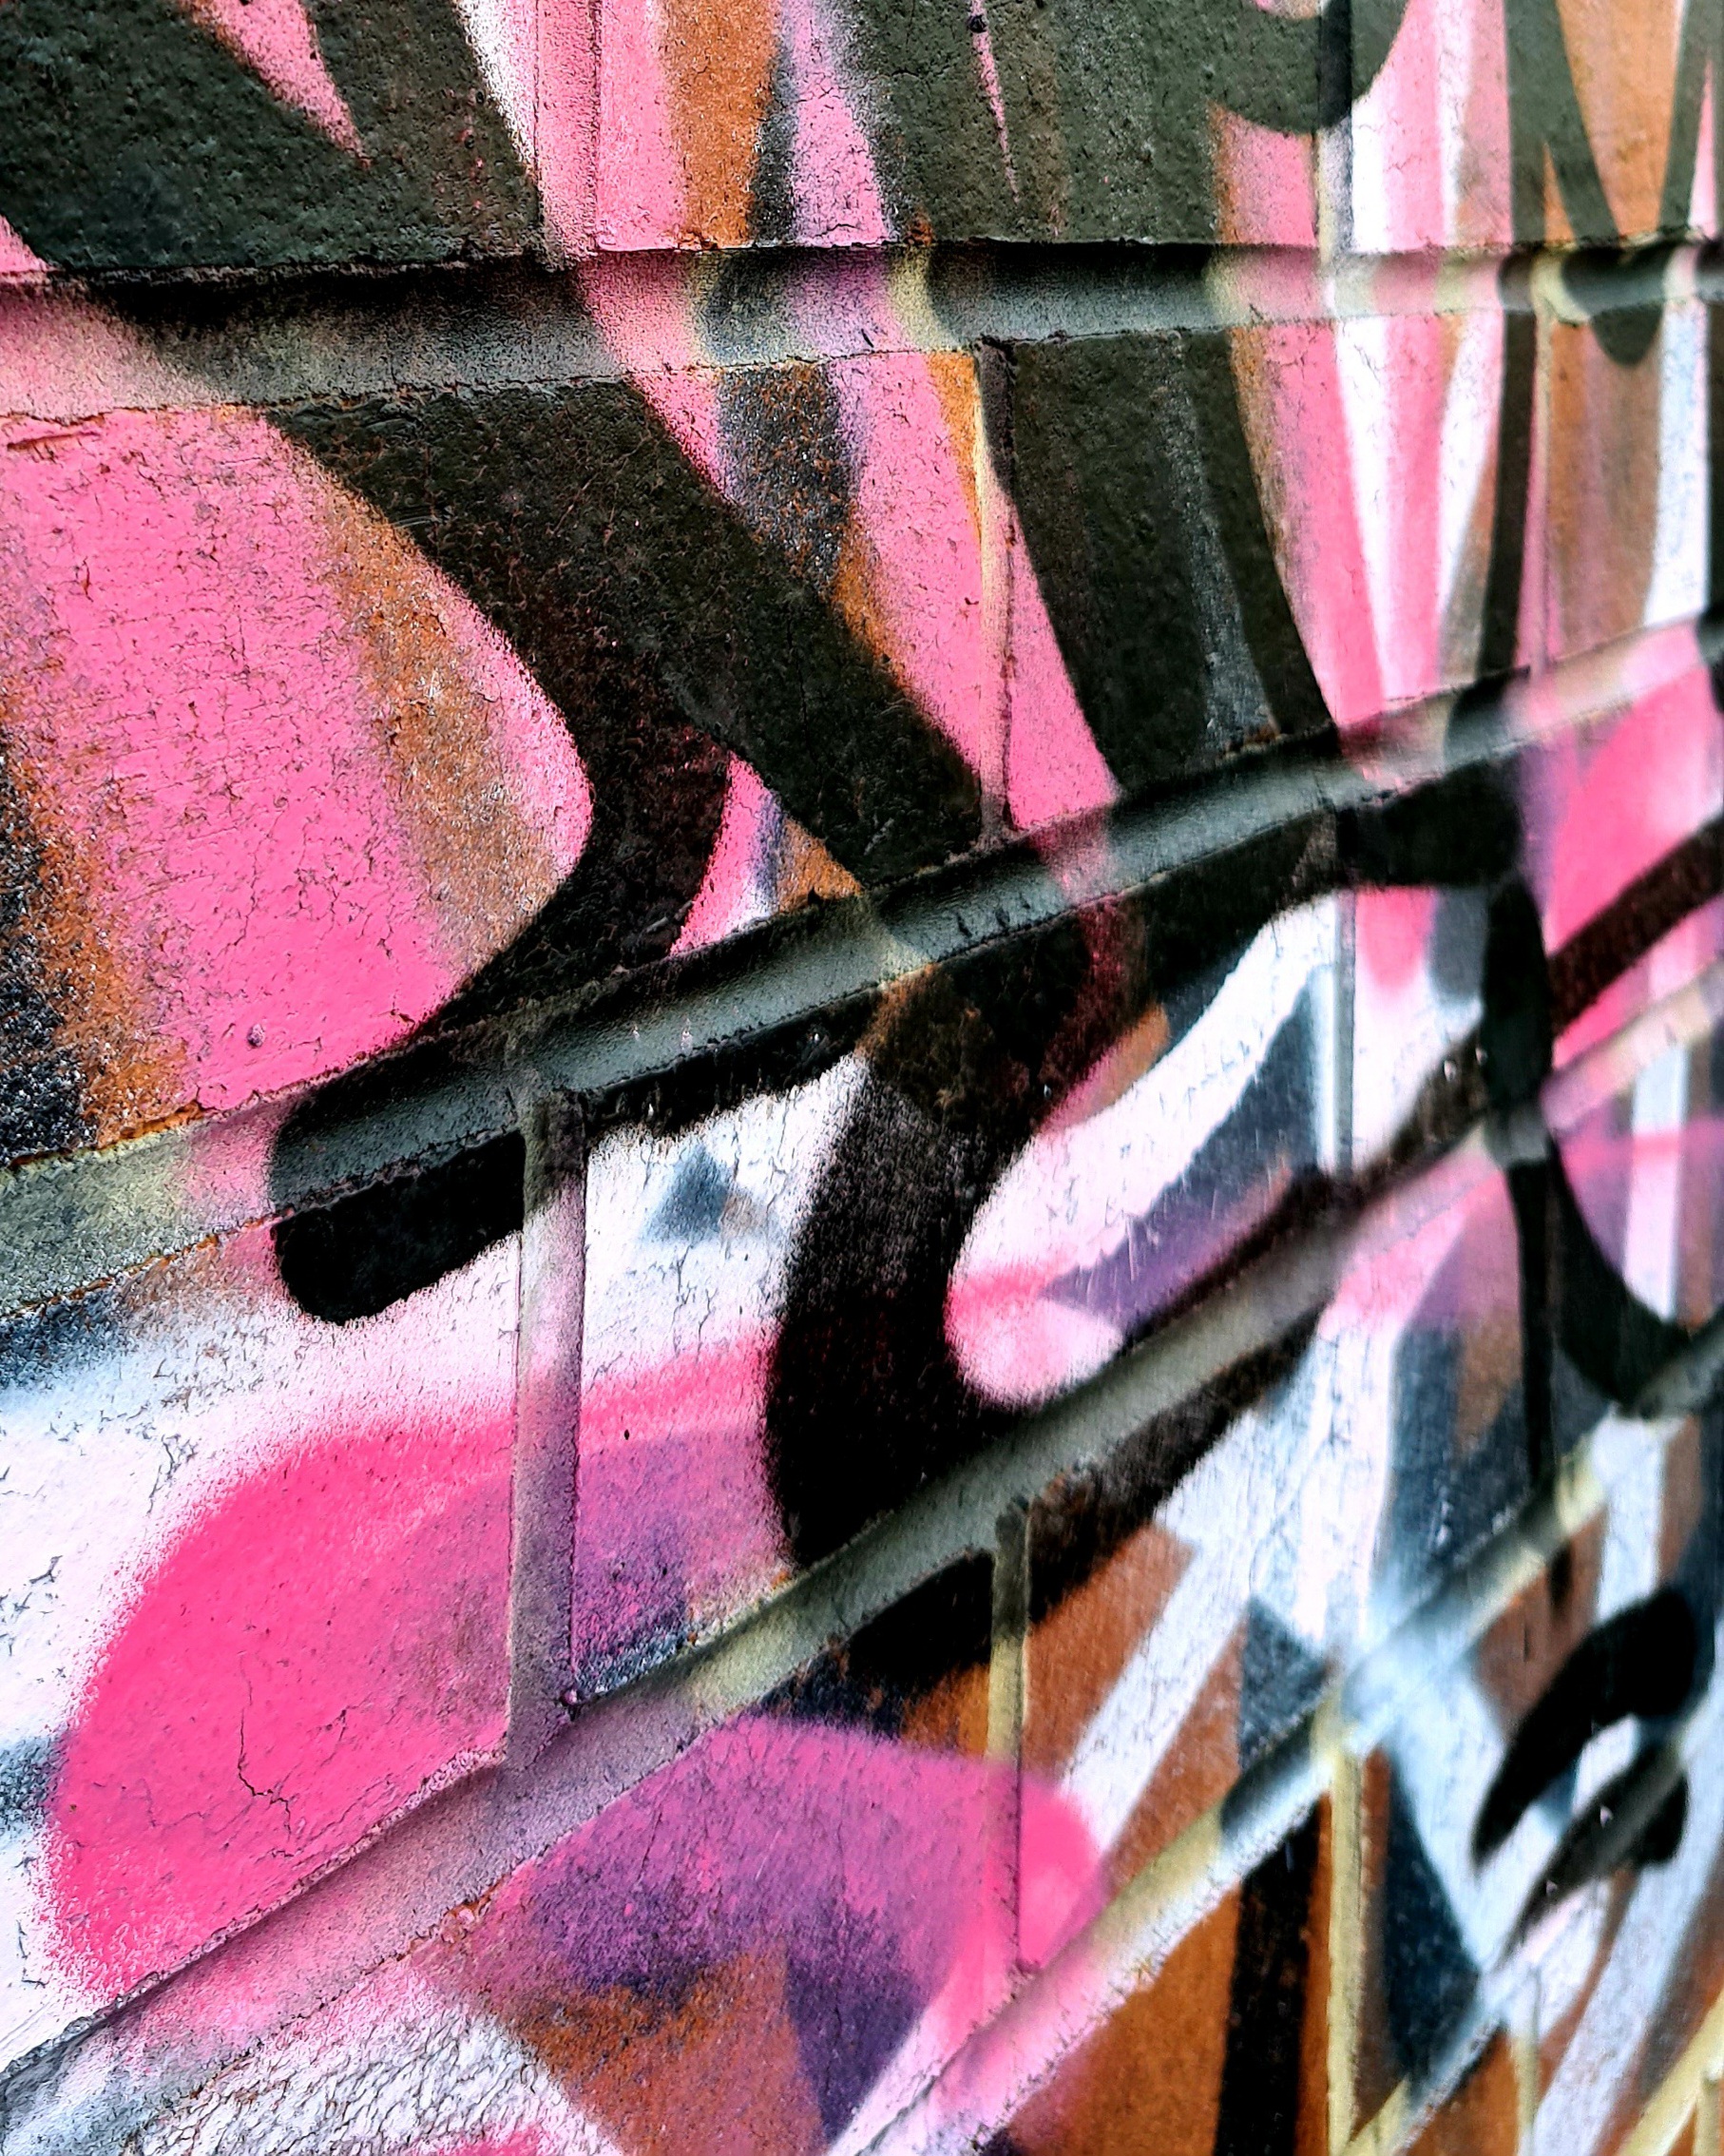
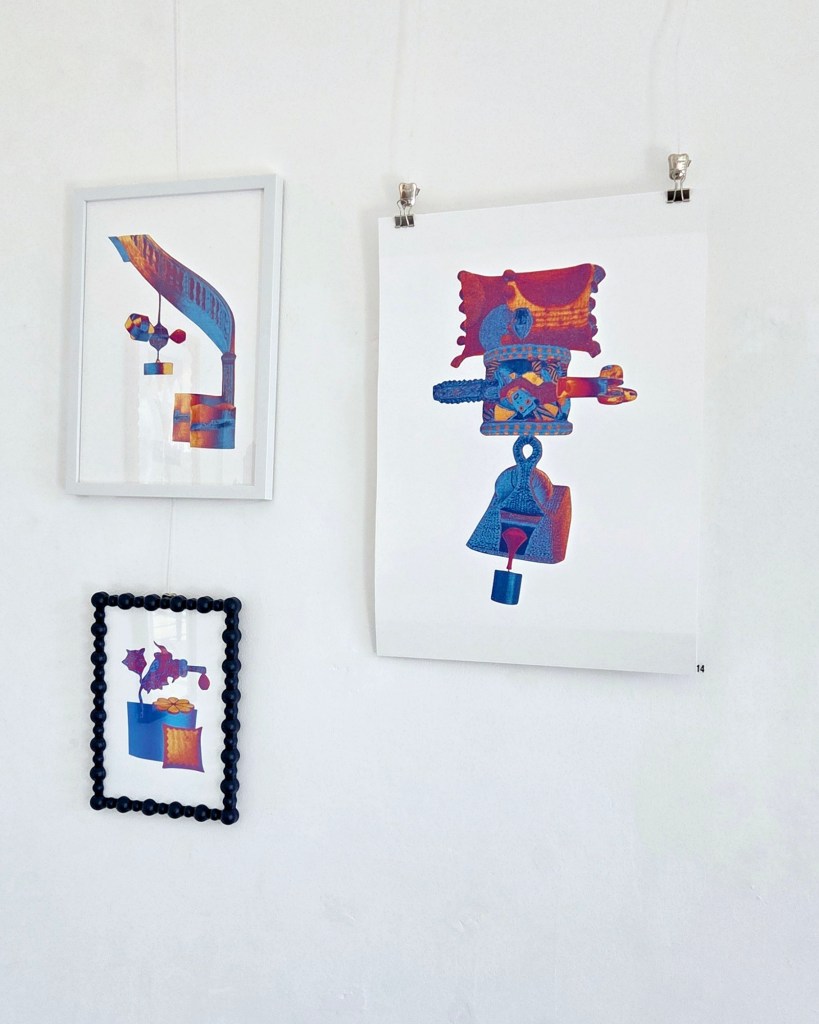
For pieces like this, I use specialist embroidery software to create my designs. These designs can be based on drawings or collages I’ve made and photographs I’ve taken. There are lots of tweaks to make to an image to make it work as an embroidery. Sometimes you need to play with the brightness, contrast and saturation of an image. It might look strange as a photo but it will make a great design file.
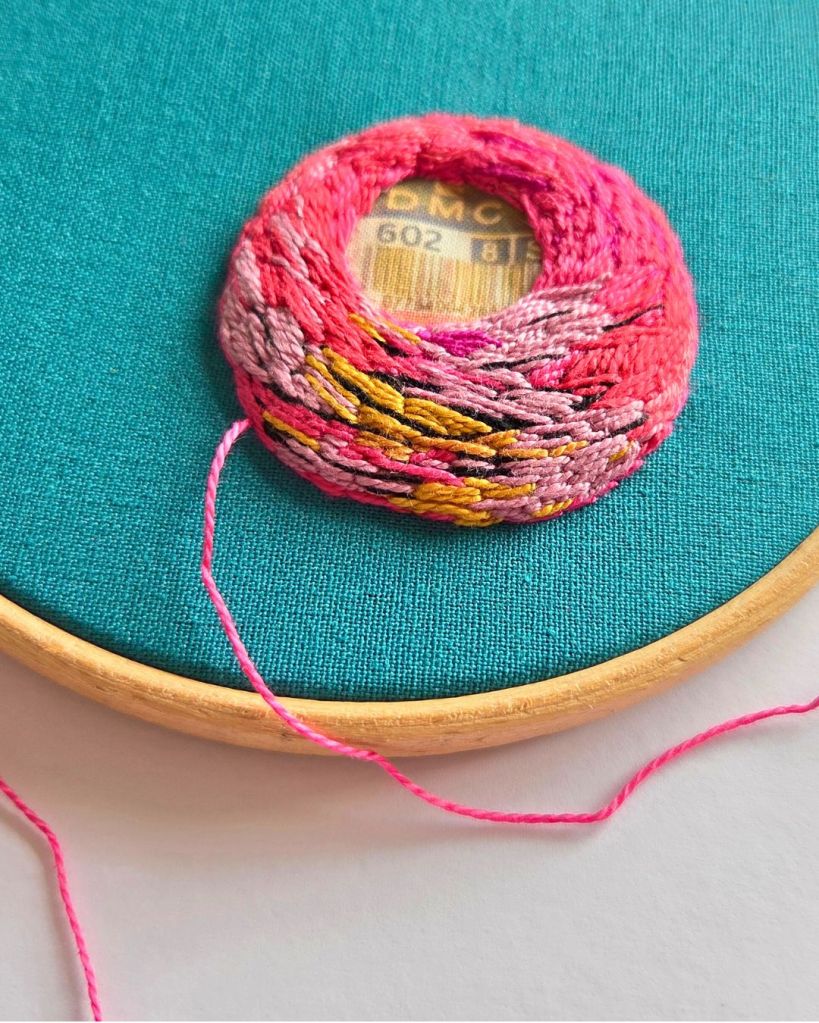
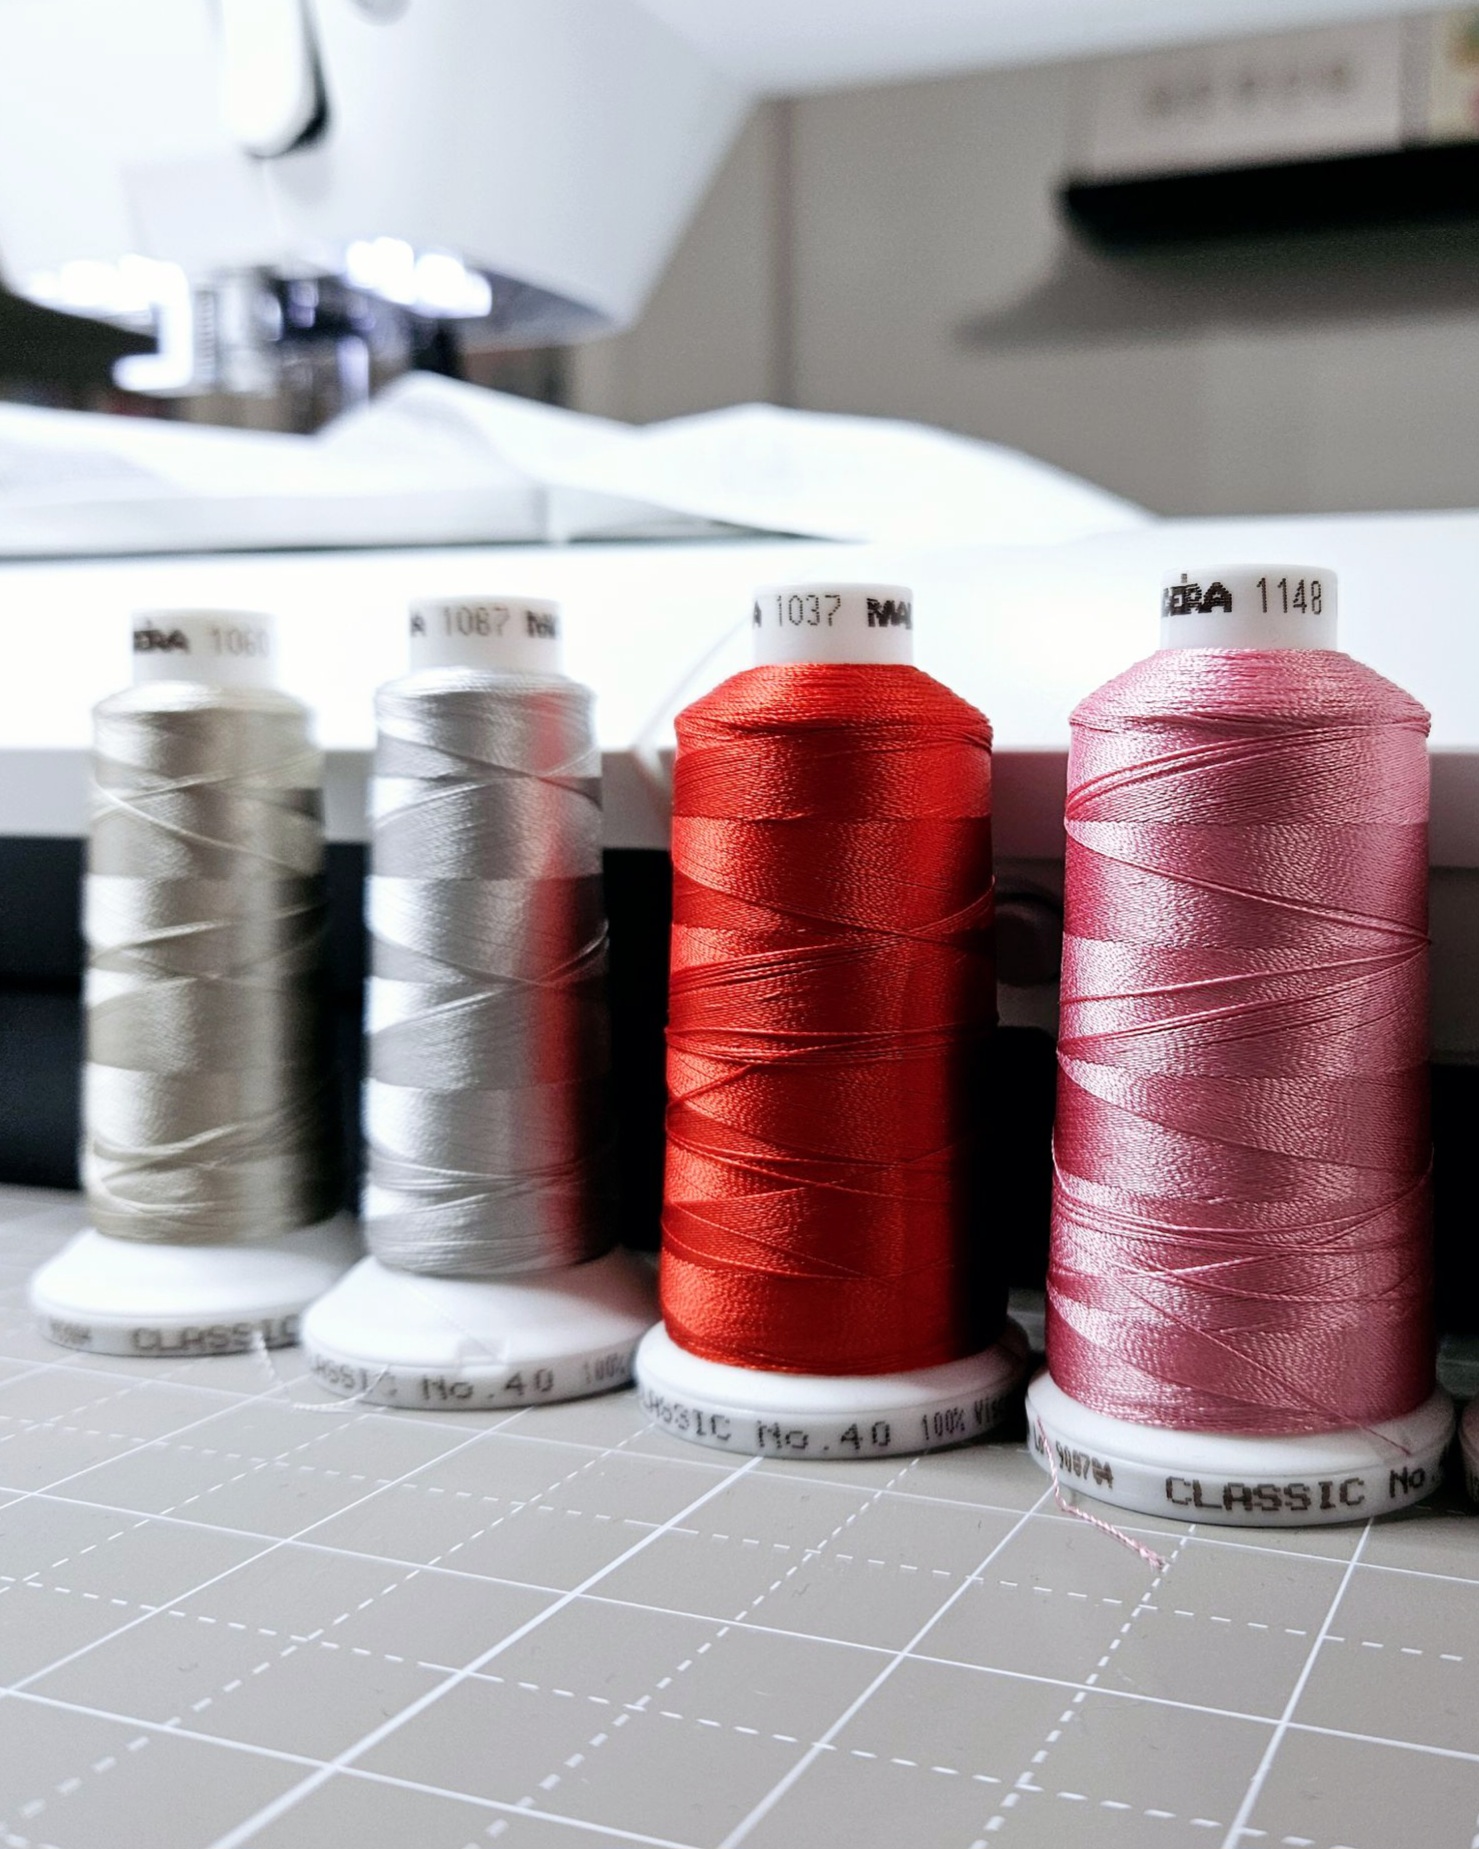
My software allows me to select the type and colour of threads for each design but I still love to look through my boxes of rayon thread. This means that I can find a great colour match and keep a colour story through the pieces I make for a particular piece of work.
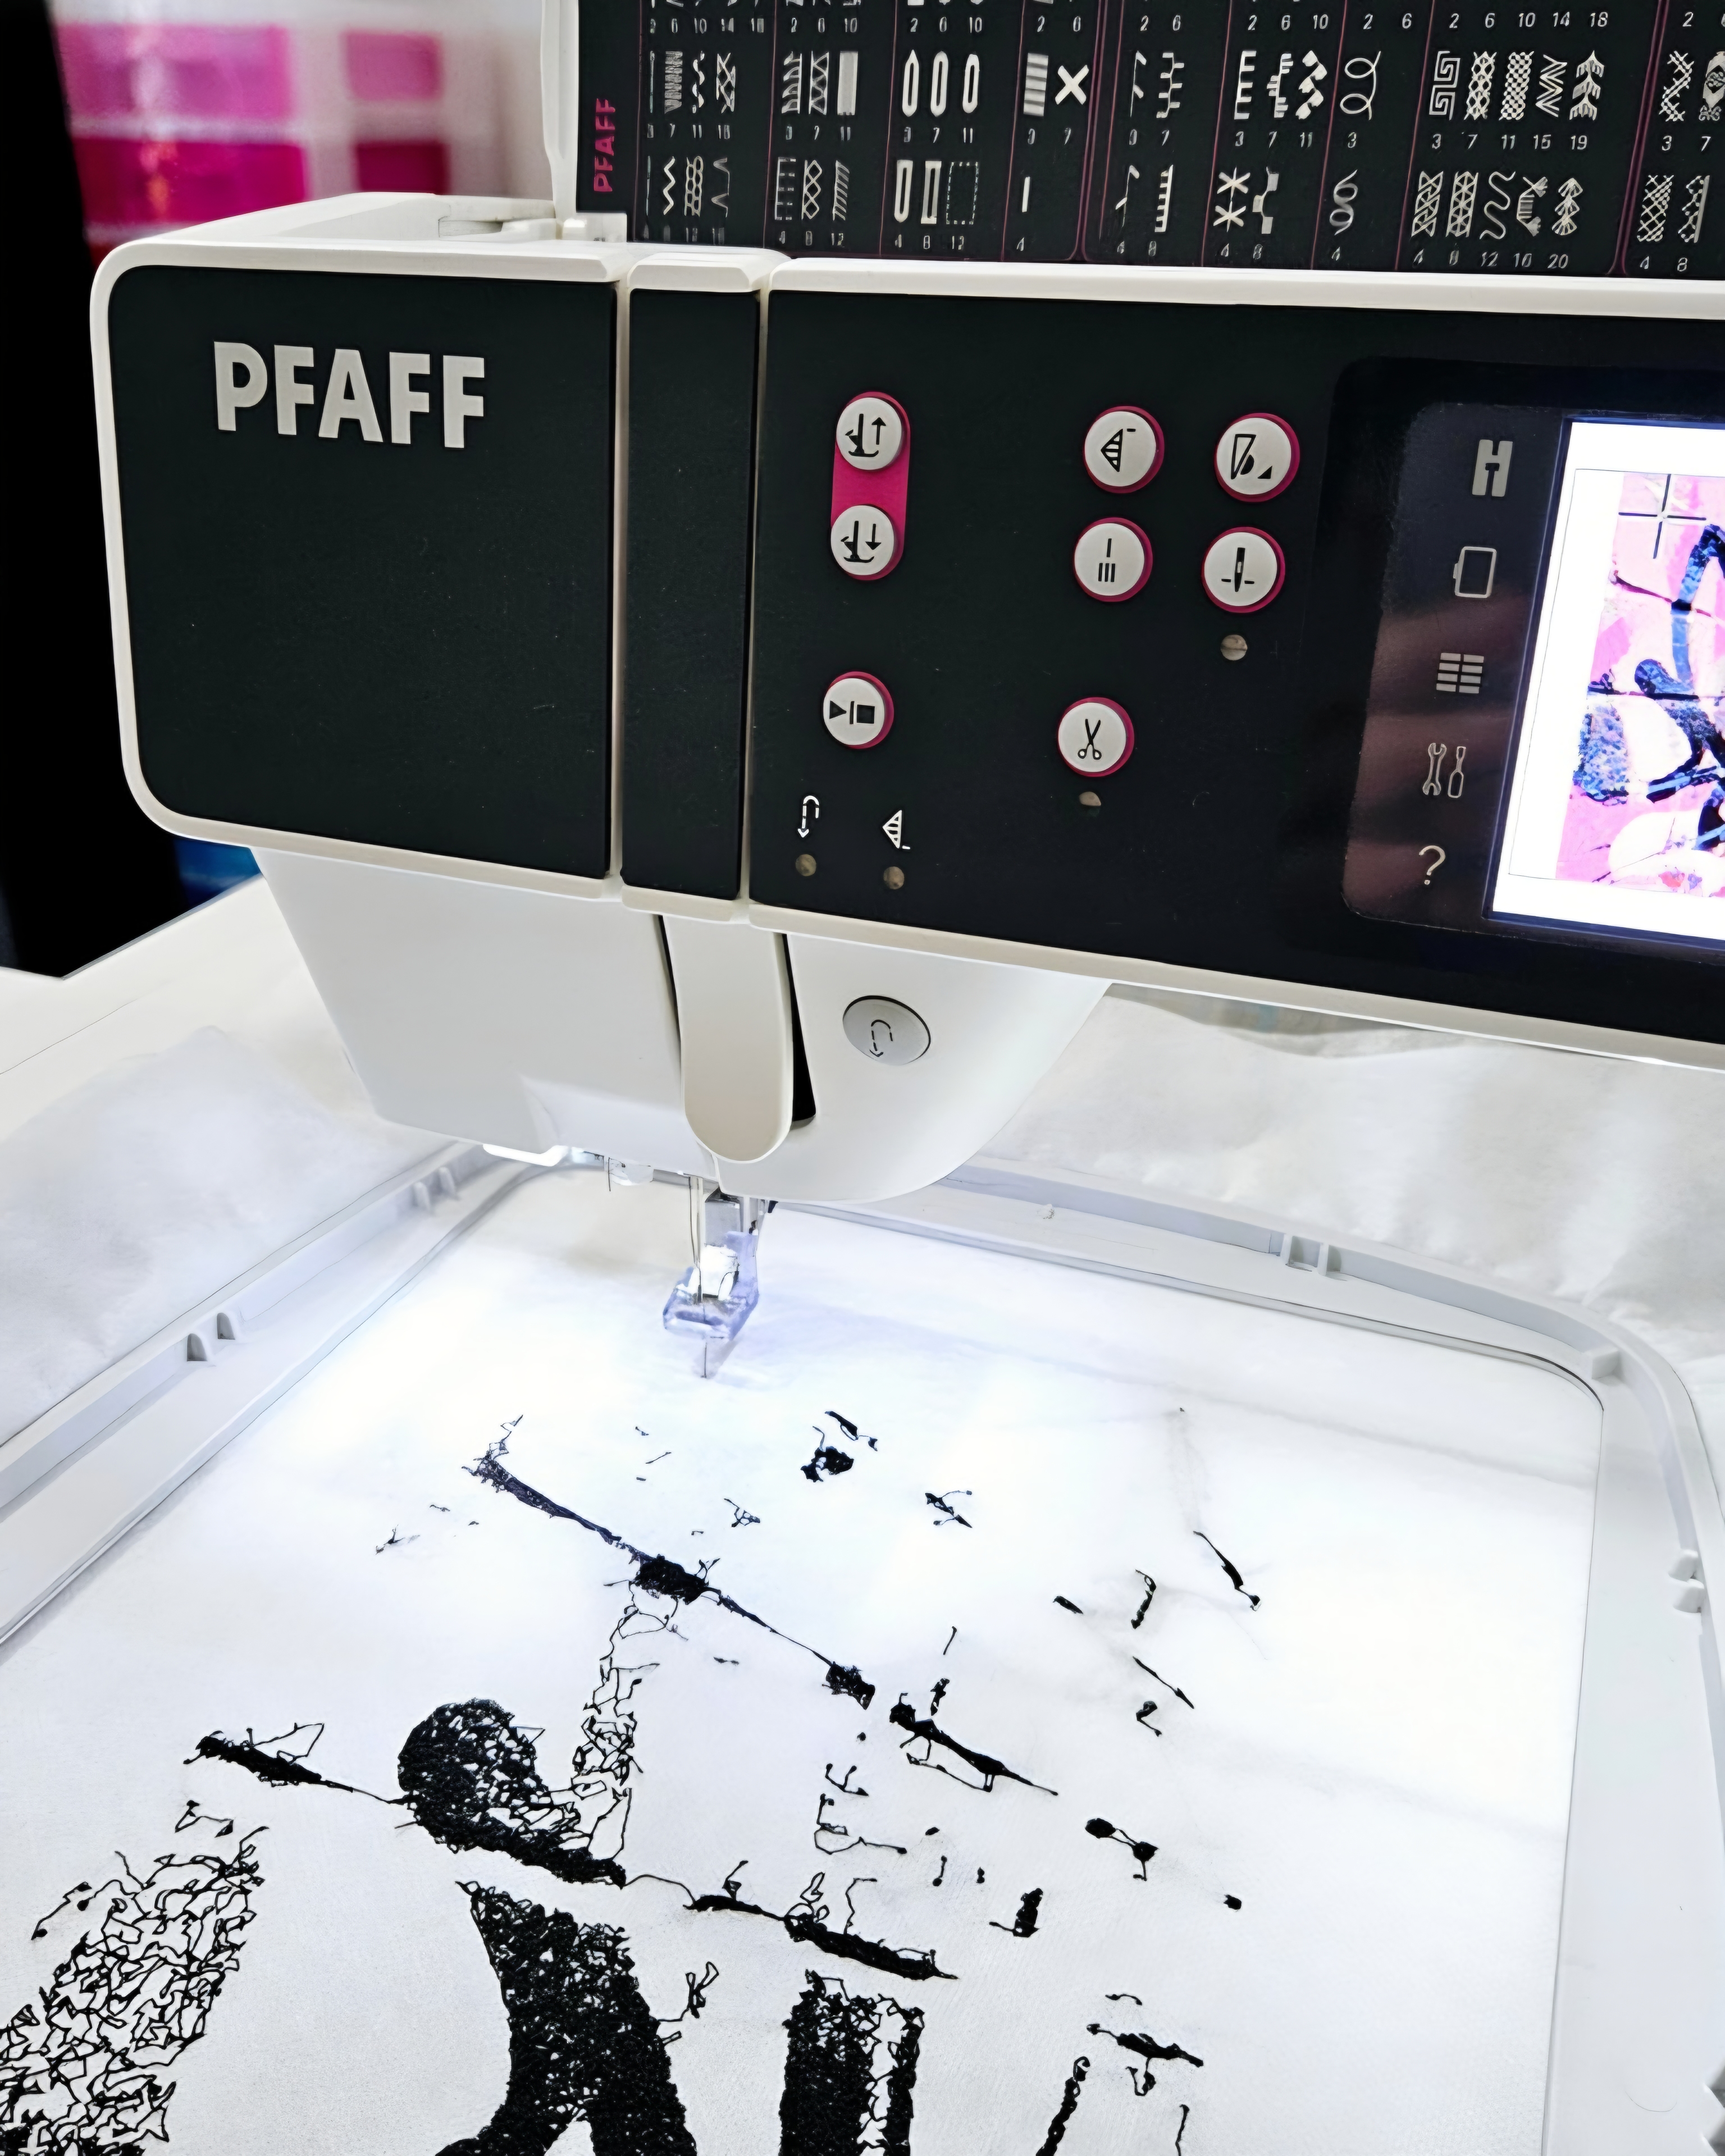
A common misconception about digital embroidery is that you can just leave the machine to stitch the design and there’s no input from the artist. That would be brilliant but I need to be with the machine at every stage, changing colours and bobbins and troubleshooting as I go. Sometimes, I will even make changes to the colours as I stitch if they need tweaking.

My designs are stitched out onto Solufleece fabric, a wash away fabric that leaves just the stitches behind. Before I wash away the fabric there are lots of threads to trim away, my curved embroidery scissors are perfect for this. Then the scary time arrives where you have to drop the piece into a sink full of warm water.
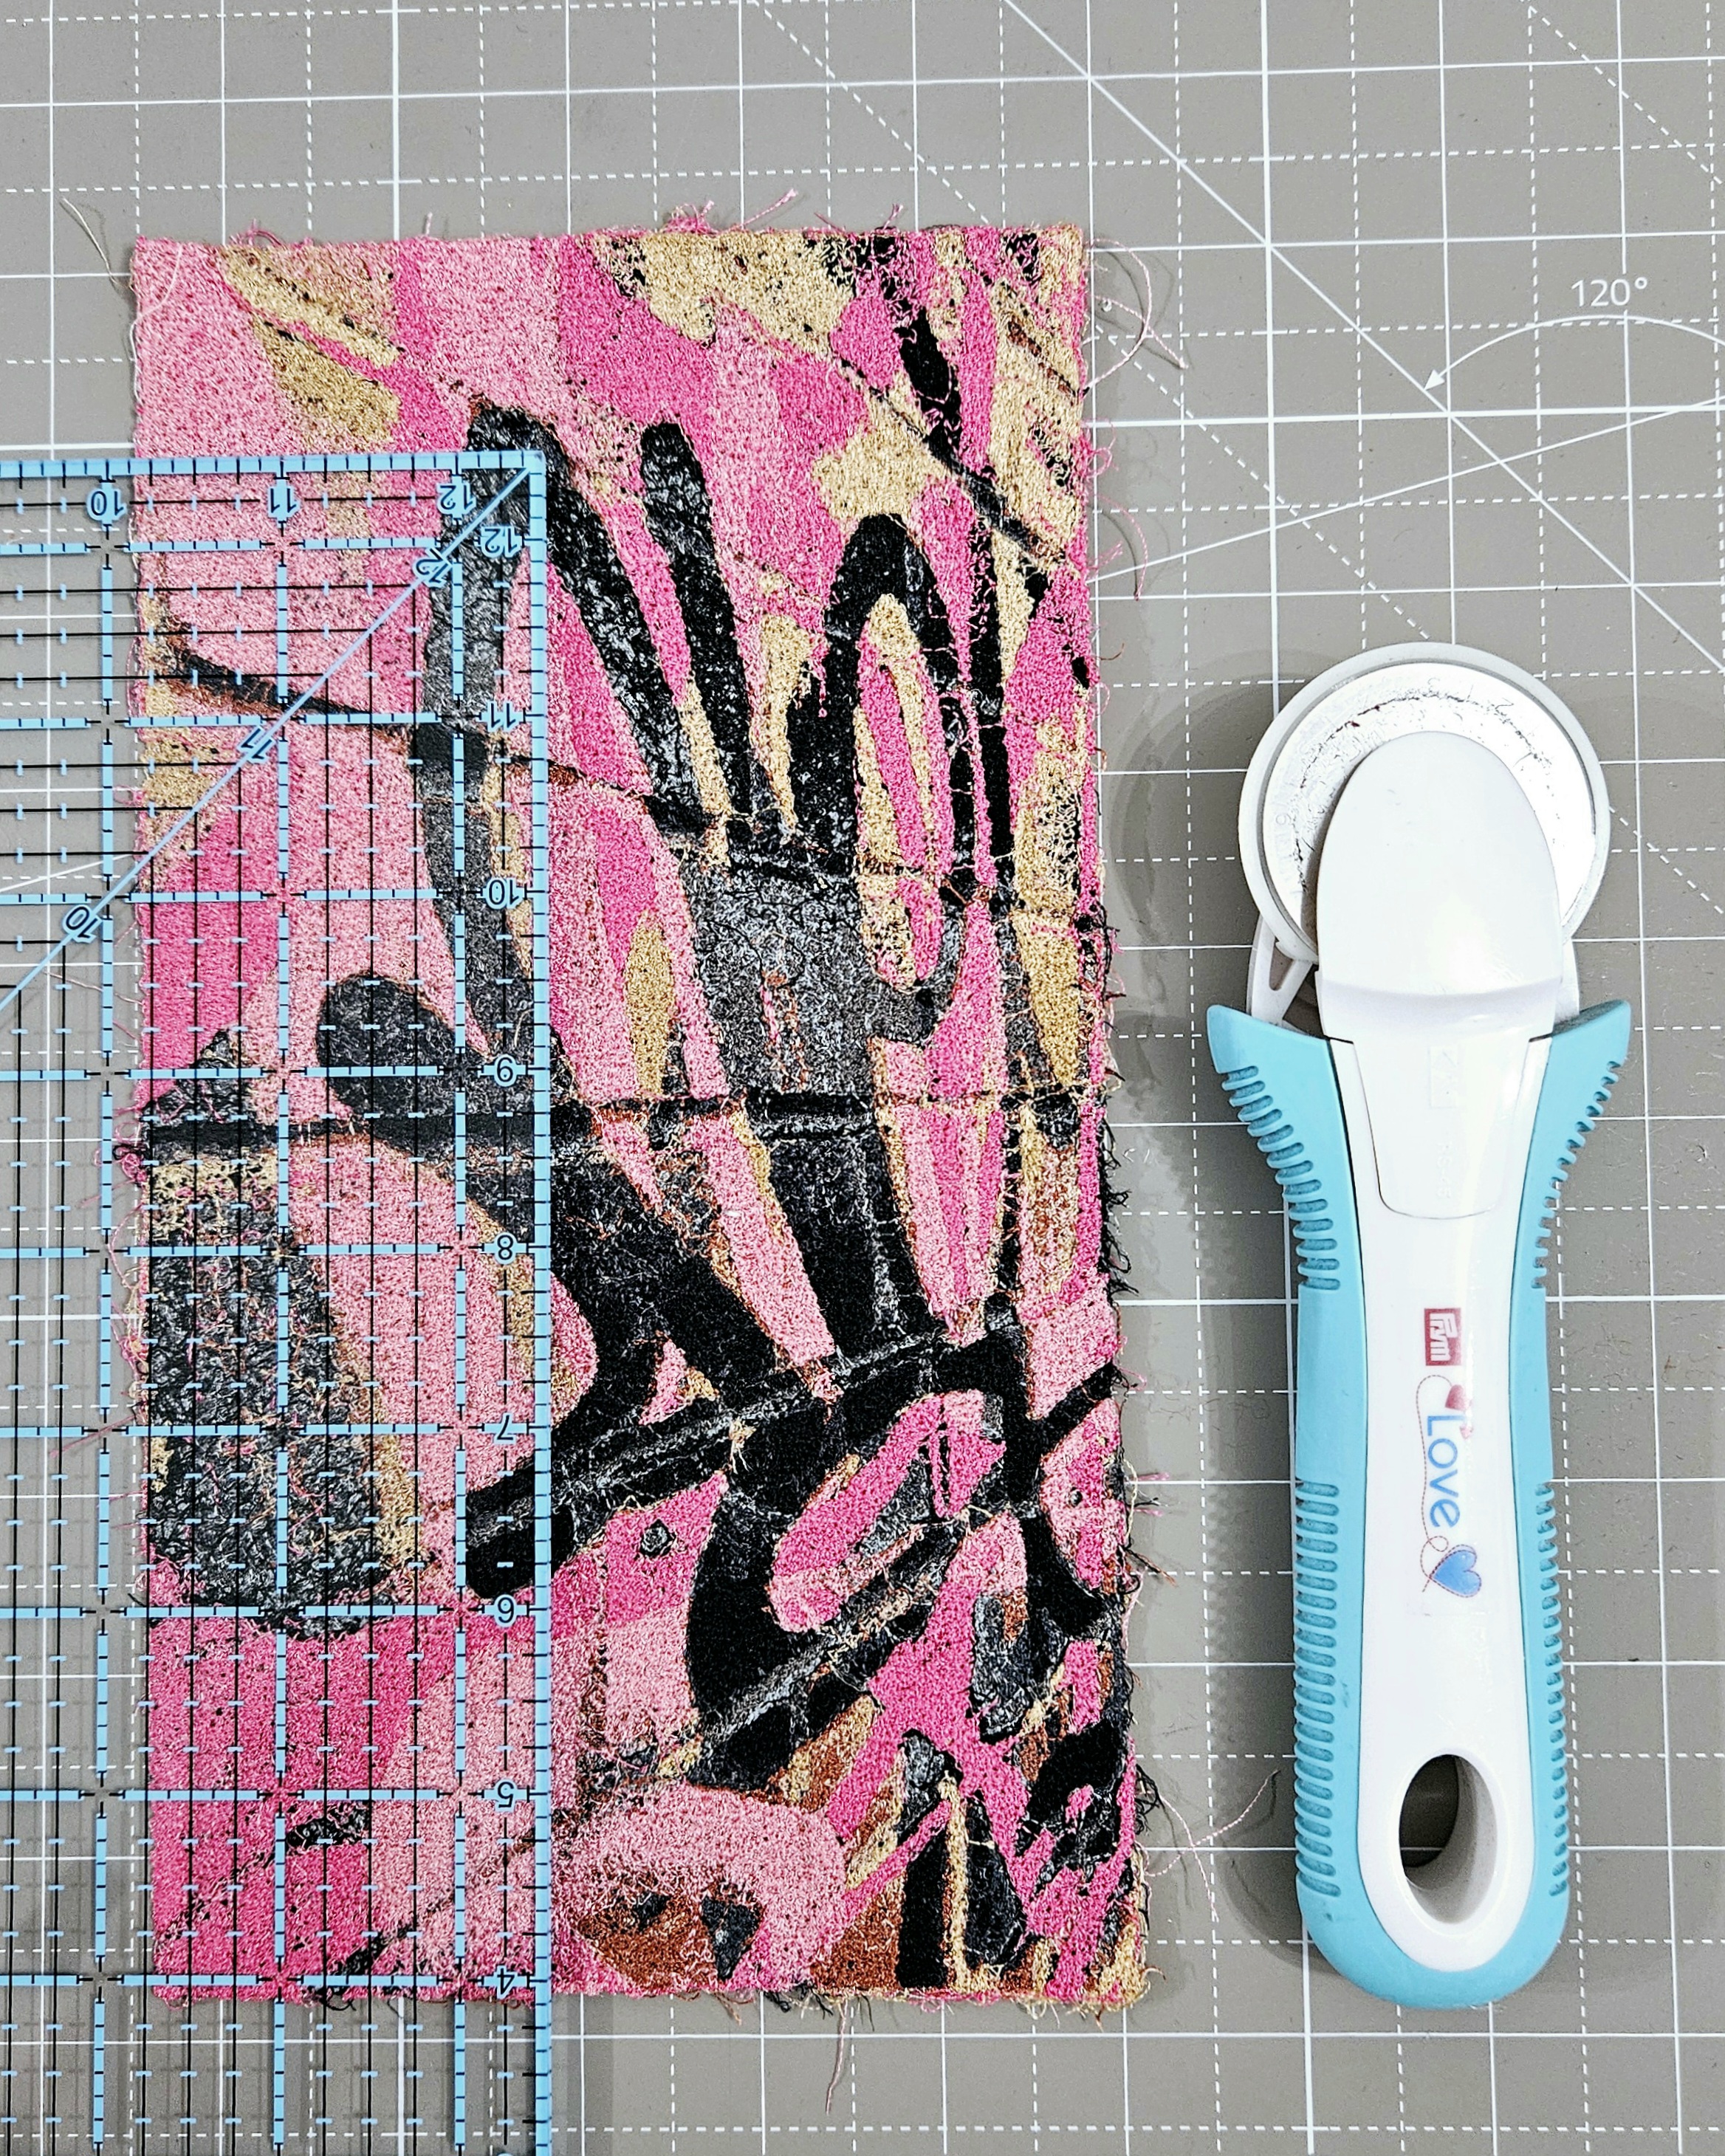
I like to dab the wet embroideries with a towel before drying on the radiator because I’m impatient! They usually crinkle up but the rayon threads are easy to iron with a warm iron and some steam. Once dried and pressed, I trim the edges to get rid of any loose threads. Sometimes I just use my curved embroidery scissors and sometimes I use a rotary cutter to get the edge precise.
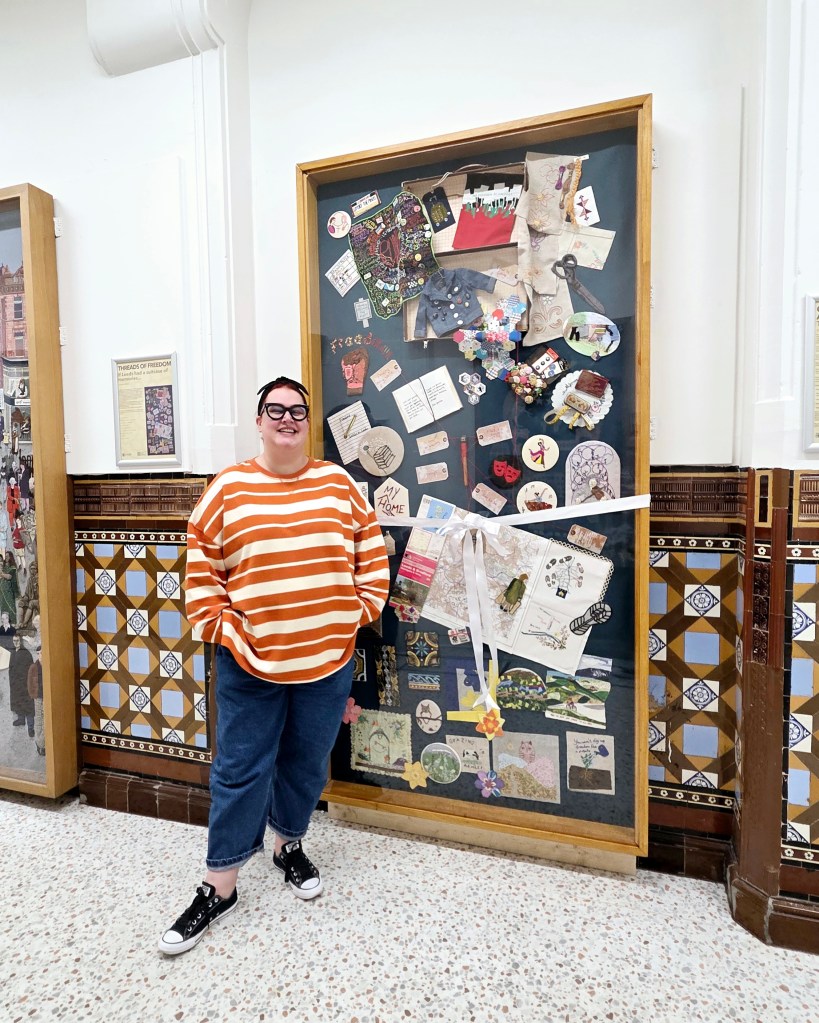
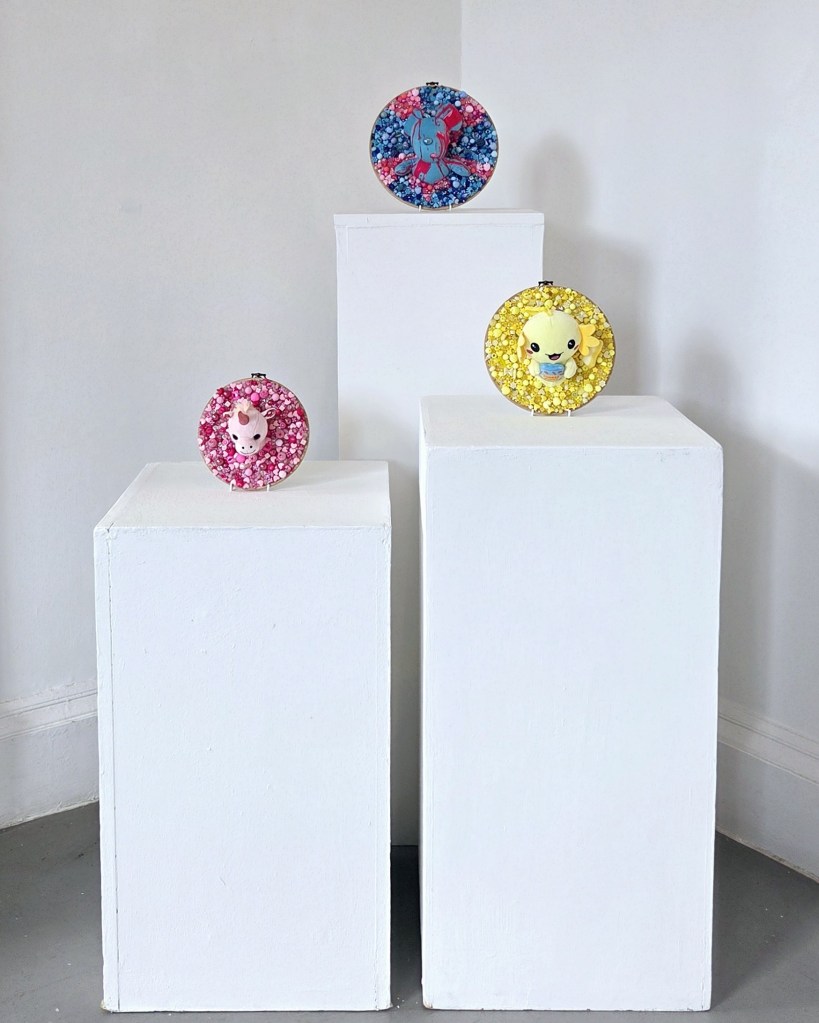
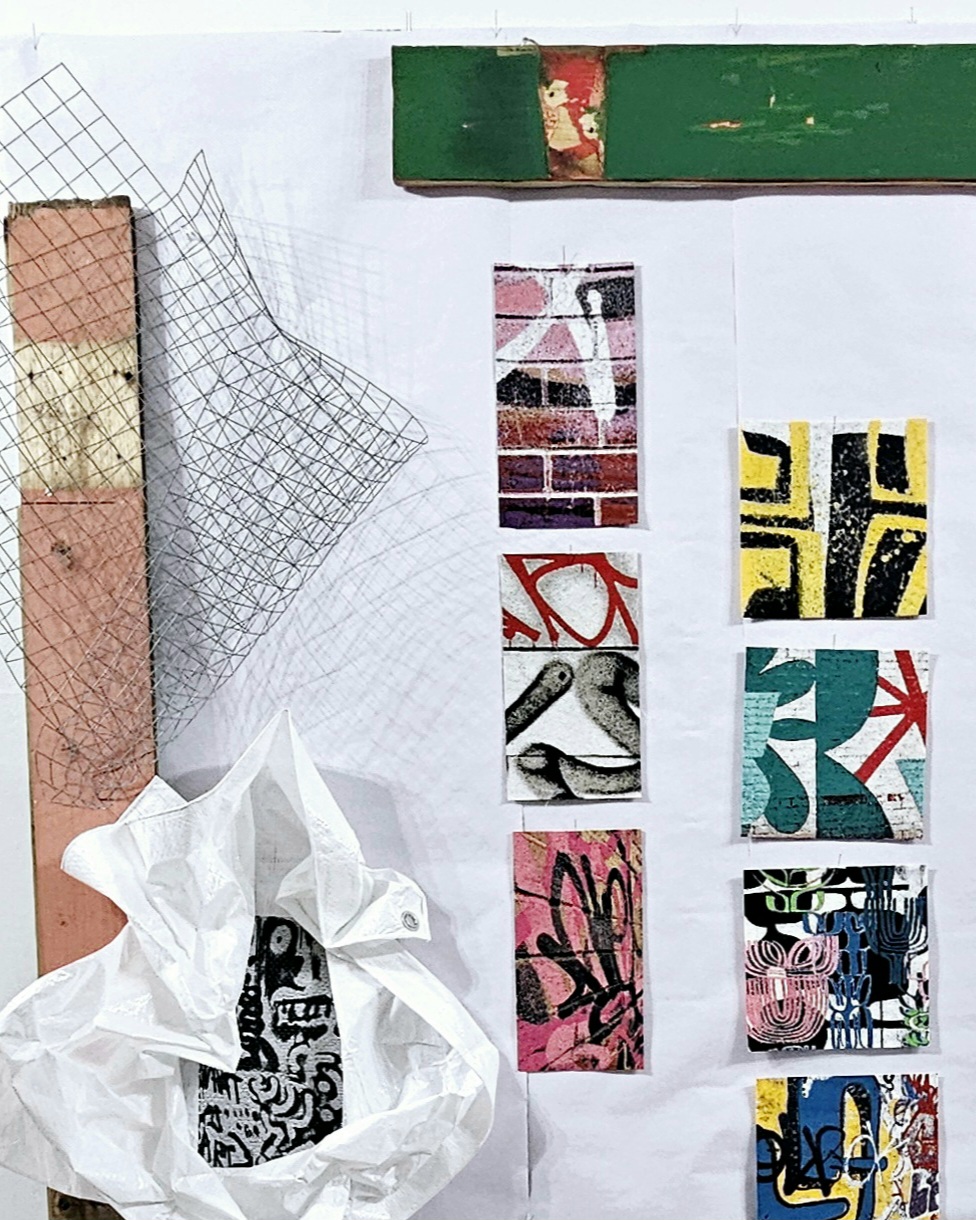
The finished design is part of LS6, an installation for the 2024 Prism Textiles Edgelands exhibition. It sits alongside other graffiti embroideries which took a total of 90 hours to stitch out plus all the trimming, washing, drying and cutting.
You can find out more about the materials and equipment I use in my Tools of the Trade post.
For regular updates about upcoming workshops and events you can sign up to my monthly newsletter, and for cat pictures and work in progress follow me on Instagram.